

Assembly and Finishing

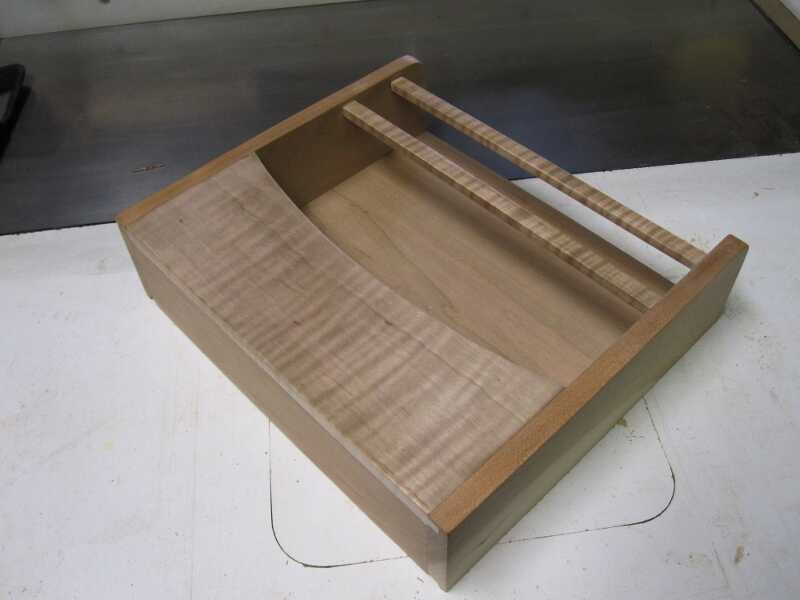
Now that all the parts are ready, it’s time to glue and clamp everything together.
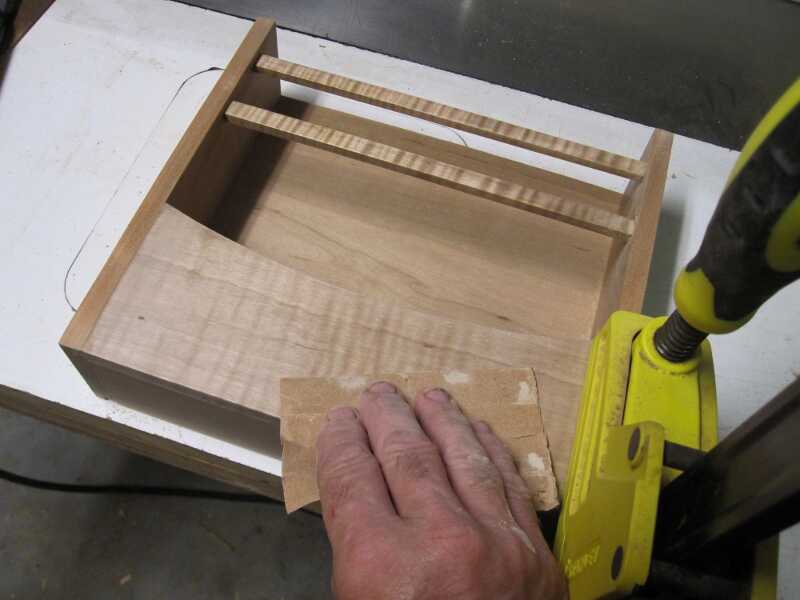
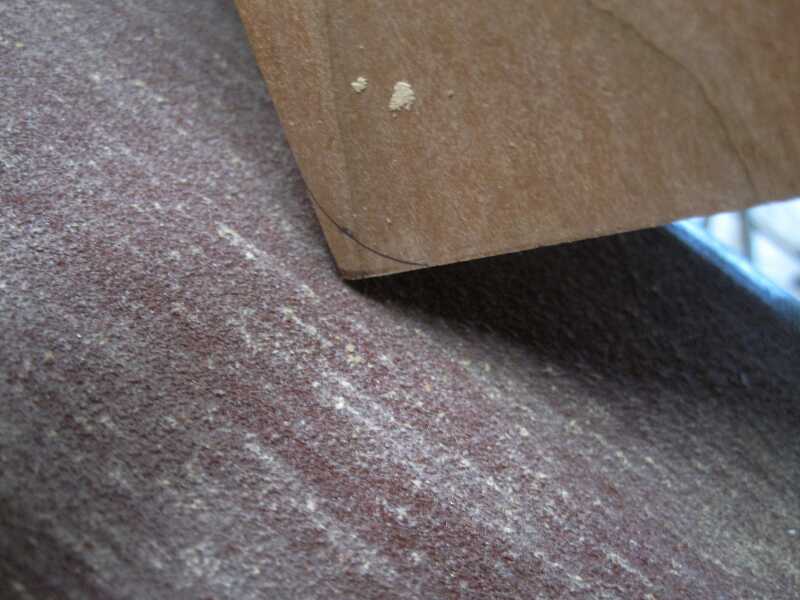
After a couple of hours drying time, the rack gets a final sanding.
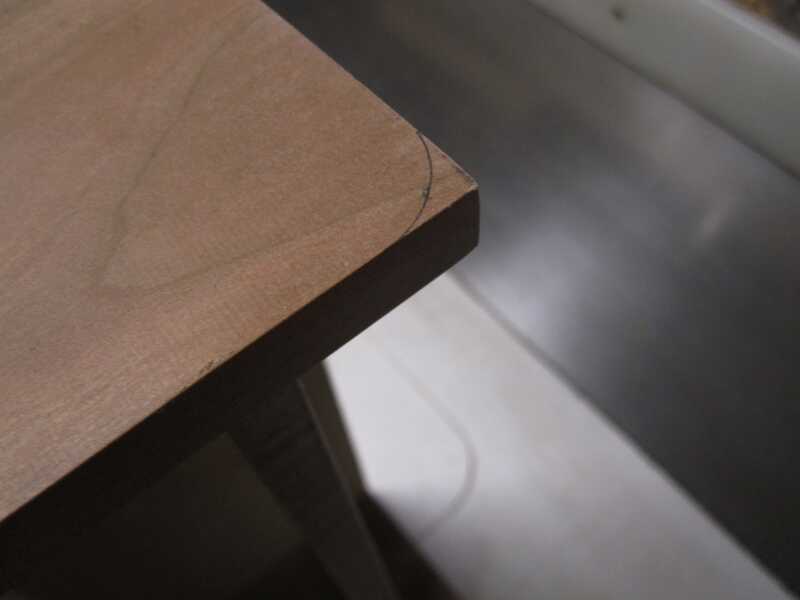
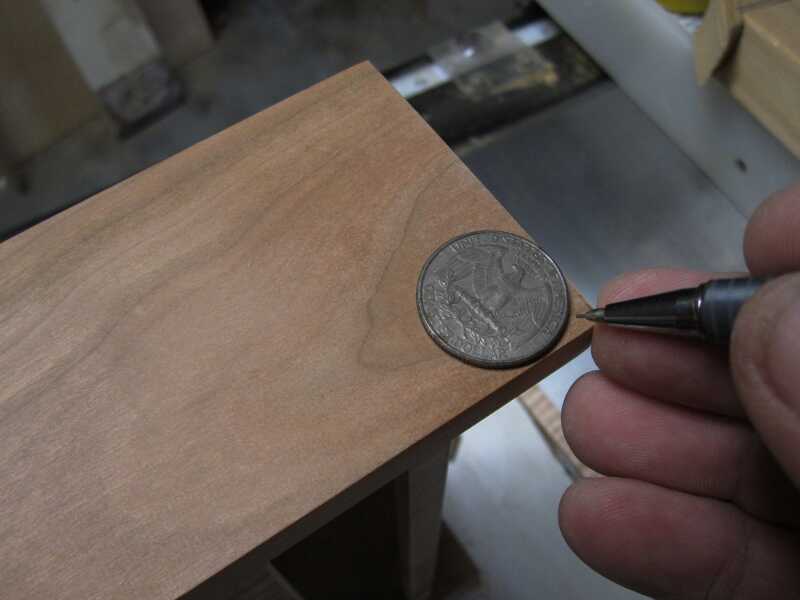
A quarter is used to indicate the corners at the top of the two side panels. They are sanded off on a edge sander.

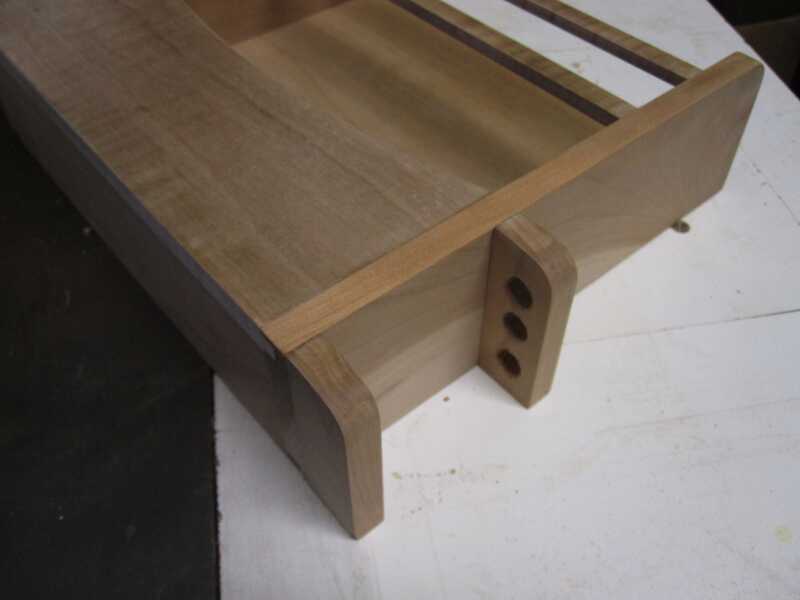
After working on it for some time, I decided not to attach the pencil holder.

The final step is the finishing. First remove the dust with some pressurized air.

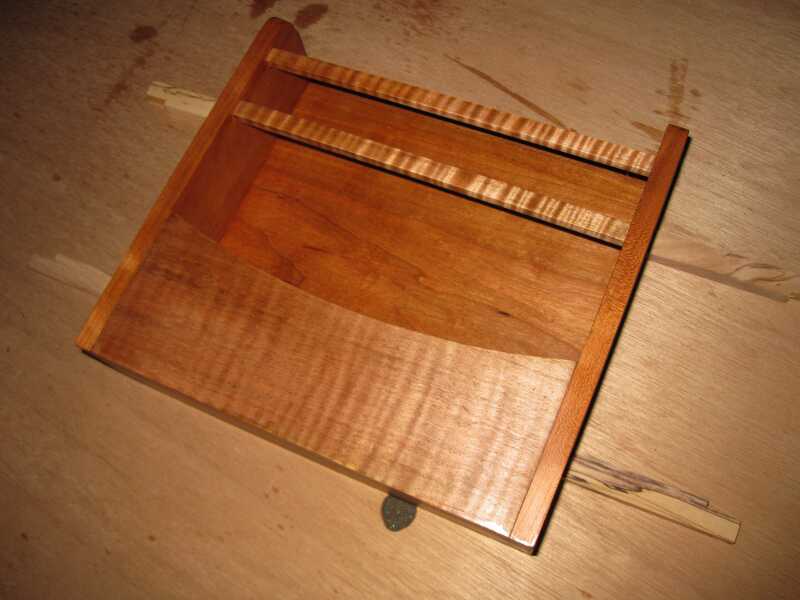
The rack is flooded with some tung oil which is allowed to penetrate the wood. After a few minutes the excess is removed with a paper towel.


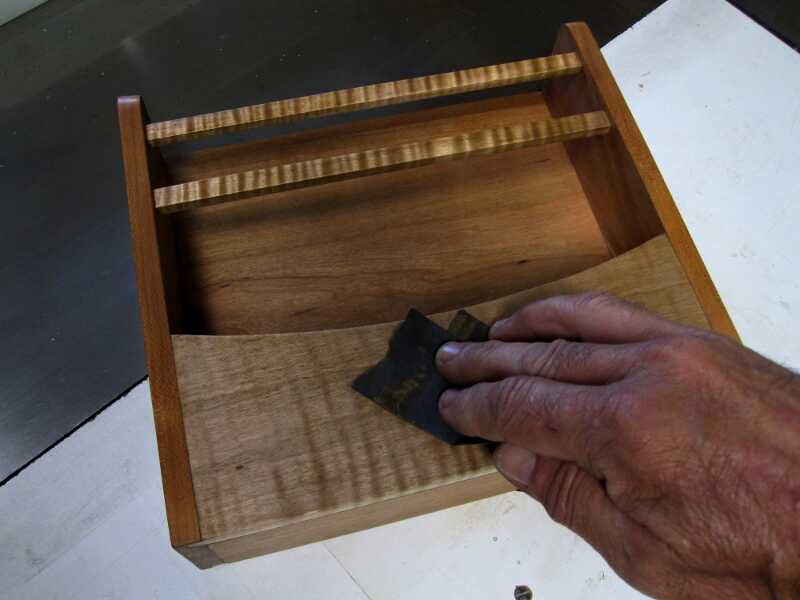
The next day the rack is sanded again with 400 or 500 grit sandpaper.
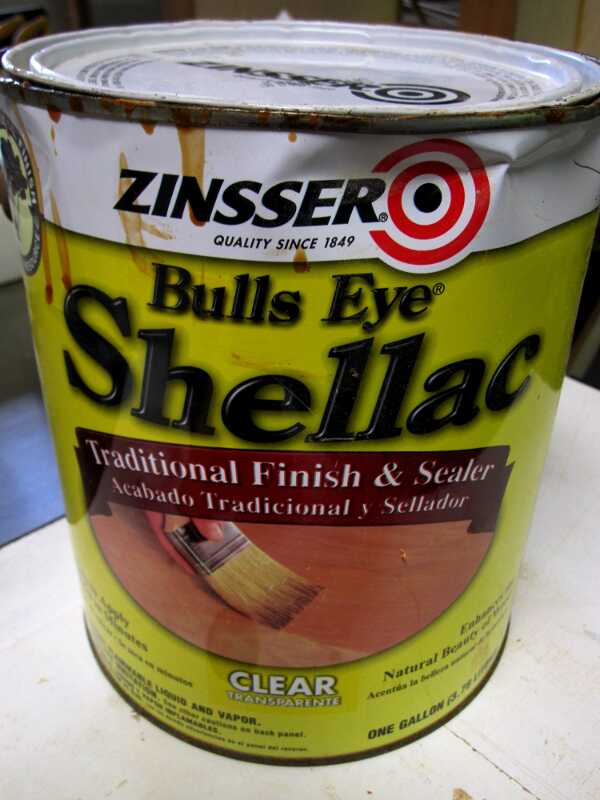
Two or three layers of shellac are applied to the surface, each with a sanding in between.
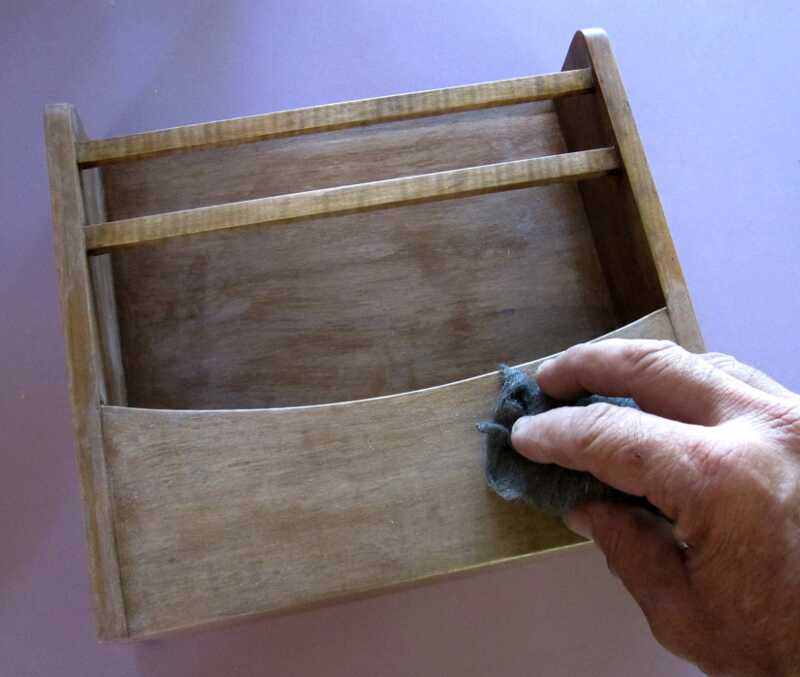

After the final layer of shellac it gets a light sanding with 0000 steel wool. Followed with a good coat of furniture wax.

Do you have plans or instructions To panel the interior of a 1996 Ford E250 cargo van?
The short answer: No.
This website currently only chronicles my own van conversions. This started about 5 years ago with work on a 1992 Dodge B-250, which is similar to the Ford Econoline. And now continues with the 2016 Ford Transit.
You may find some interesting content in the older posts and several specific designs/layouts on the plans page.
Otherwise, I’m always available to answer specific questions.
Van Williams
I have an older van and need instructions on conversion. My Dodge B3500 15 passenger has A/C and heat on the DS wall that is great. Seats are gone so it is a clear canvas. Ideas please. Oh! Only 70k so in good shape.
Until recently, I owned a Dodge B-250 that I converted into a basic RV. That worked out great for me, until my personal circumstances changed and I transitioned into a new Ford Transit. You can still review some of the changes that I made to the Dodge in my earlier posts on the website.
The conversion of the Transit started at ground zero and will encompass a complete transformation of the van. Many, if not all, of the modifications are not only applicable to the current Dodge, Sprinter, Nissan and Ford models, but also to the older Dodge, Econoline and Chevy Express.
So the best advice is probably to work through some of the articles on my website and if you need a shortcut, to go to my projects page to look at the specifics of each modification. I have lots of free downloads and many videos on Youtube.
Before starting with this van conversion, I have collected ideas during years of research. While only a very few will make it into the new van, saving images and texts of great ideas, while browsing the web, created a trove of design examples. Use your imagination and make the best of it. The great thing about converting a van as a DIY’er is, that any level of modification that suits your lifestyle, is the best there is. You’re free to make your own choices and which also brings immense satisfaction from your own work!
Keep reading and if you have questions, you’re always welcome to put them in a comment. Have fun with your van!
Van Williams