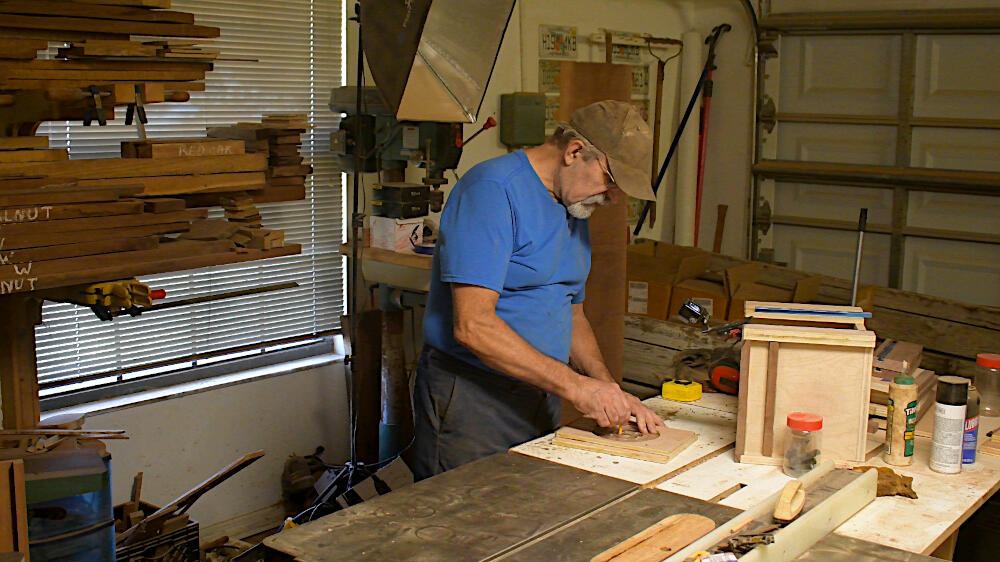
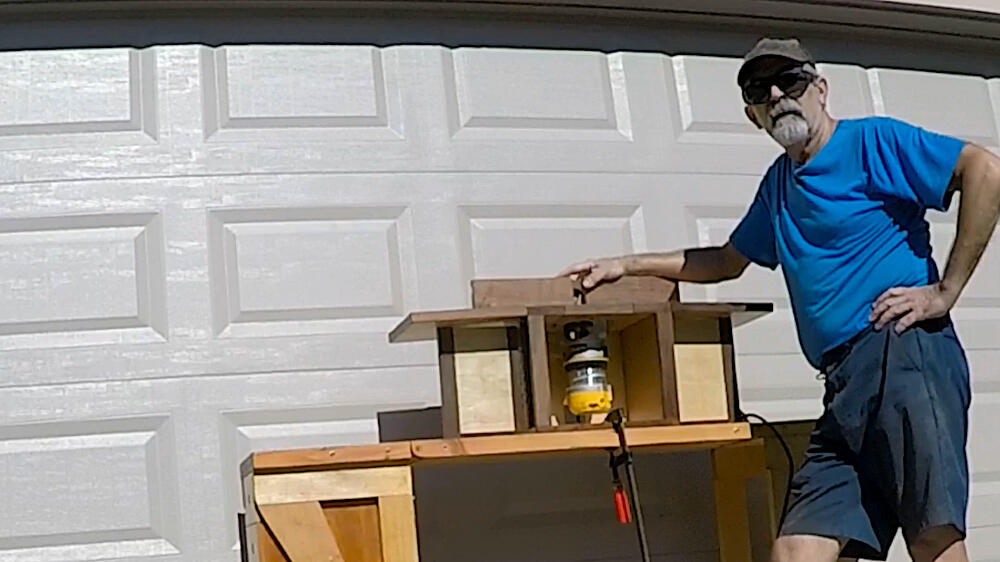
The foldable router table is taking shape and will play its part in my life on the road.
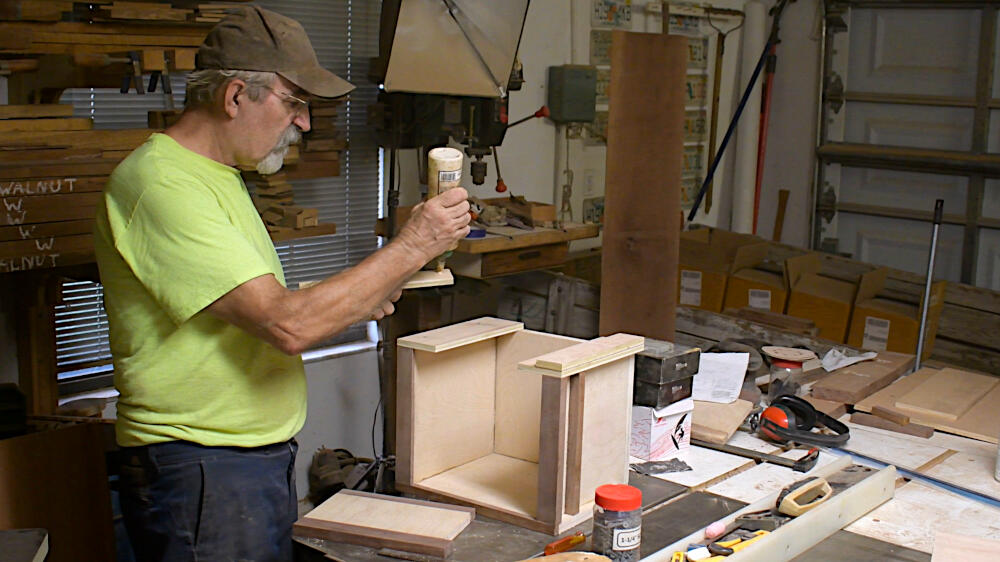
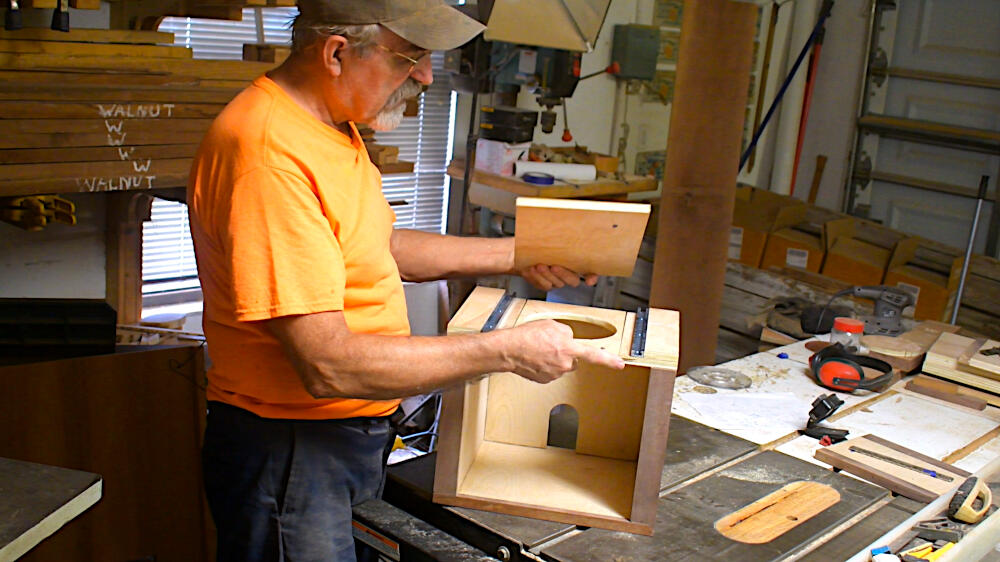
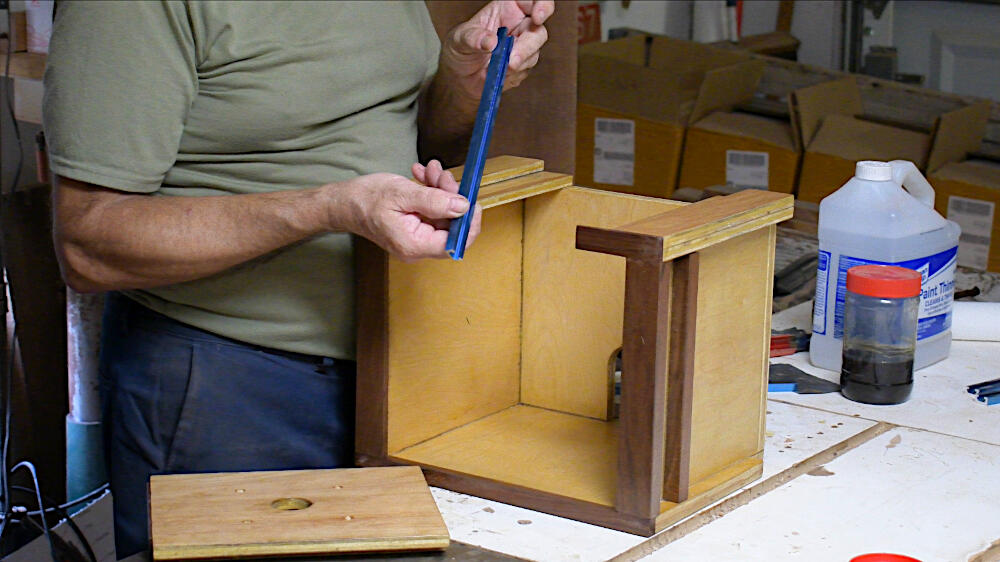
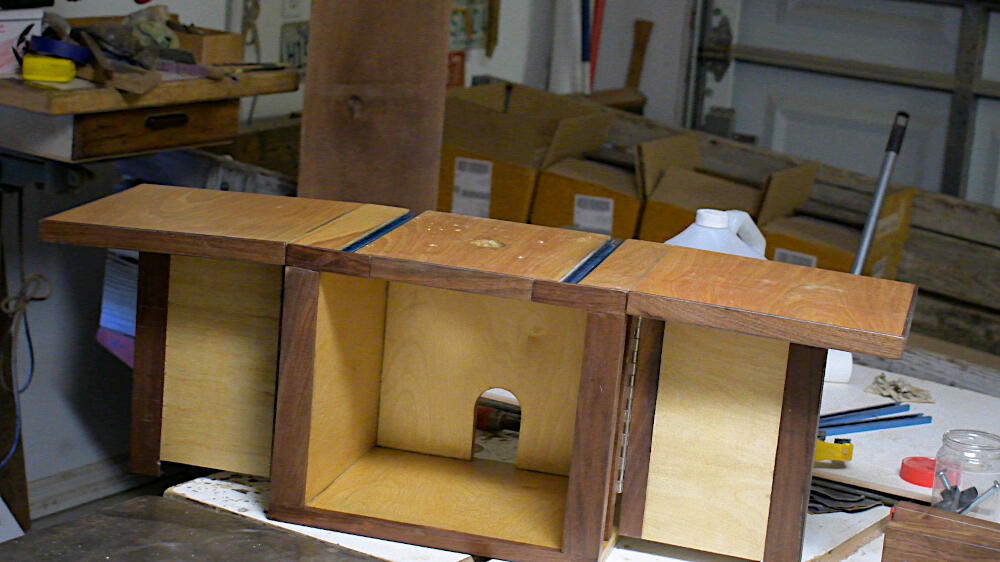
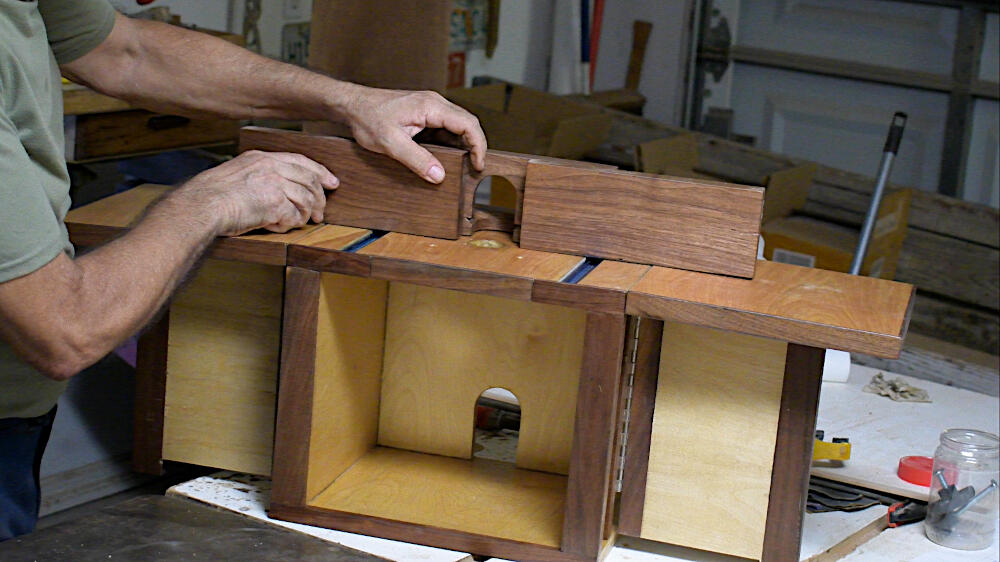
I continue to assemble the box by adding supports for the hinged router plate. The top of the box consists of two 1/2 inch plywood panels.
Build
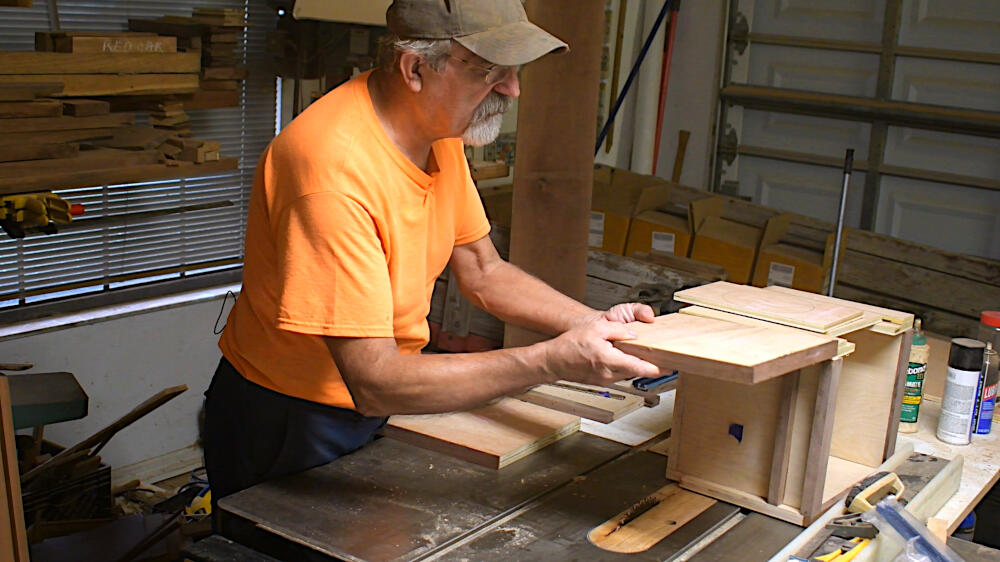
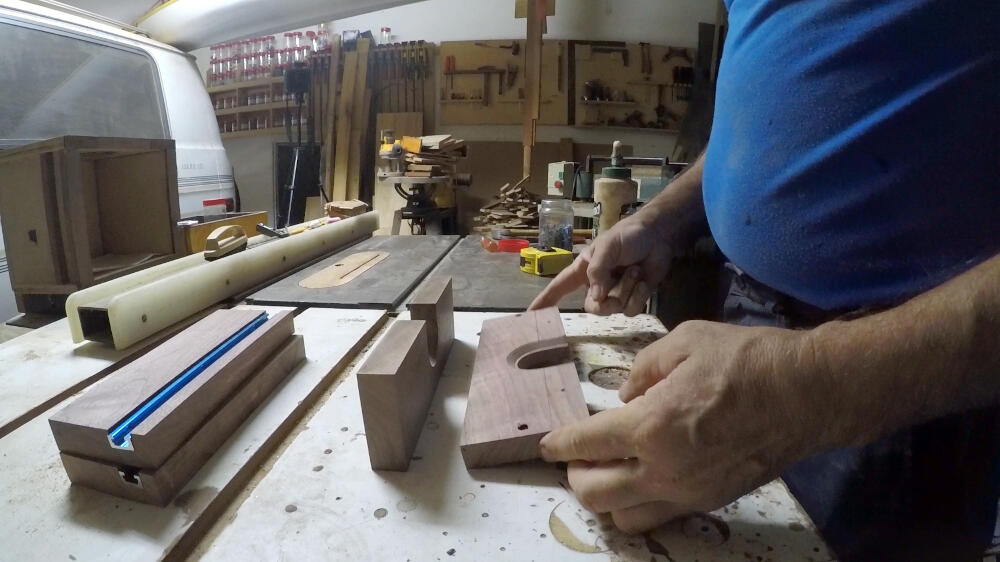
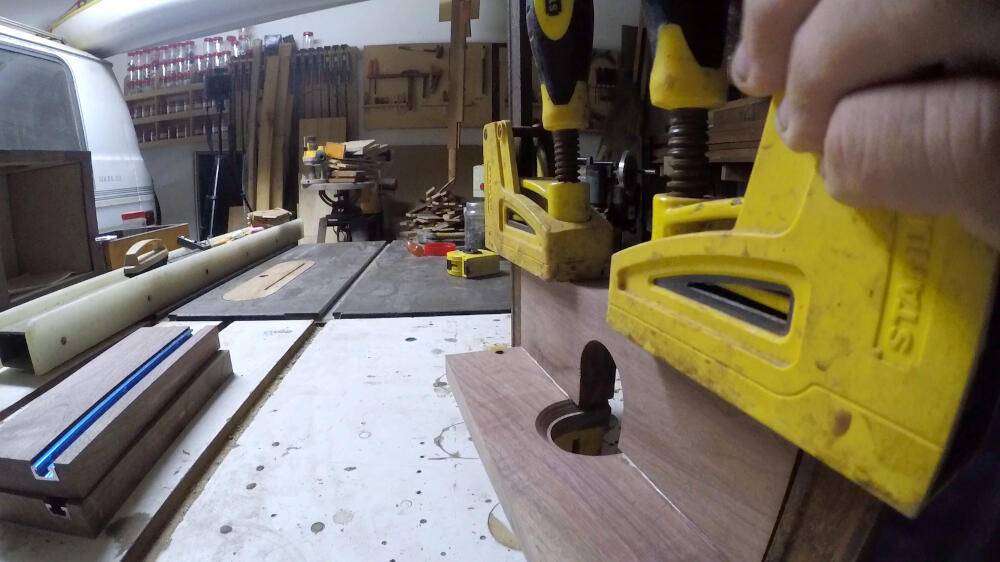
I finish the wings, while the glue-up is drying. More sawing and sanding.
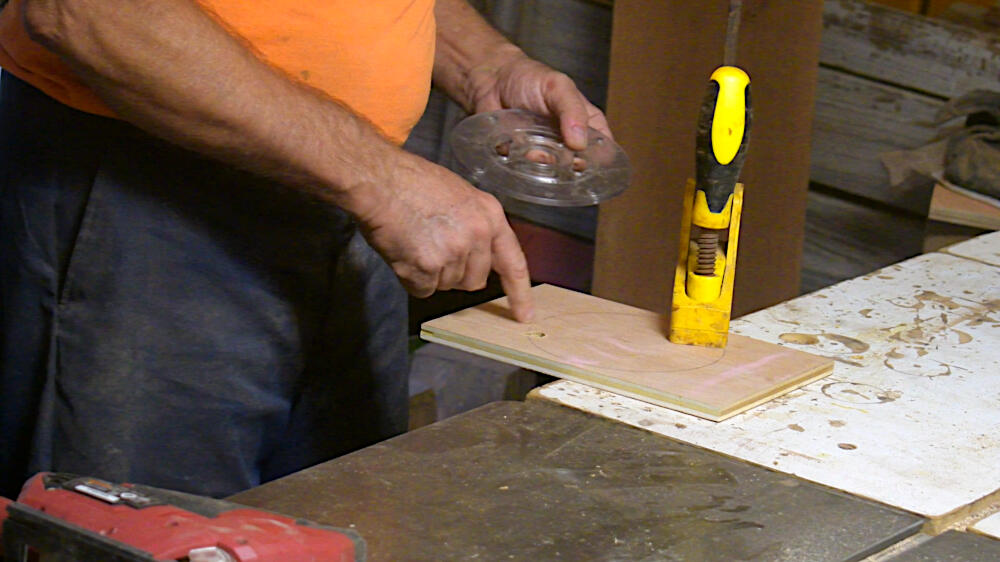
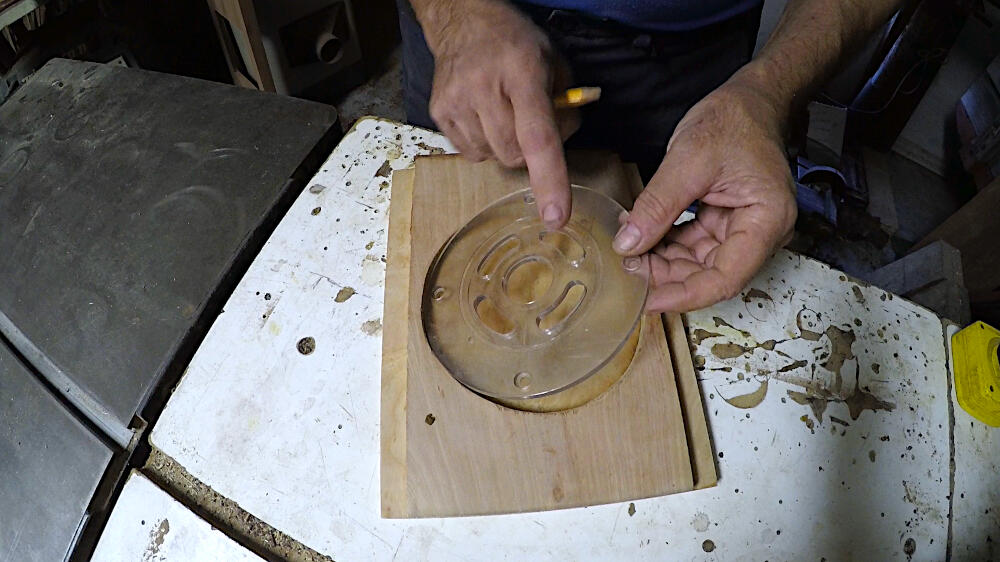
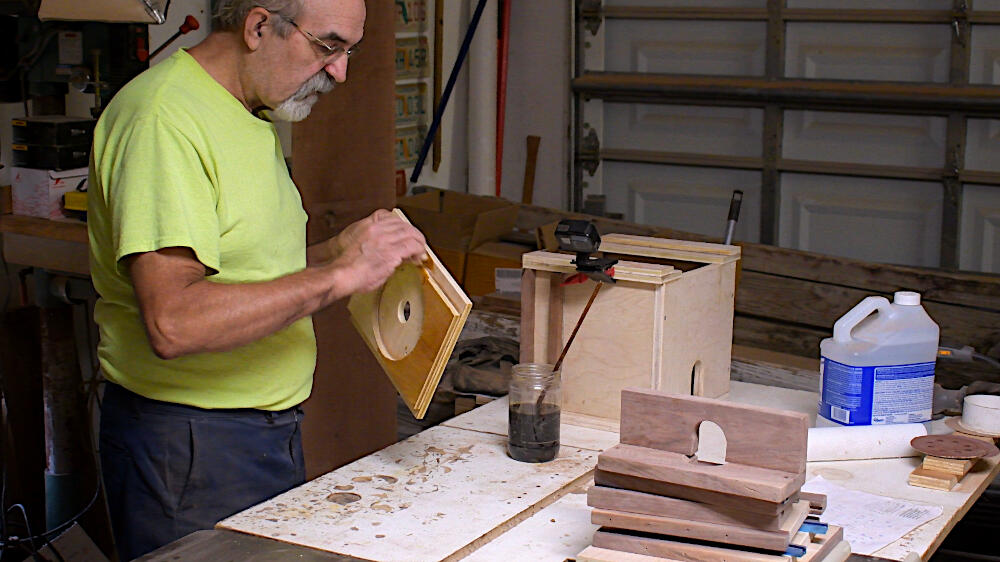
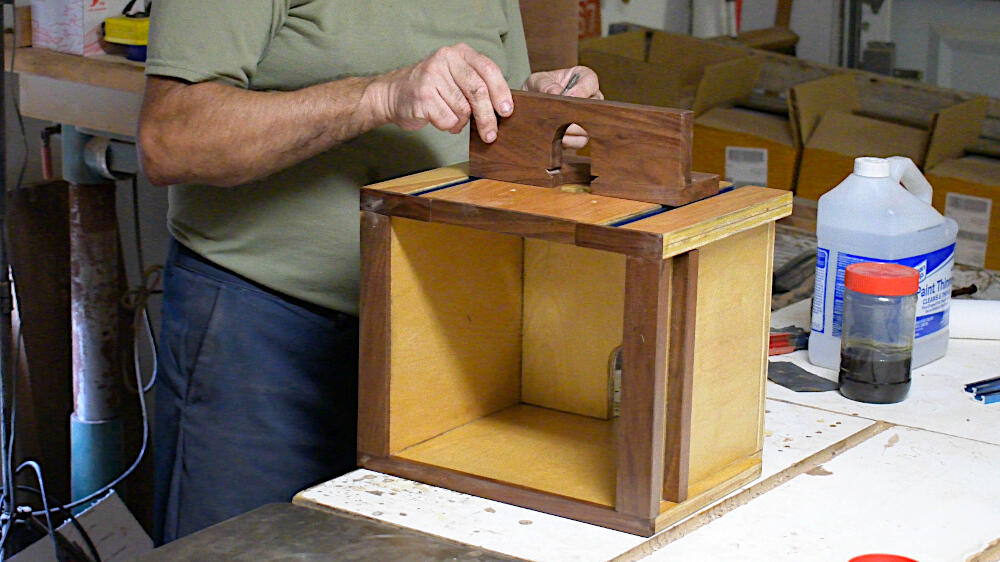
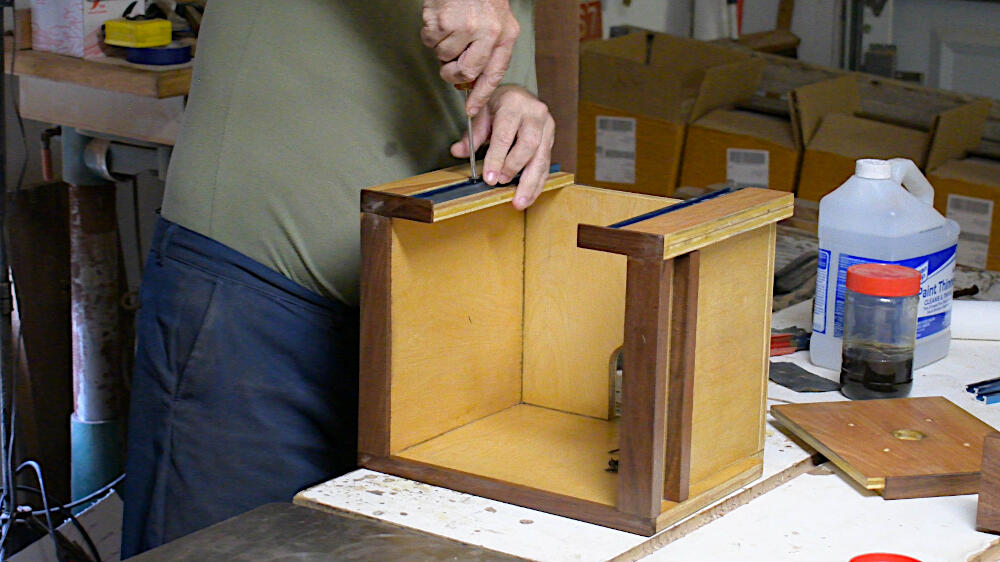
Then follows sawing a hole in the bottom router hinge plate for the router plate and adding T-tracks to the top of the box.
The fence parts also get a dado to accommodate more T-tracks and some of the fence is glued up.
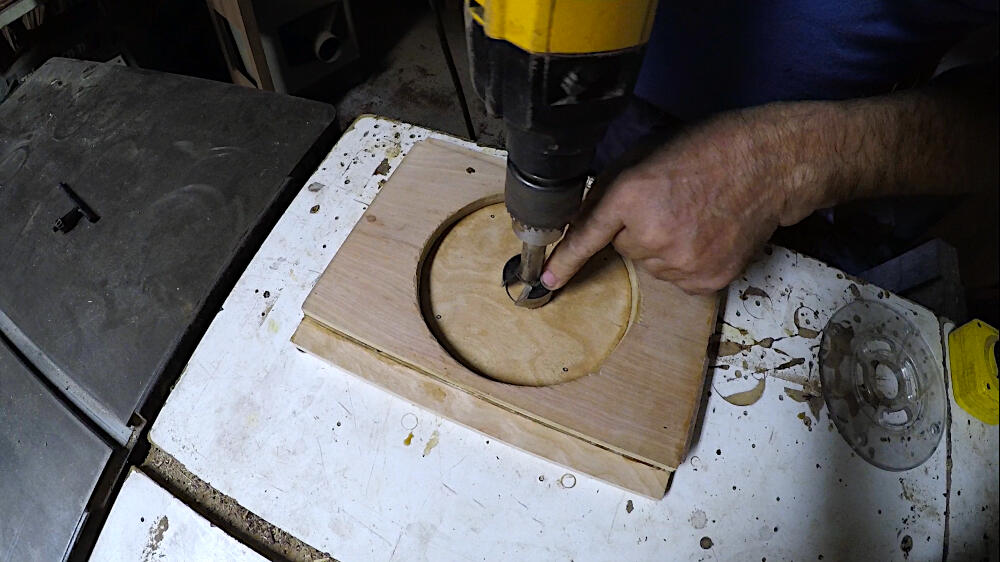
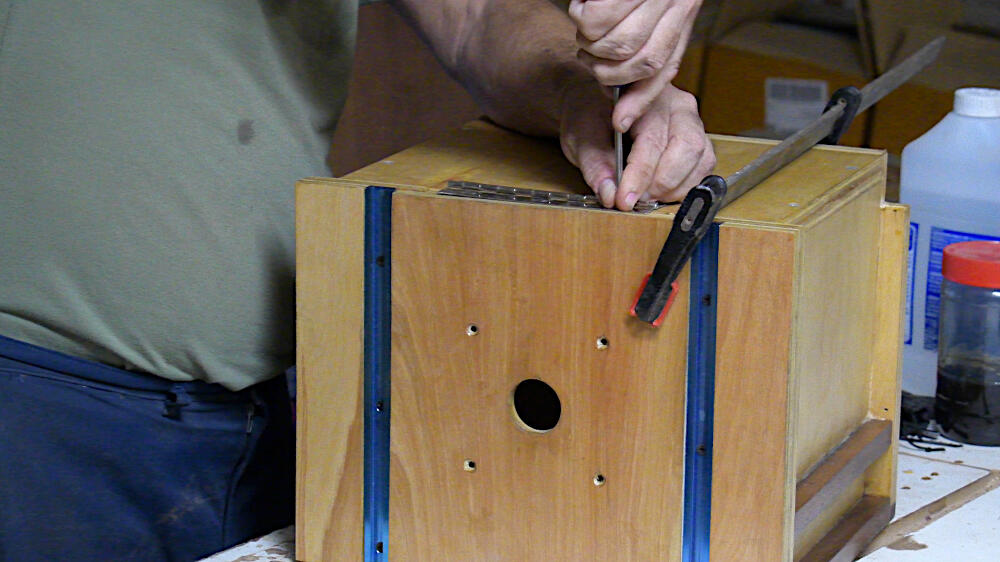
Now the router bit hole is drilled with a Forstner bit, followed by screw holes to attach the router.
After all the parts are ready, they will receive 3-4 coats of thinned Poly-Urethane; that will keep me busy for the next three days.
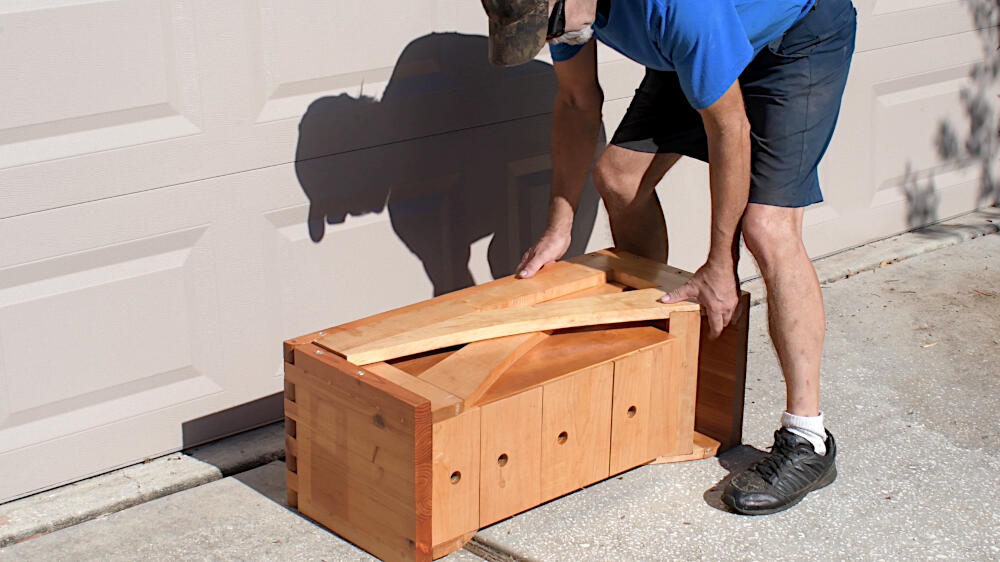
Then T-tracks are added to the top and the hinged, top router plate is installed. This is followed by hinges for the wings and wing supports. Only the fence still needs assembly.
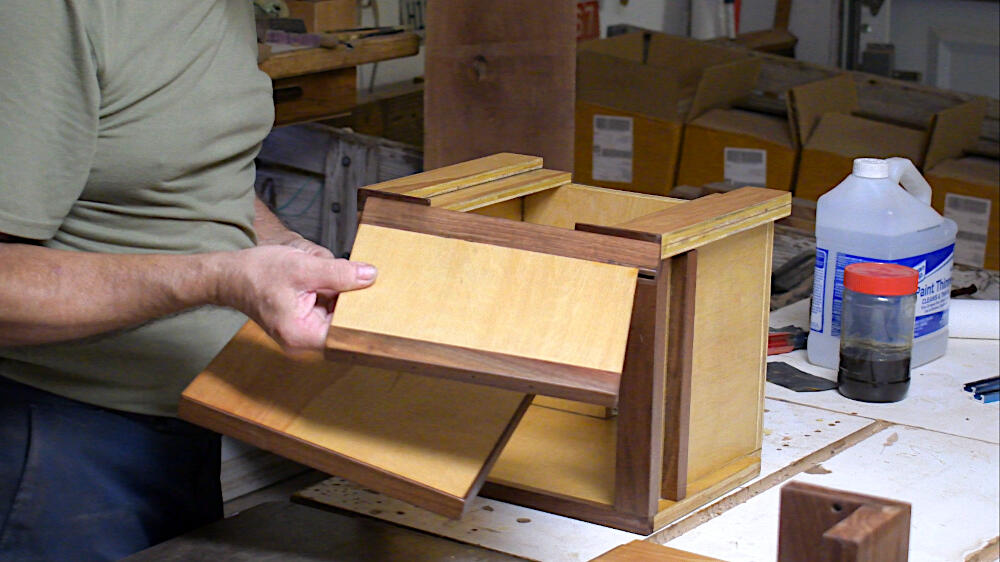
The previously built, folding woodworking table easily supports the new router table, which is attached to the surface with one or two small clamps, while the table is stored under the kitchen counter.
TOOLS & MATERIALS*
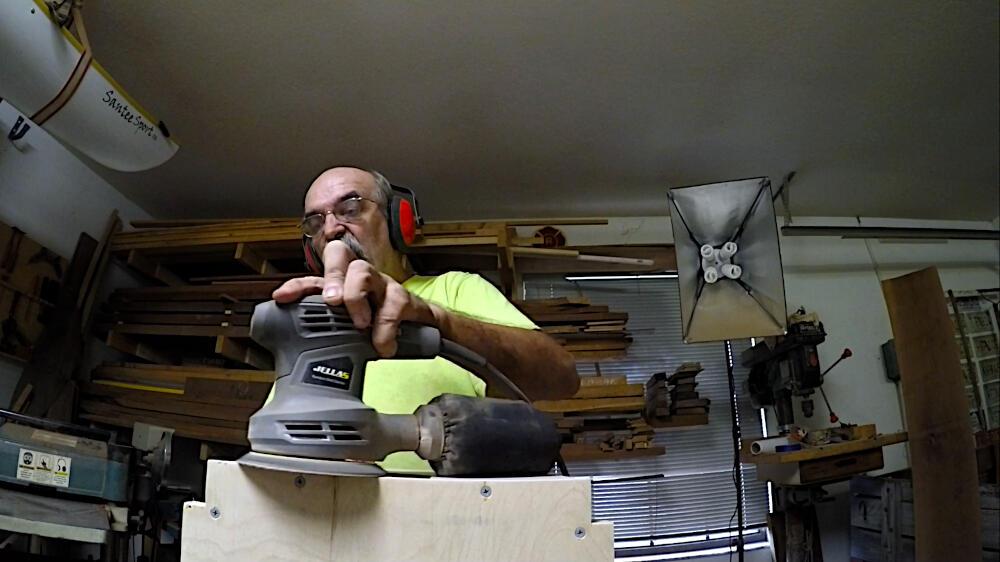
Jellas Orbit Sander
Countersink
T-Track
T-Track Knobs
Hinges
Forstner Bits
Poly-Urethane
Belt Sander
Woodworking Clamps
Woodworking Glue
Hacksaw
File
Jig Saw
Drill
1/2″ and 3/4″ Plywood
Walnut
*Some of the links above and in the video, are affiliate links, meaning at no additional cost to you, I will earn a small commission if you click through and make a purchase.