
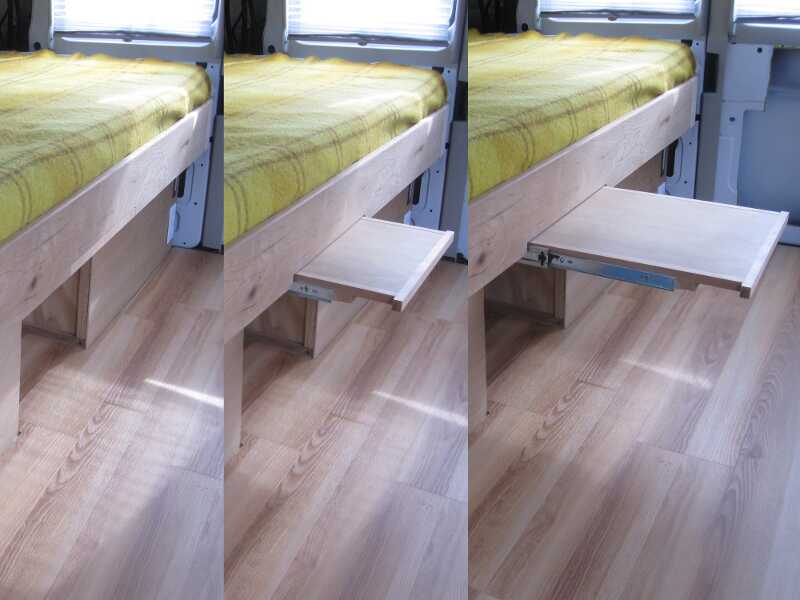
Space is at a premium, so I decided to install a hidden shelf under the bed. I’ll use it to serve lunch or watch a video on my laptop at night.
The toilet compartment under the bed is permanently closed at the top and is an ideal location. I need about 1½” in height or 2″ to be safe. This depends on the height of the slider.
The surface
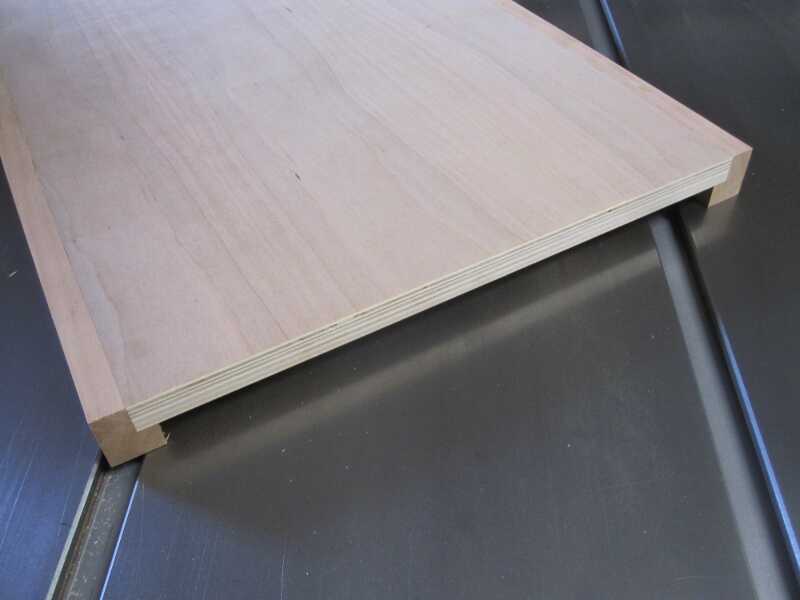
I decided to make the whole shelf out of one piece of cherry plywood, within a cherry frame.
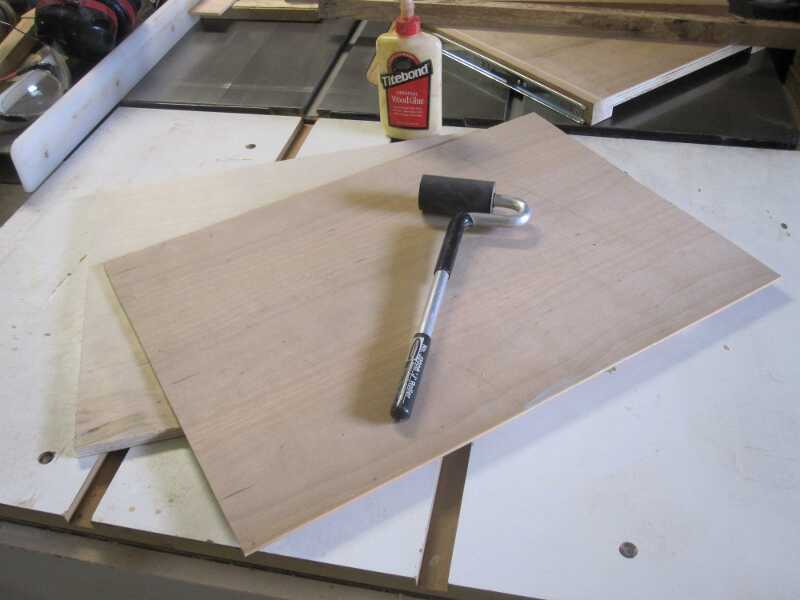 I chose cherry ply to keep it in sync with all the other cherry that I used for the bed. I have only ¼” in stock, so I’ll first add it to some ordinary ½” plywood.
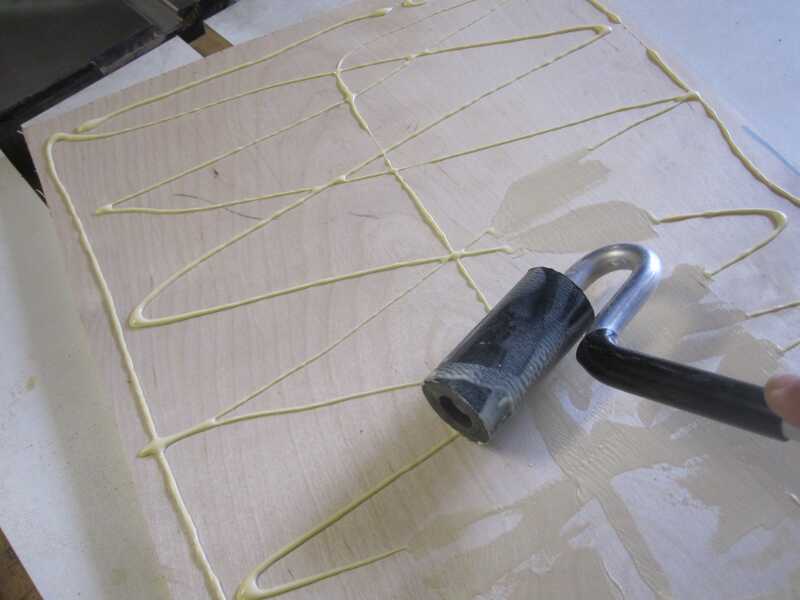 First I applied Titebond II wood glue, which has some water resistance, to both surfaces. Because of the limited time to apply it, I used a rubber roller to spread the glue.
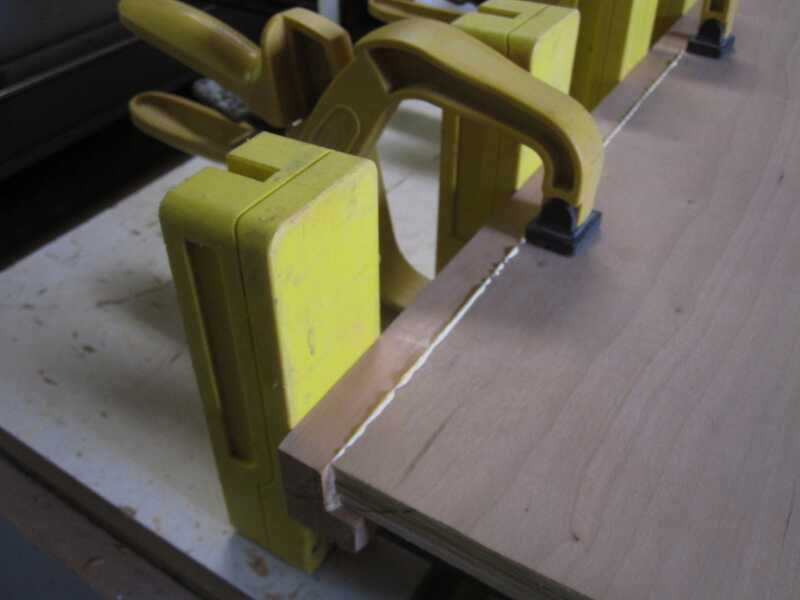
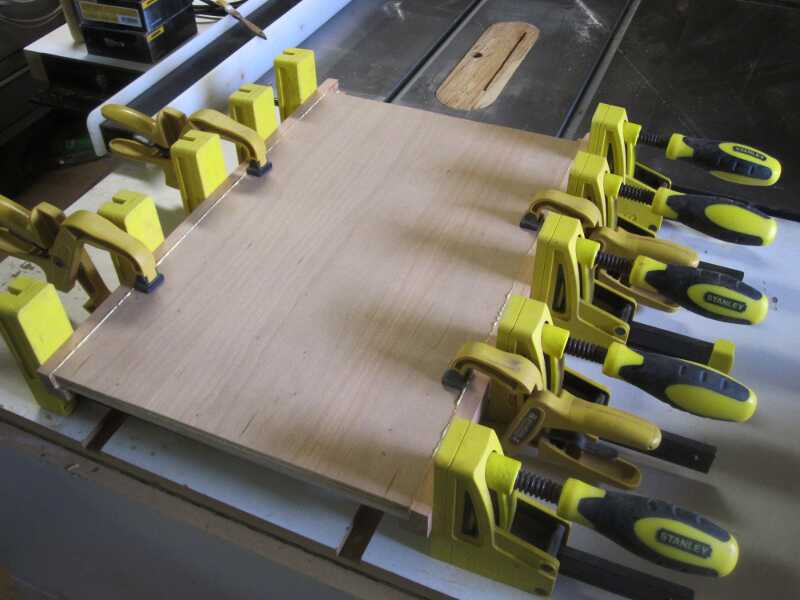
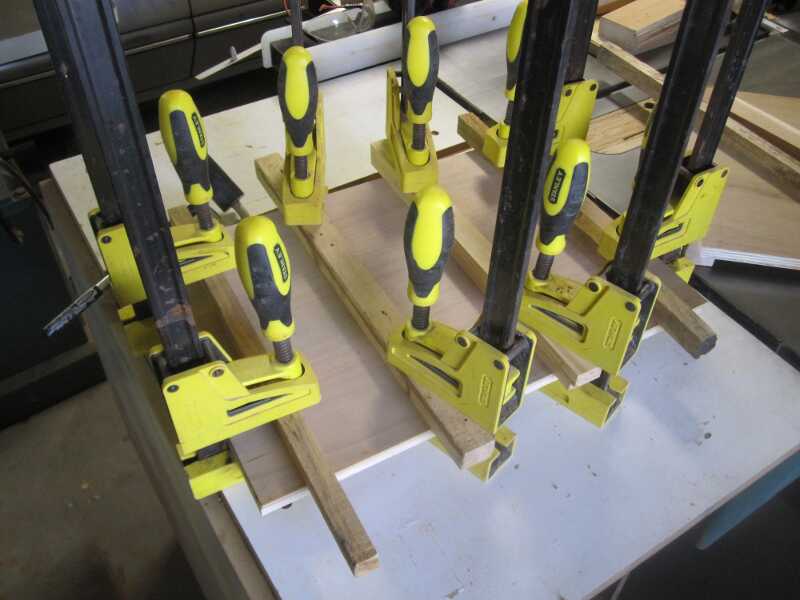 A bunch of clamps hold it all together. I can probably continue to work on it after 30-60 minutes, but I’ll wait till tomorrow, just to make sure it has dried.
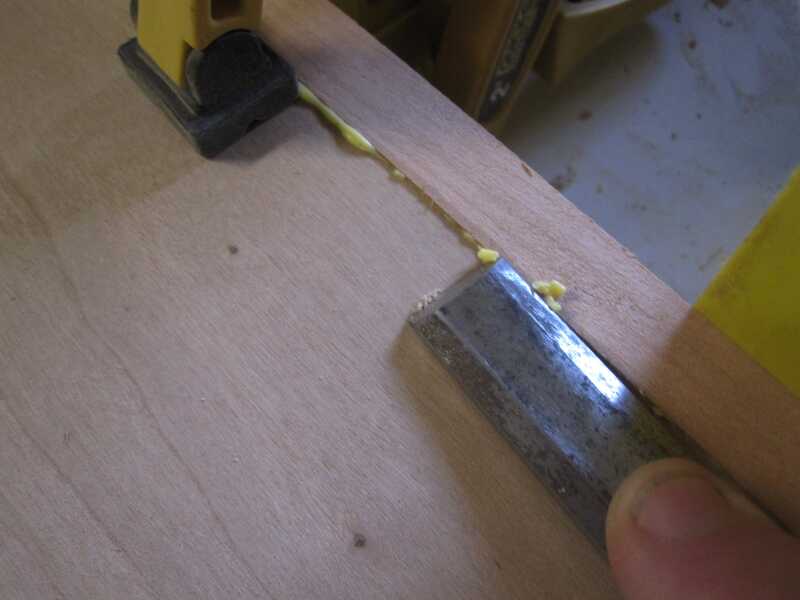
 There is a small amount of squeeze-out, which indicates a good glue fit.
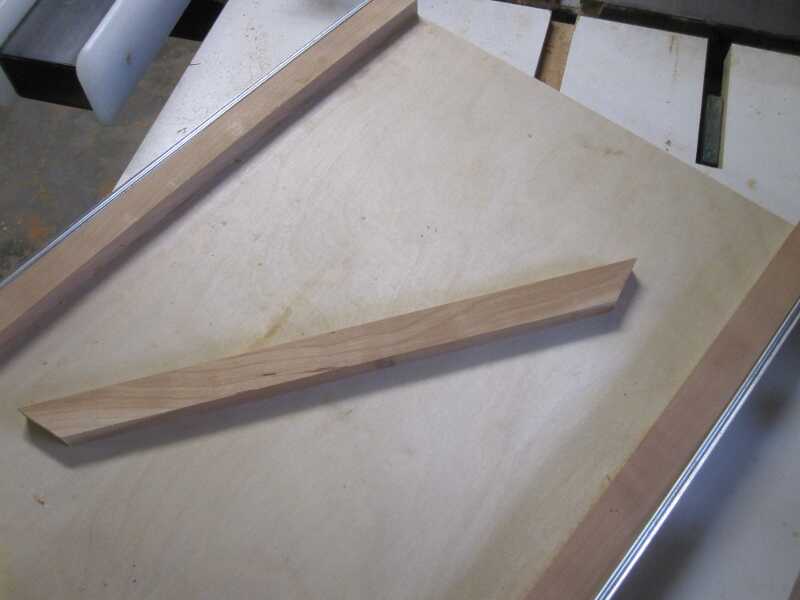
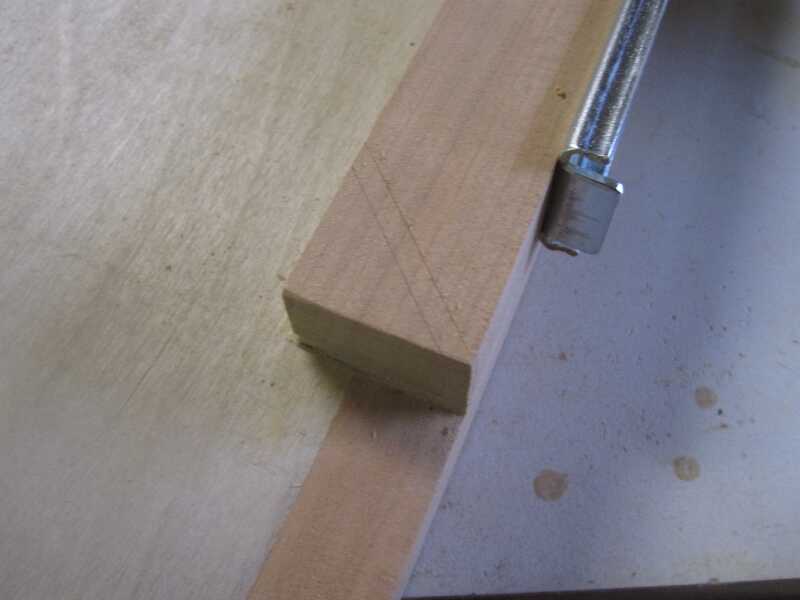
 Now I can proceed with the frame. I’ll use some 2″ cherry for that. Now I wonder, what kind of connection I’ll create; just glue it together or use a more elaborate mortise & tenon or dovetail?
The frame
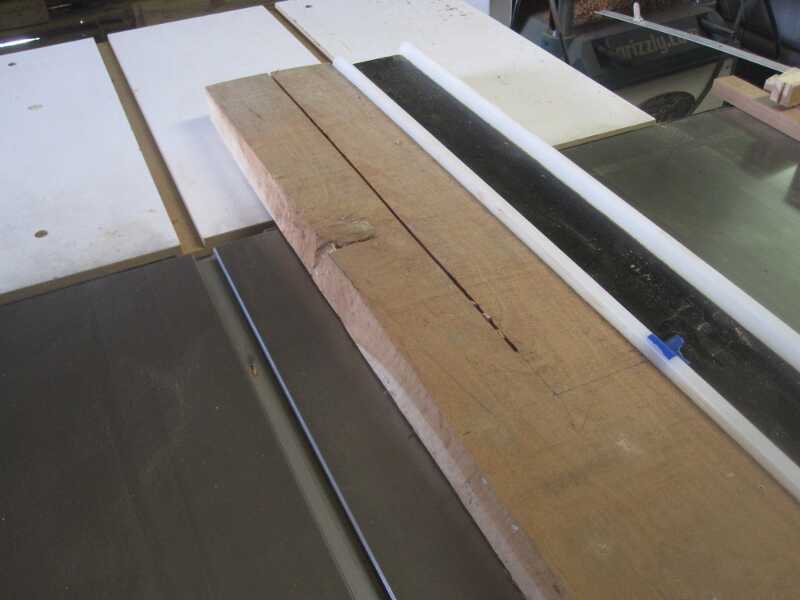 I start with a 2″ thick board that I cut down to the approximate size of the wood that is needed for the two side pieces.
 The lumber is set aside for a minimum of 24 hours. This gives it the opportunity to release all the stress that is in the wood when it’s cut. Then I move on to the jointer.
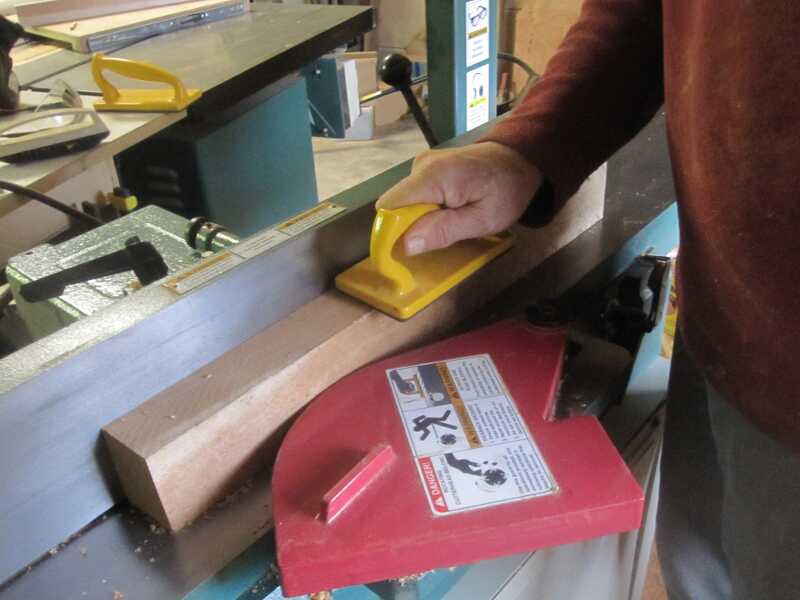 First, I flatten the side, that has the least amount of warp in it, followed by an adjoining side. This way I end up with two flat surfaces that are perpendicular to each other.

 At this point I could use the table saw, but I decide to enlist the bandsaw, to bring the thickness down close to its intended size. Here again you have the option to wait another 24 hours.
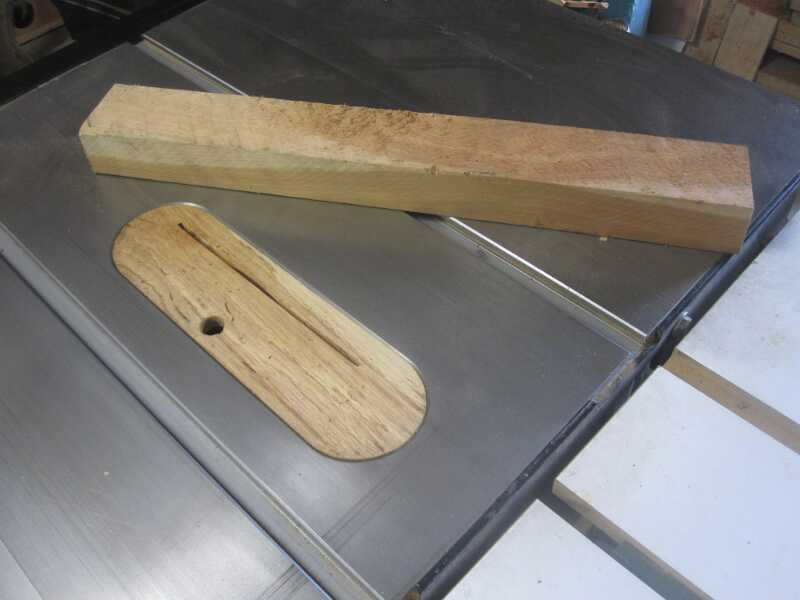
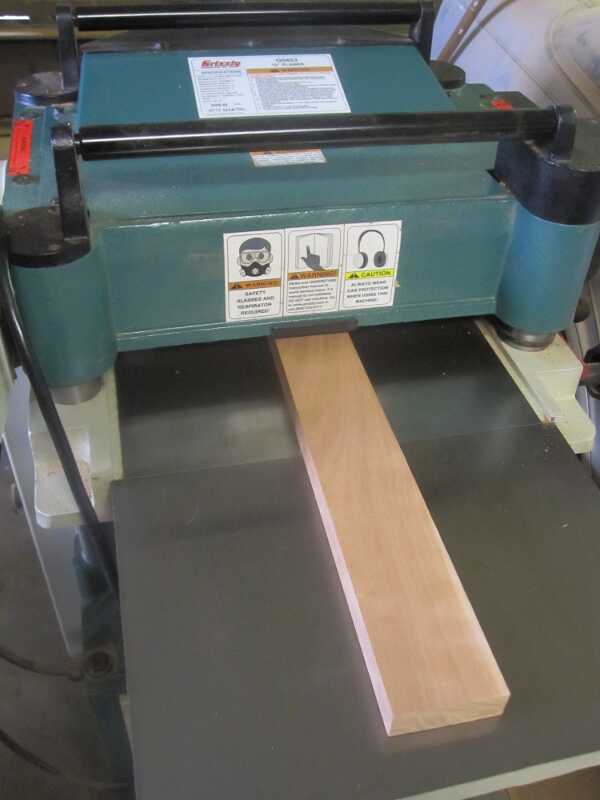 Now I’ll plane the piece down to the exact thickness required in the project.
 What remains is sawing the board into 2 pieces on the table saw. The height of the blade is set to extend just a little above the wood and the fence is adjusted to the width of the cut.
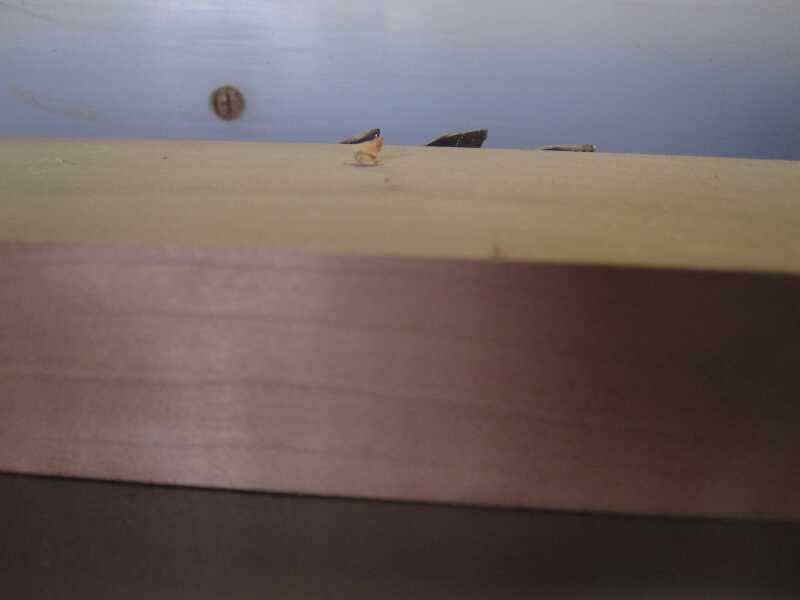
 Finally, the remaining cut is made. If you have a good saw and a sharp blade, you may not even have to finish the wood any further.

Dimensioning lumber is a lot of work, but satisfying none the less. Routing is next.
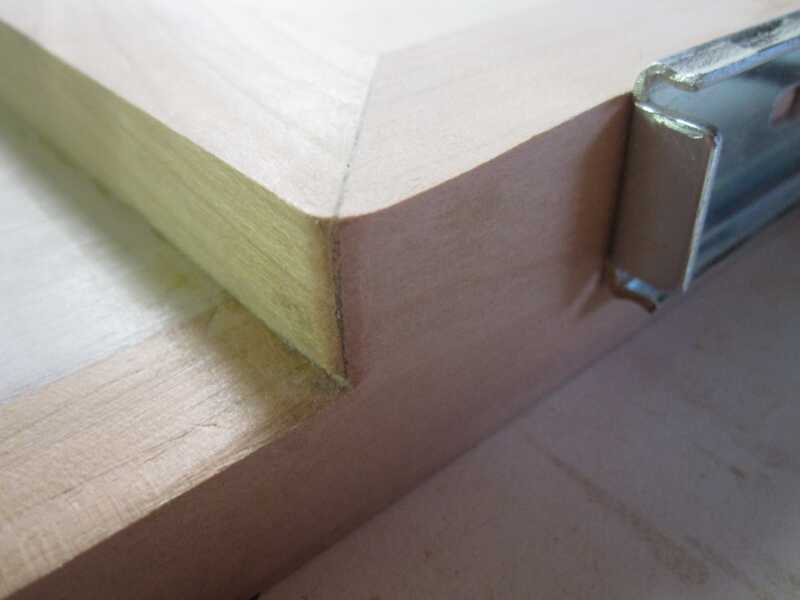
Routing a rabbet
A rabbet in the frame will hold the panel. I use ½” guided rabbeting bit.
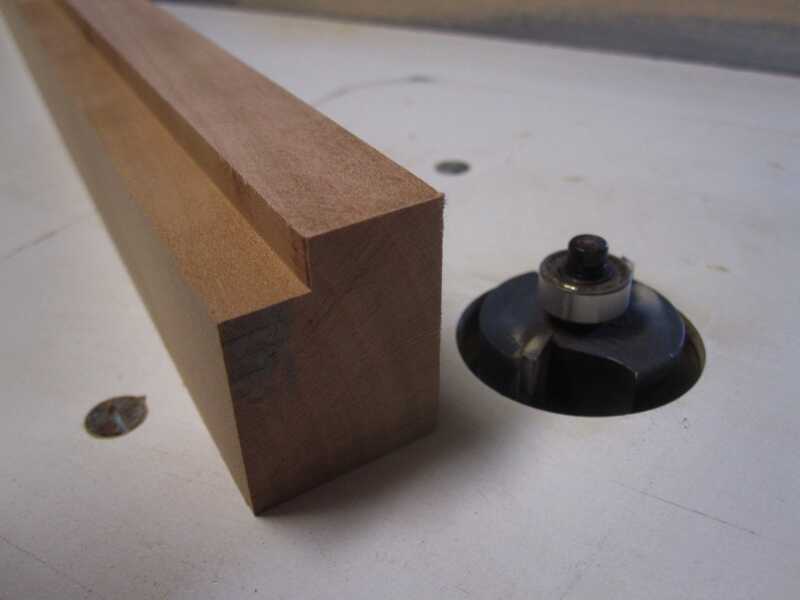
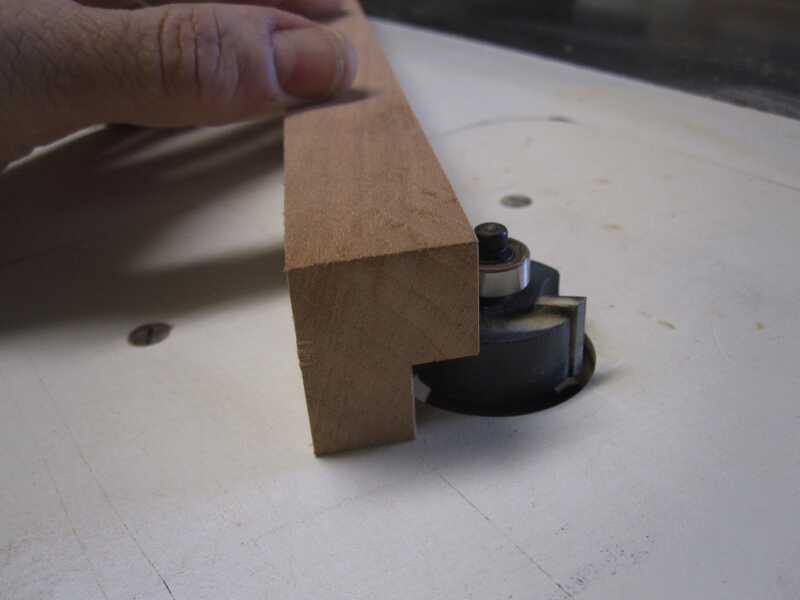
The rabbet is 3/8″ wide and I take 2-3 steps to get close to the required depth.
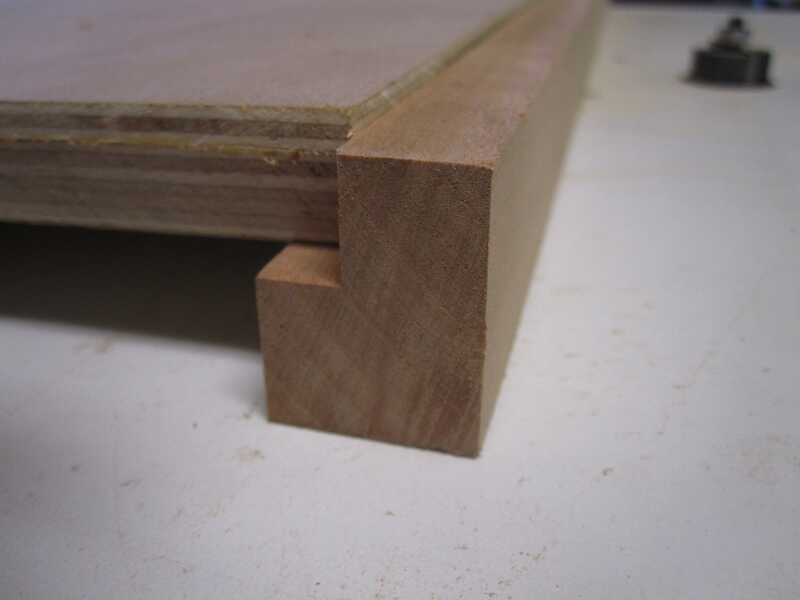
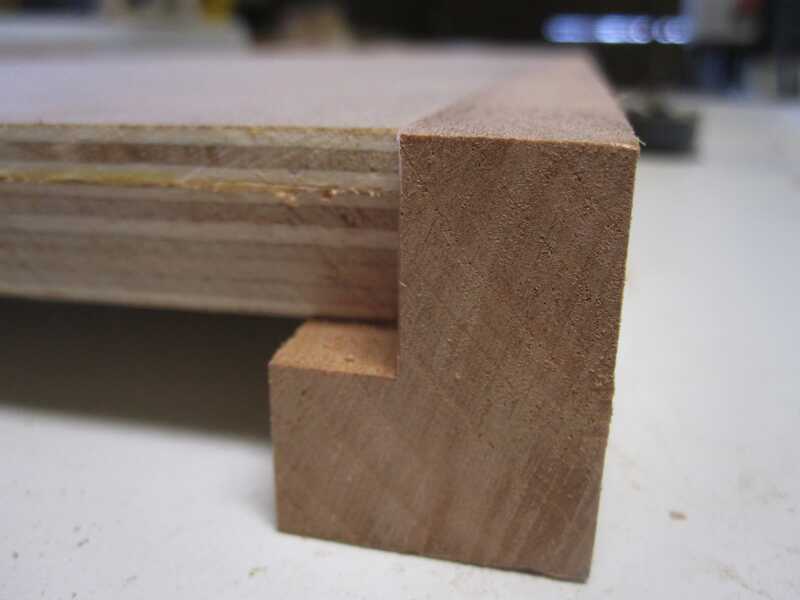
I ease in until I’m satisfied with the result.
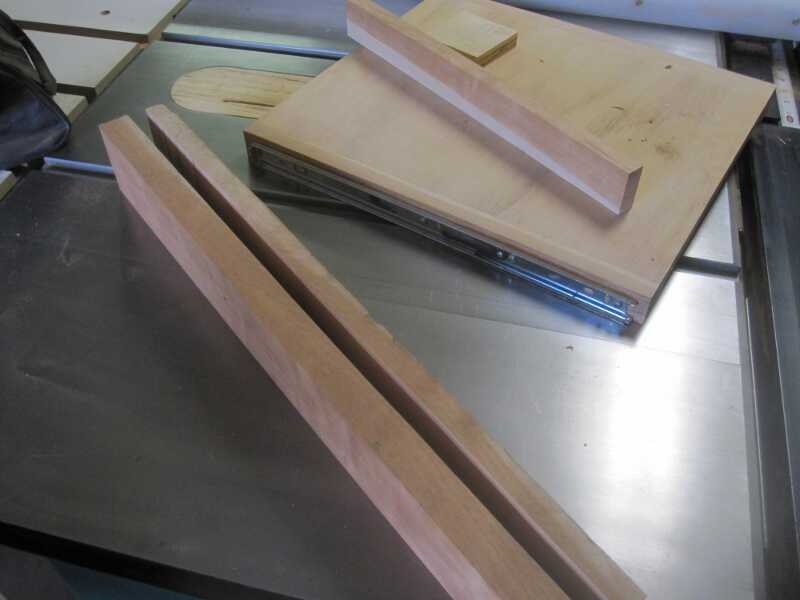
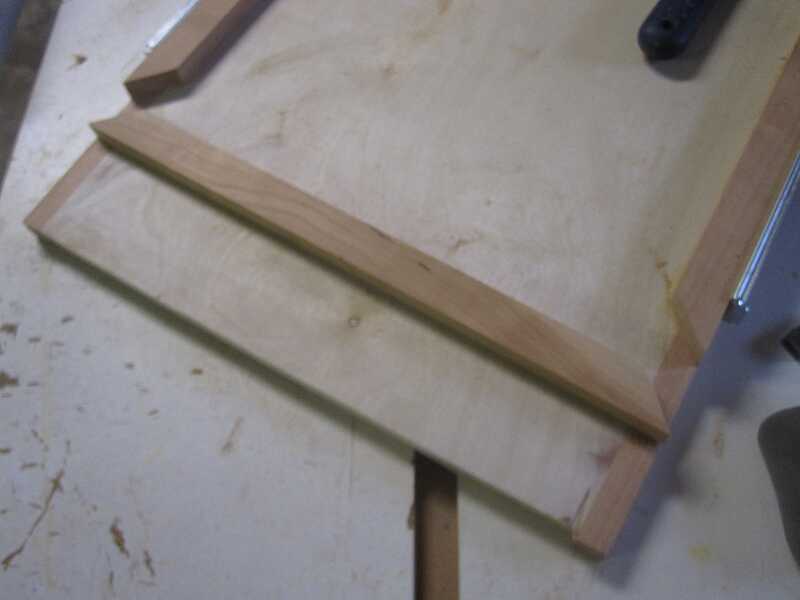
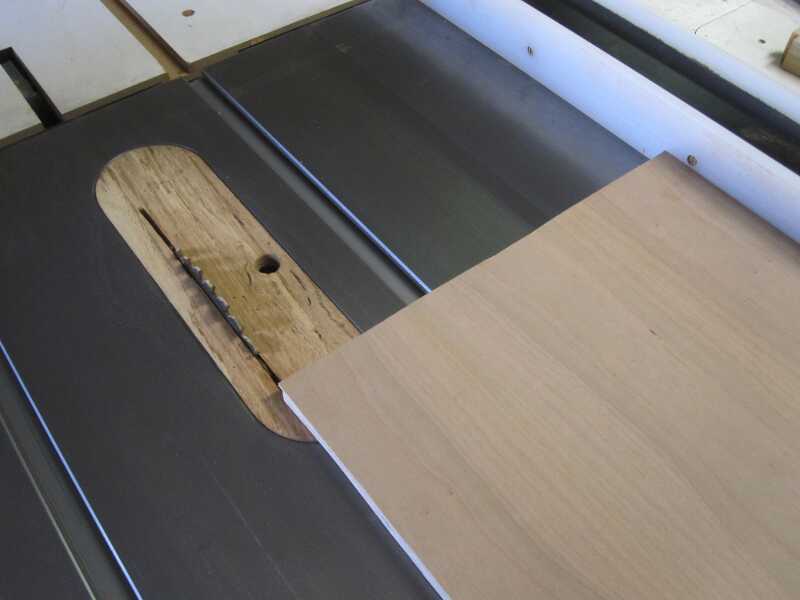 Now that the rabbets are finished, the cherry hardwood panel is cut to its final width,
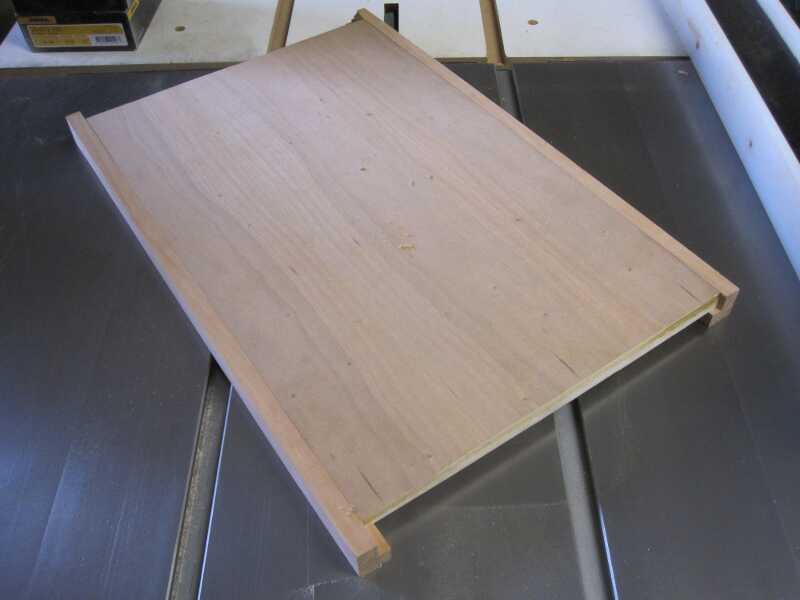
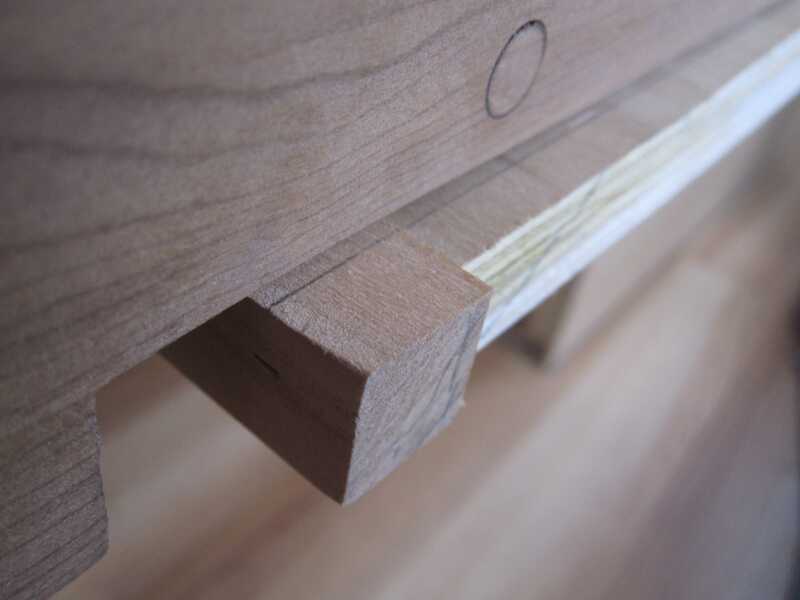
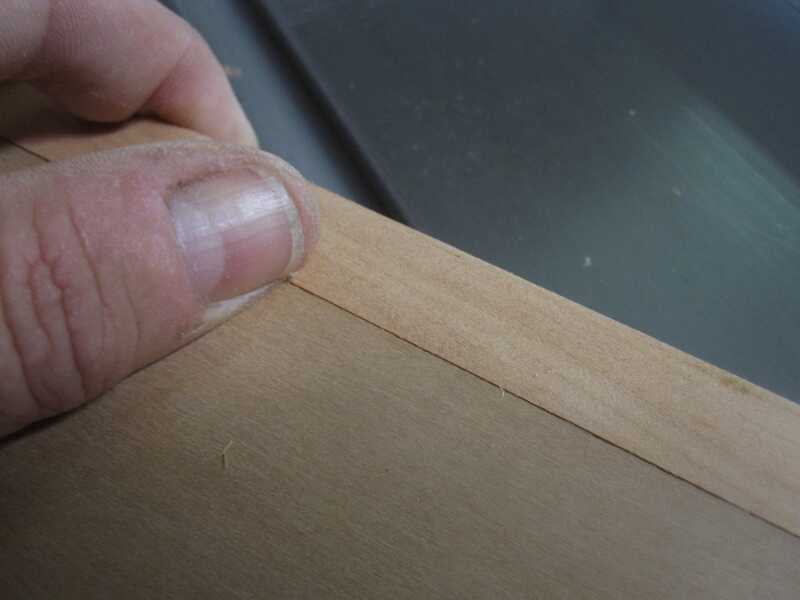 The dry fit shows the frame just proud of the surface of the panel. It is a personal preference of mine; it leaves me some room to adjust by sanding it down.
Time to glue and clamp everything together.
After about 30 minutes I remove the squeezed-out glue to prevent staining of the wood.

Another hour or so later, I cut off the rear end of the shelf with my panel jig.
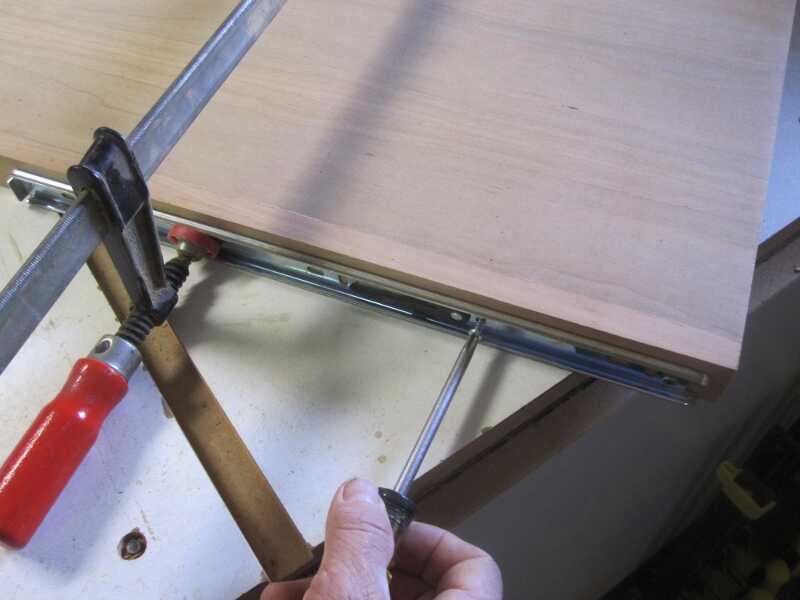
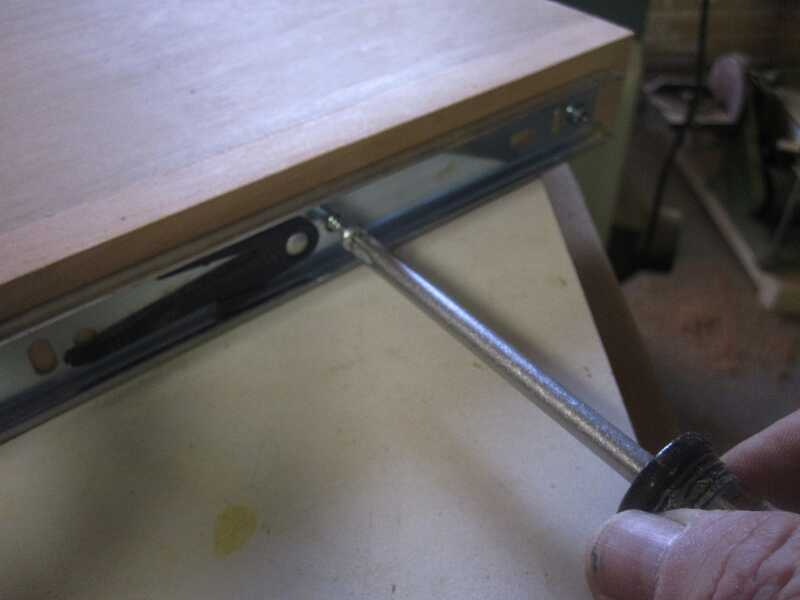
And screw in the extension sliders on both sides.
Now I will move from the workshop to the van. I have to install the shelf and take measurements for the front and bottom, where I have to incorporate it into the bed railing.

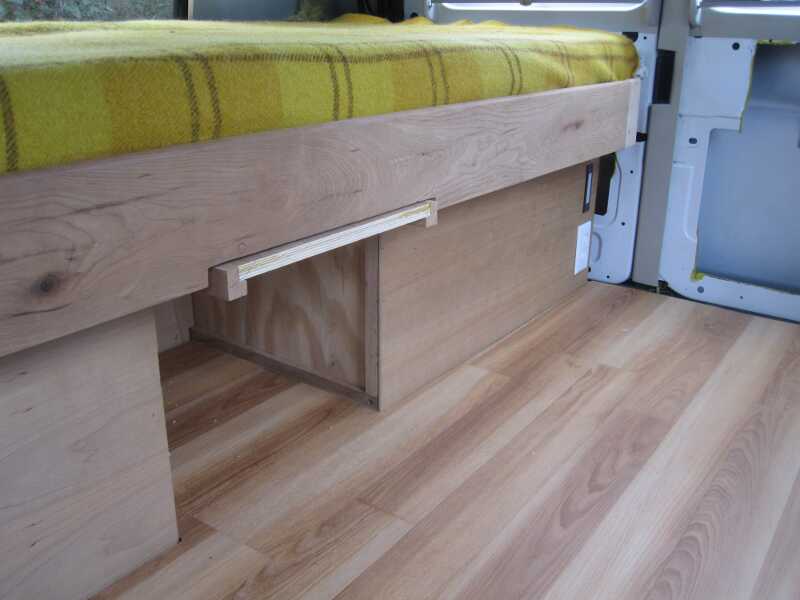 Two issues remain: the front of the shelf needs to be shortened and finished with cherry and secondly the bottom front has to be incorporated into the bed.
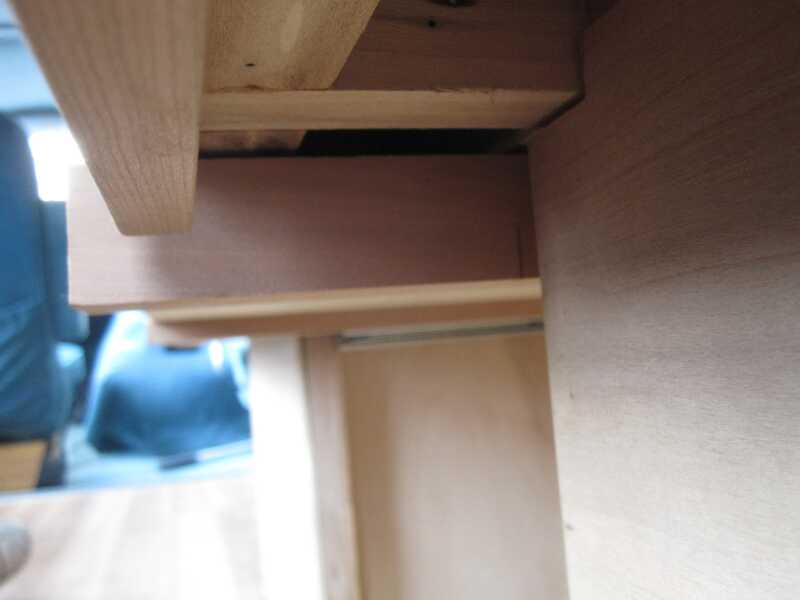
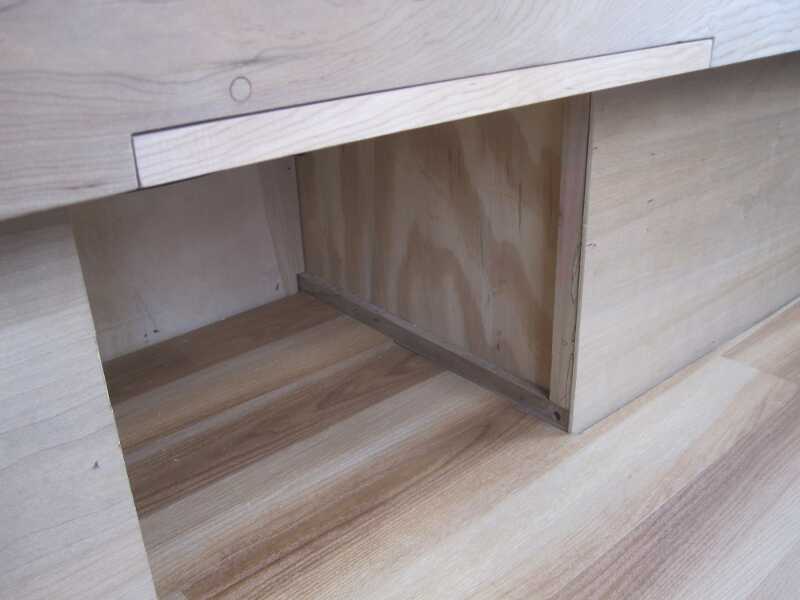
 When closed, part of the shelf side frame is visible below the bed railing. That is removed in the workshop.
At the same time, I’m adding a front frame rail to the bottom of the shelf. Not that anybody will see it, but I know it’s there! I mitered the corners and glued it to the panel bottom.
 Back to the van to scribe the exact location of the front of the shelf. That, minus the width of the cherry finish rail, will be where I’ll cut the panel to length.

 In the workshop I make a final cut with the help of my panel jig, and glue up the front frame rail.
 The end result is a fairly well hidden shelf that can be used, to serve a lunch, watch TV on my laptop at night or just put my glasses on when I go to sleep.
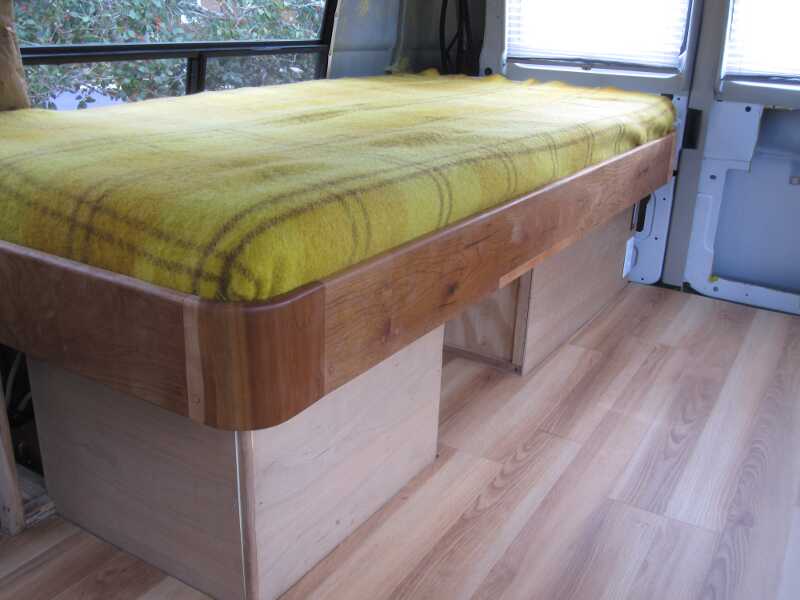 To help me visualize to final finish of the cherry bed, I wiped on some thinner, that will evaporate in short time, without leaving much residue. It’s wetness simulates the final finish of the wood and accentuates the texture of the wood. What do you think of the pattern in the bed railing?

Love your ideas!
Just out of curiosity, if the table slid out from under the bed, but was twice as long as the length you pull out as your table, does it need to be on rails?
In order to make it more clear, if I have a 2m bed installed, and a 2m table under that bed, that slides out 1m from the end of the bed to make a 1m long dining table, if it is enclosed in a tight box lined with felt or something then the weight you put on the dining table would be compensated by the remaining 1m that is still under the bed right?
Thanks!
As you describe it, it would function as a type of cantilever. However the thickness and type of material would also relate to the rigidity of the table.
I’m not an expert at this and I would have to see the details of such a design, but if its use is in a conversion van, where weight restraints are always a concern, I would try to avoid the unused ‘hidden part’ of that table surface.
Perhaps, the functionality of a draw leaf table may give you some inspiration; it can perform like you describe, without rails or even felt and minimizes weight at the same time.

Let me know about the solution you choose and good luck!
Van Williams