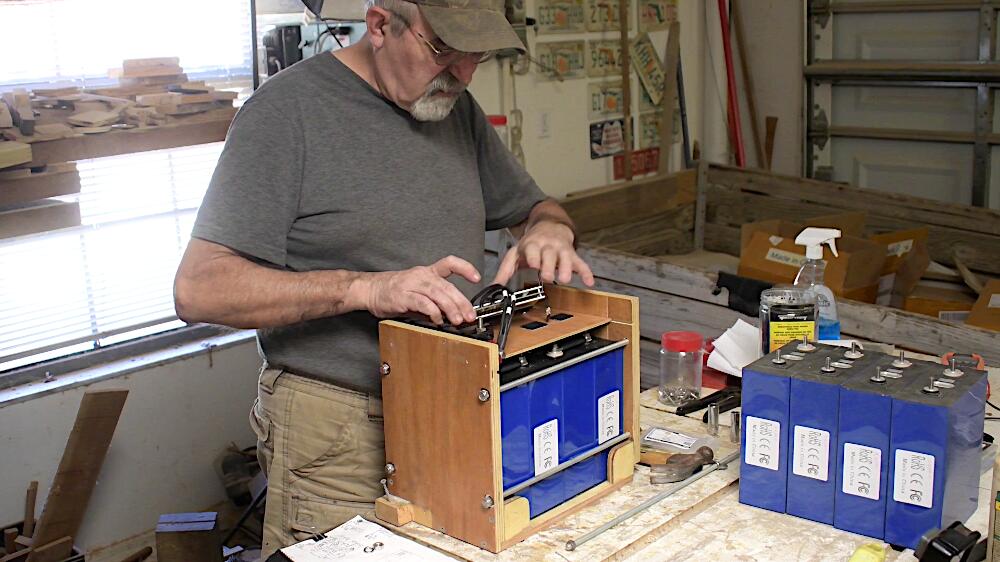
I continue with the assembly of the two LiFePo4 Lithium batteries by adding all the components, that connect and control the different parts of this setup.
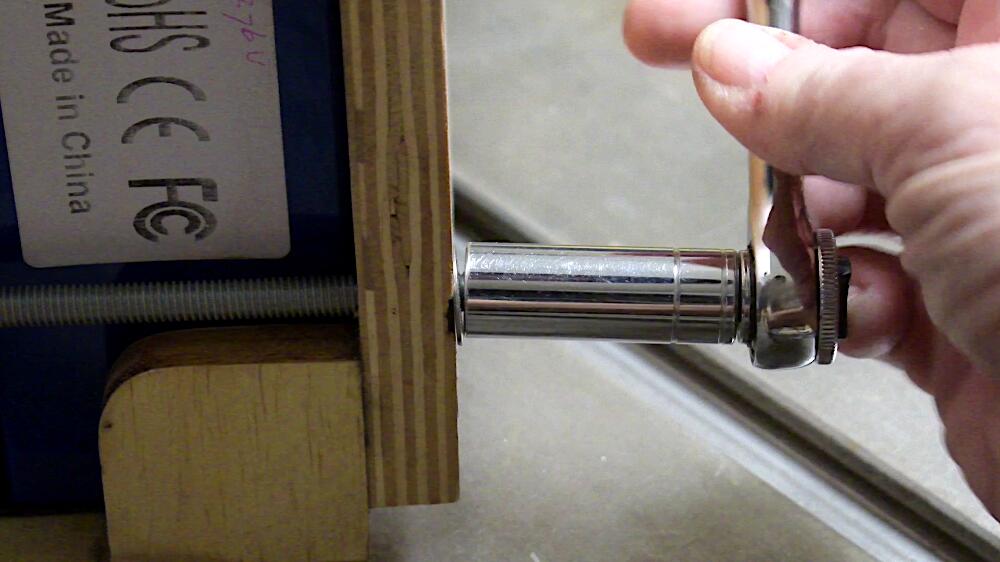
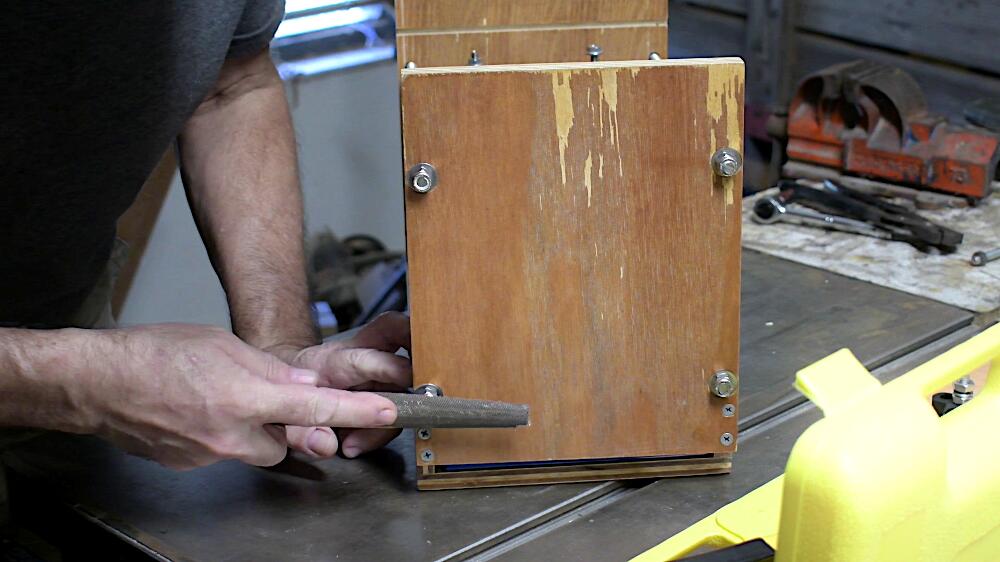
The assembly so far, indicates a slightly taller battery than expected; that forces me to enlarge the storage area access first.
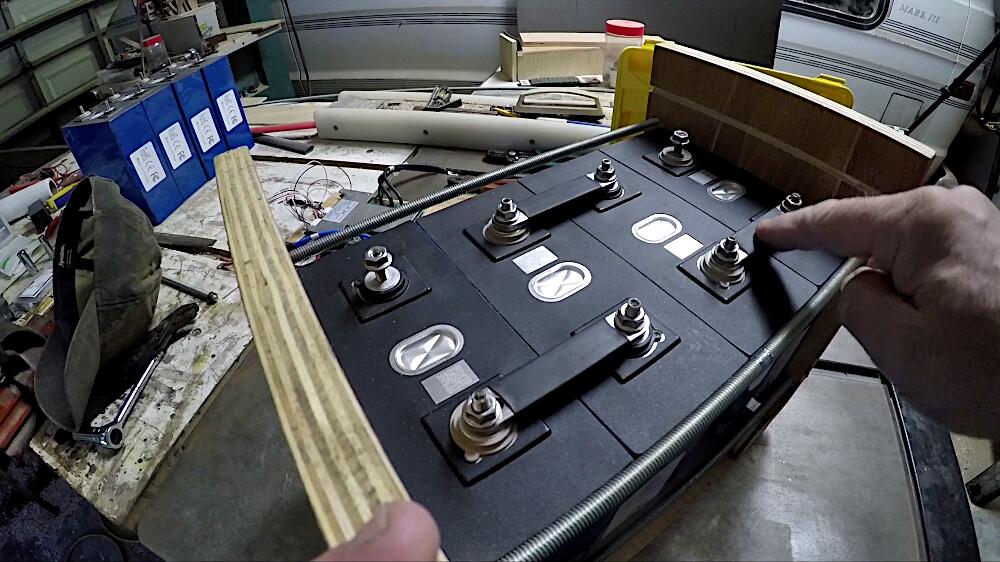
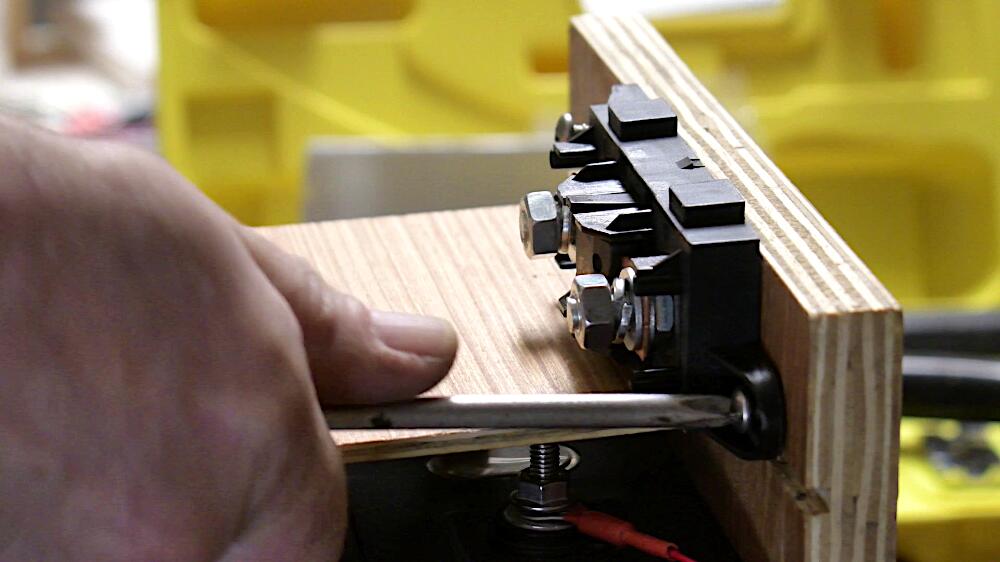
Now that I know that the battery boxes do their job as expected, I will add four threaded rods to hold pressure on the sides of the battery cells, which will avoid undesired bulging of the cells when charging. A washer and nylon lock nut at each end will lock everything in place.
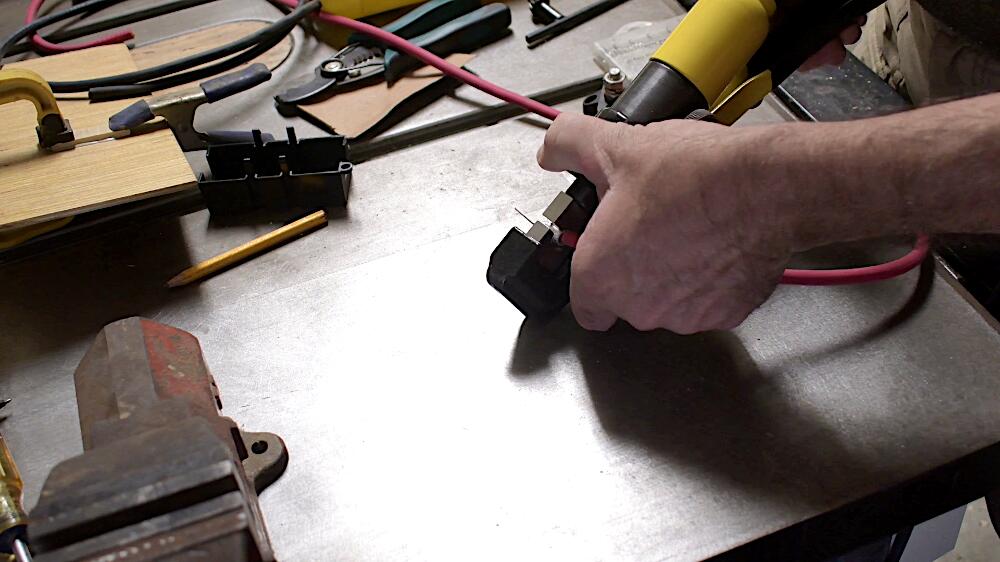
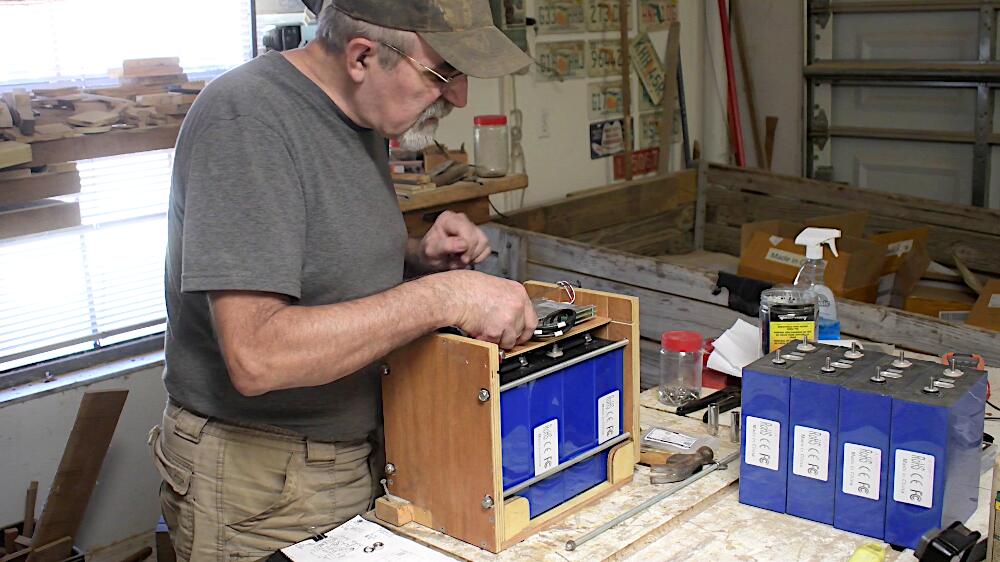
Meanwhile the five leads of each BMS are getting a ring terminal. The 22 AWG 1/4″ ring terminals are still somewhat too big for these leads; my solution is to fold the stripped wire end twice or three times and use a good crimper, to connect them securely.
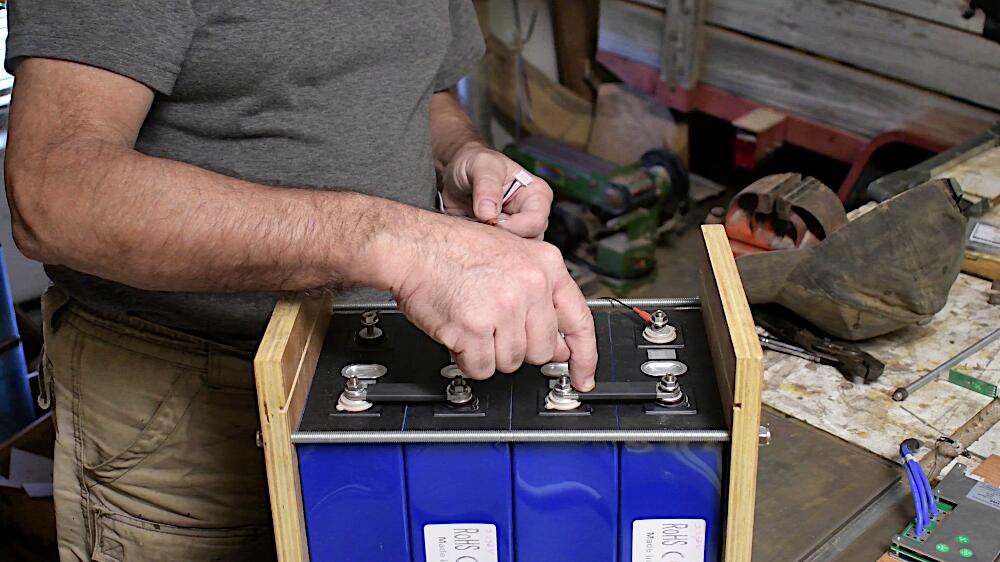
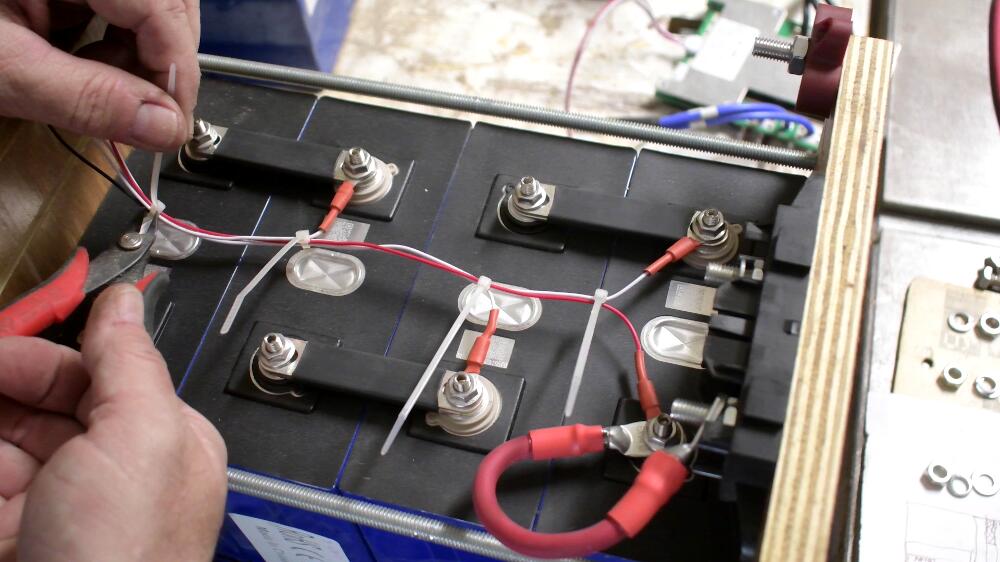
Each set of leads consists of five wires, one black, three white and a red wire. The black one goes one the first negative stud, each consecutive white wire goes to each following positive stud and the red wire to the last positive. To clean up the wiring, I use small zip ties, to keep it together.
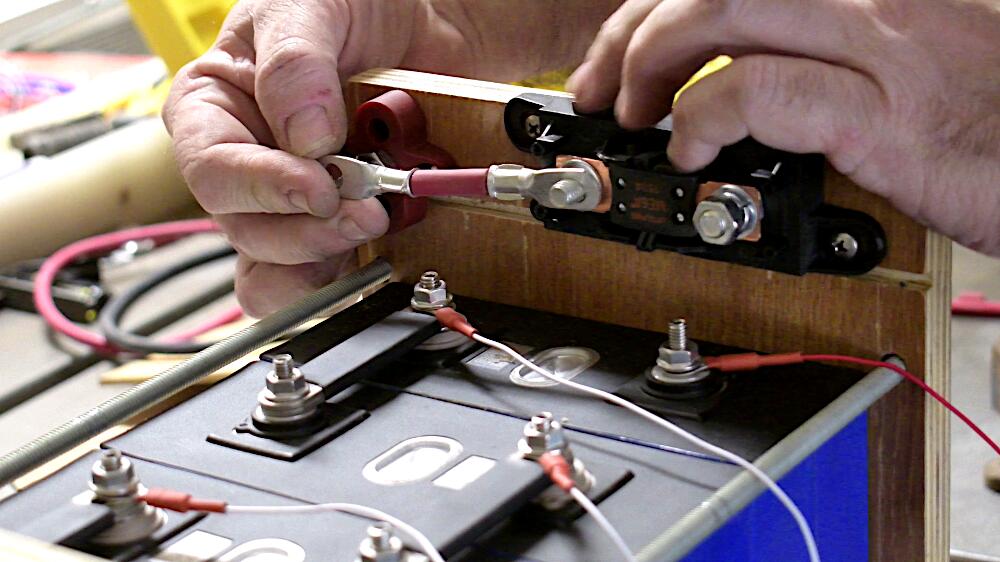
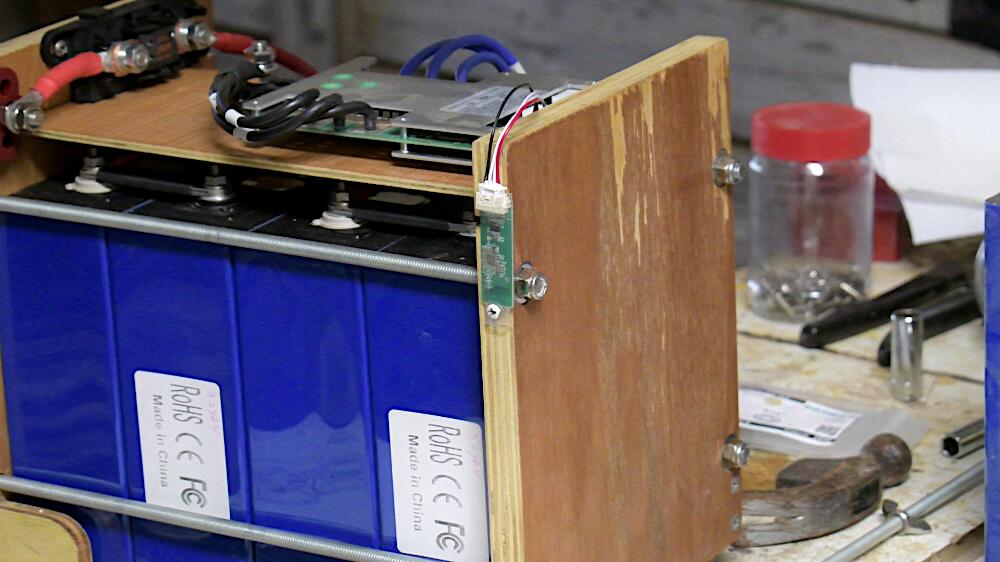
The fuse box and the positive battery terminal are next. Both are attached to the panel’s top side. These two and the last positive cell are interconnected with a 6 AWG welding wire; each with a copper lug (in my case, one 1/4″ and the others 5/16″ opening). I use a cheap hydraulic crimper to make good, solid connections.
A 150A automotive fuse is used, but a better options probably would be a Class T fuse, which is faster acting. The heat shrink is of the type that shrinks 3 times its diameter and has a glue-facing interior.
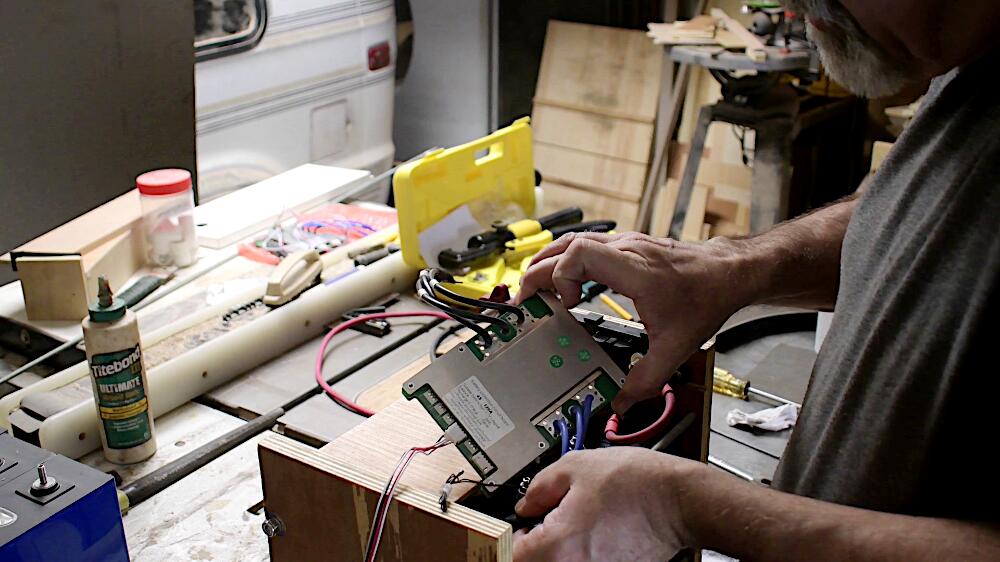
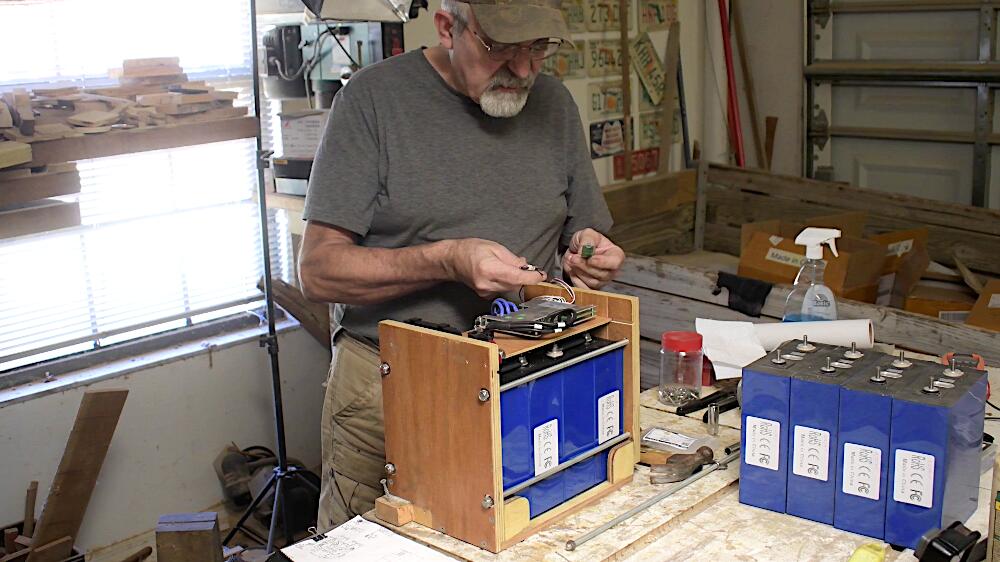
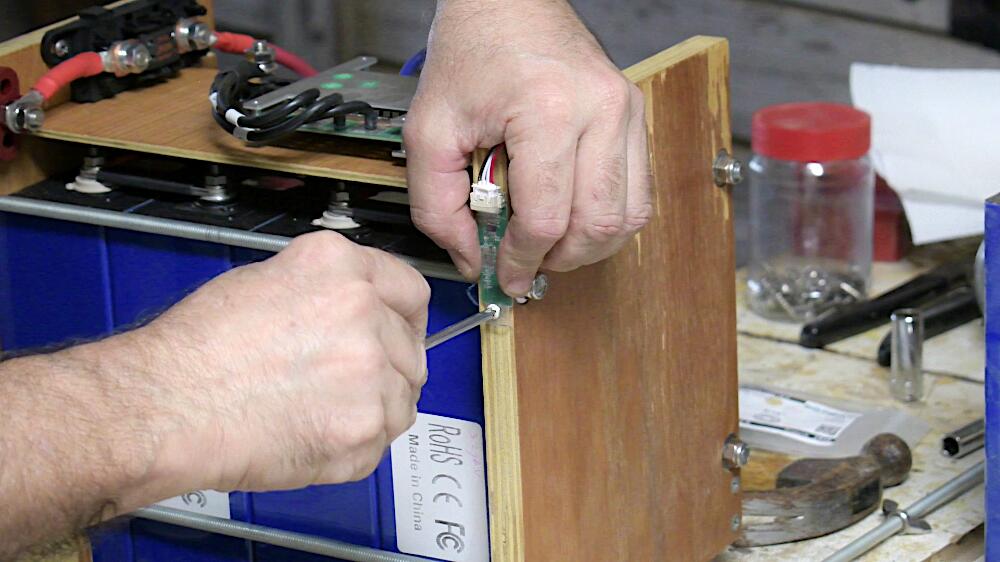
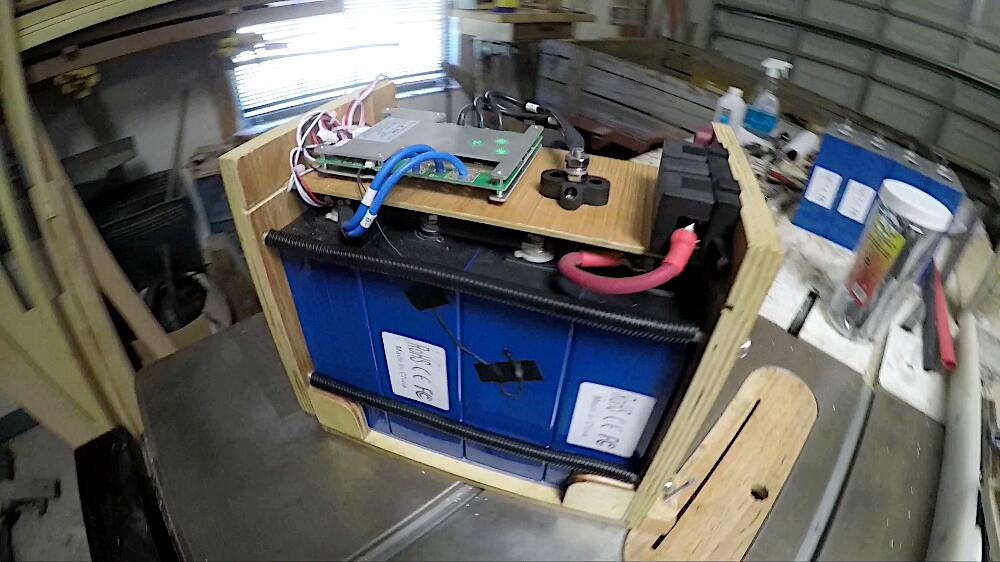
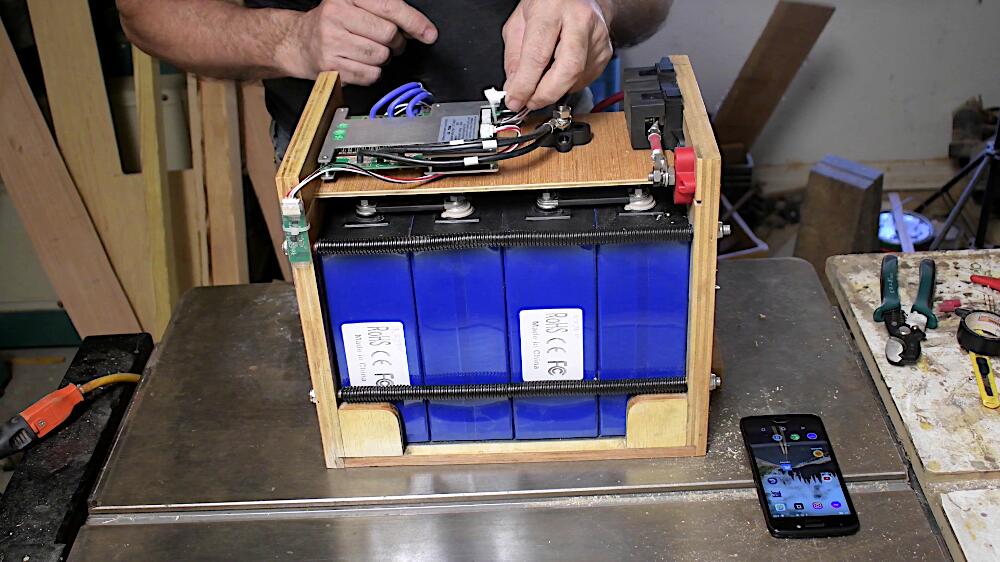
I make sure, the plug form the five BMS leads is disconnected from the BMS and then I can work on the final connections. The three 10 AWG blue wires of the BMS are inserted in one 6 AWG lug and connected to the negative stud of the first cell. The separating, top panel is inserted and the BMS attached with 3M Dual Lock at two locations.
Finally, the three black wires from the BMS are interconnected with a 6 AWG lug and attached to the negative terminal on the top panel. To complete the assembly, I connect the include Bluetooth module to the side of the battery box and add the temperature sensor to the side of one of the cells.
One of my long-time subscribers suggested some protection over the four threaded rods to avoid any potential shorting. Knowing that an accidental drop of a metal wrench across the top of the battery could cause a serious accident, I followed his advice and used a 3/8″ wire loom to cover the rods.
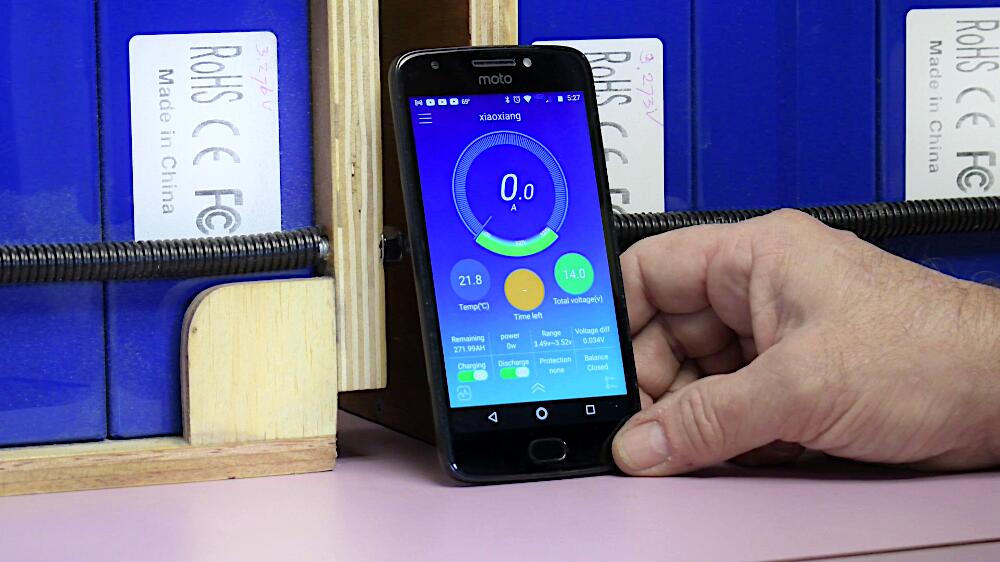
To check the assembly, I first connected the BMS wire leads plug to the BMS, then installed the included Android app on my phone. Starting the phone app resulted in the two battery configurations, showing up on my phone screen. Choosing one, immediately lighted up the associated Bluetooth module on the battery and its configurations settings appearing on the screen. Most settings can be left as is, but some you have to change to the appropriate numbers, most notably the low voltage charging and release.
Now it’s time for some testing and the installation into the van afterwards.
To be continued.
Other articles in this series
DIY Lithium Battery – Part 1
DIY Lithium Battery – Part 2a
DIY Lithium Battery – Part 2b
TOOLS & MATERIALS*
Overkill BMS
Hydraulic Crimper
Battery Terminals
Lithium Battery Cells ➜ See Resources below.
Bus bars ➜ See Resources below.
Fuse Holder
150A Fuse
Klein MM400 Multimeter
Poly-Urethane
1/4″ Ring Terminals
Stranded Wire Cables
Zip Ties
3M Dual Lock
3/8″ Wire Loom
Android App
Heatshrink
Lugs
Lab Power Supply
Heat Gun
5/16″ Threaded Rods
5/16″ SS Nylon Lock Nuts
5/16″ SS Washers
Serrated Flange Nuts
Set Screws
Isopropyl Alcohol
Sandpaper
Metal File
Vacuum
Drill
3/4″ Plywood
3/16″ Plywood
*Some of the links above are affiliate links, meaning at no additional cost to you, I will earn a small commission if you click through and make a purchase.
RESOURCES
Lithium Battery Cells
I bought my cells through Alibaba.com from Shenzhen Xuba Electronic Trading Co., Ltd. Their email contact is Pina Long.
Lithium Battery & Solar Info
Will Prowse – YouTube
DIY Solar Forum
Other Resources
My Experience of Buying from China
How to Buy Batteries from China
Disclaimer: I’m not an expert at this and I’ll probably make some mistakes that I have to correct. Always consult an expert if you ever think of doing this yourself.