It’s time to install the new Lithium batteries into the van but first, I need to clean up and streamline some of the old wiring. And I have to add and replace some solar components.
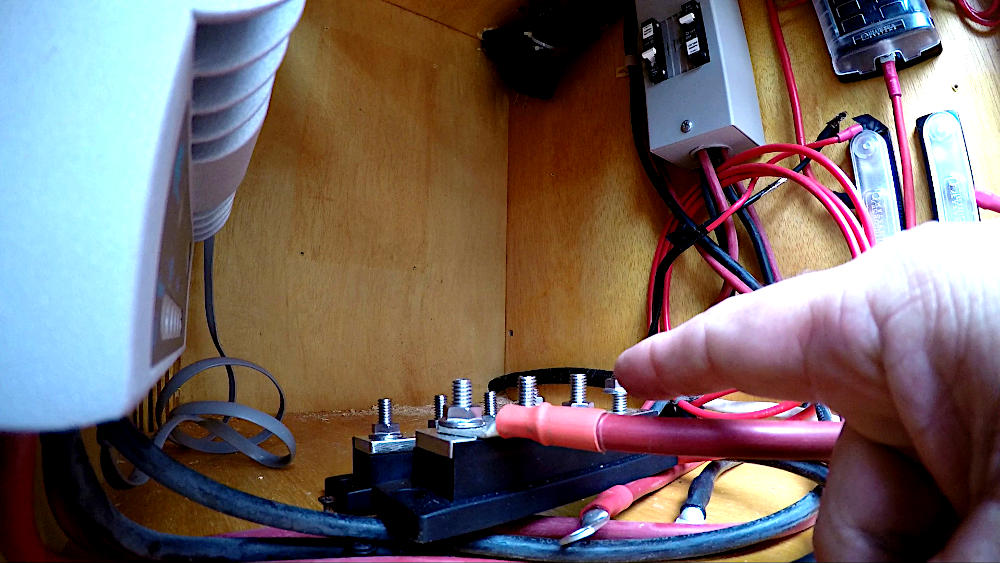
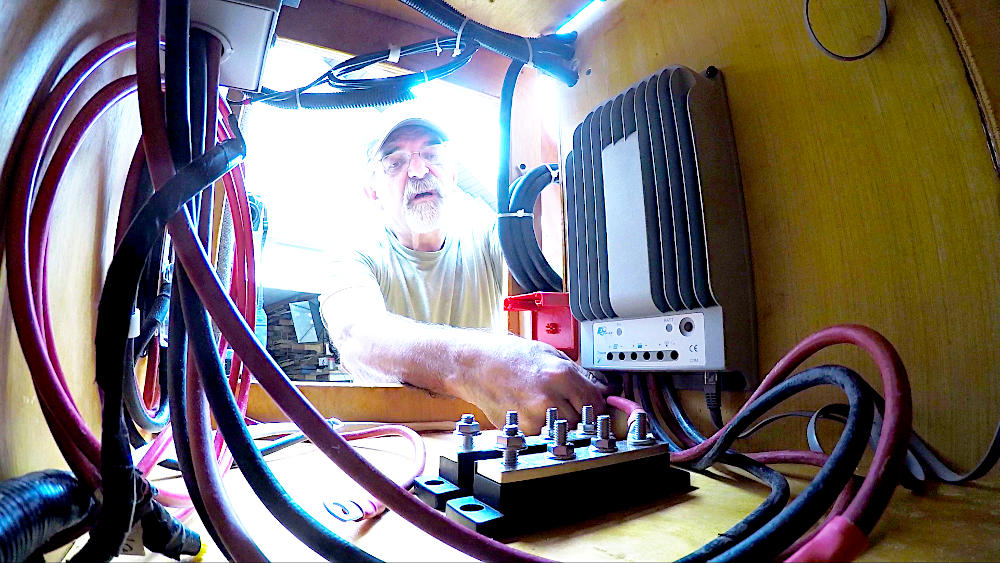
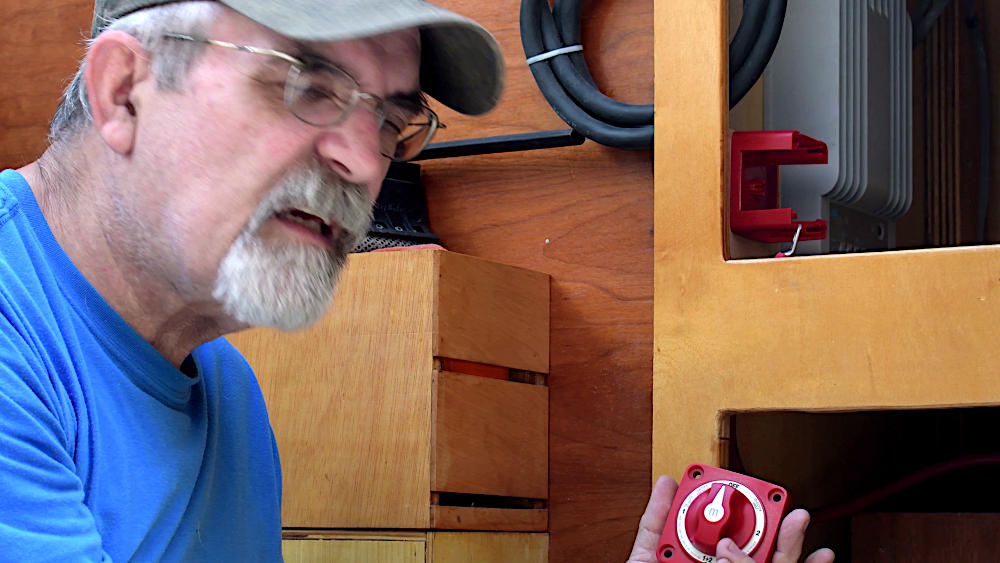
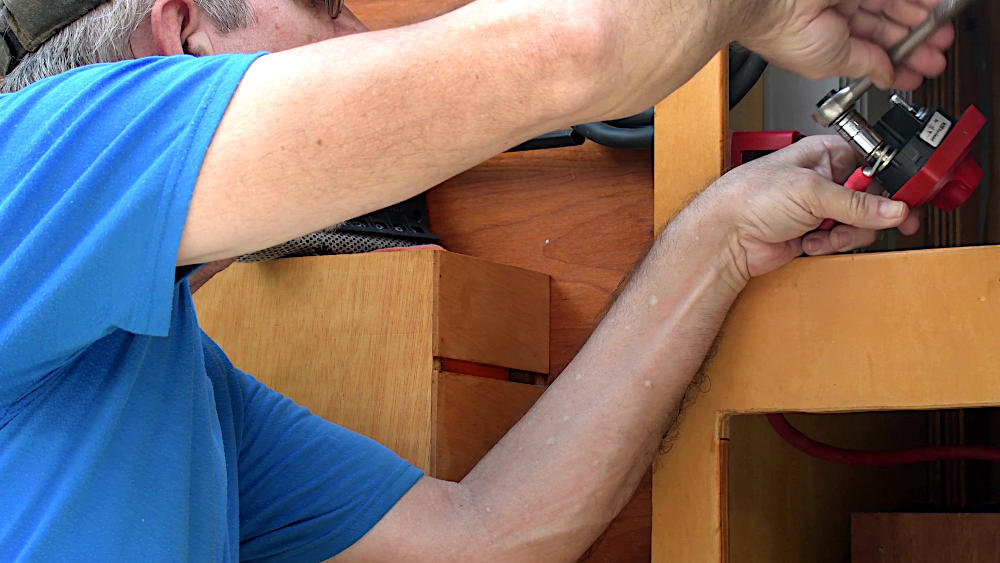
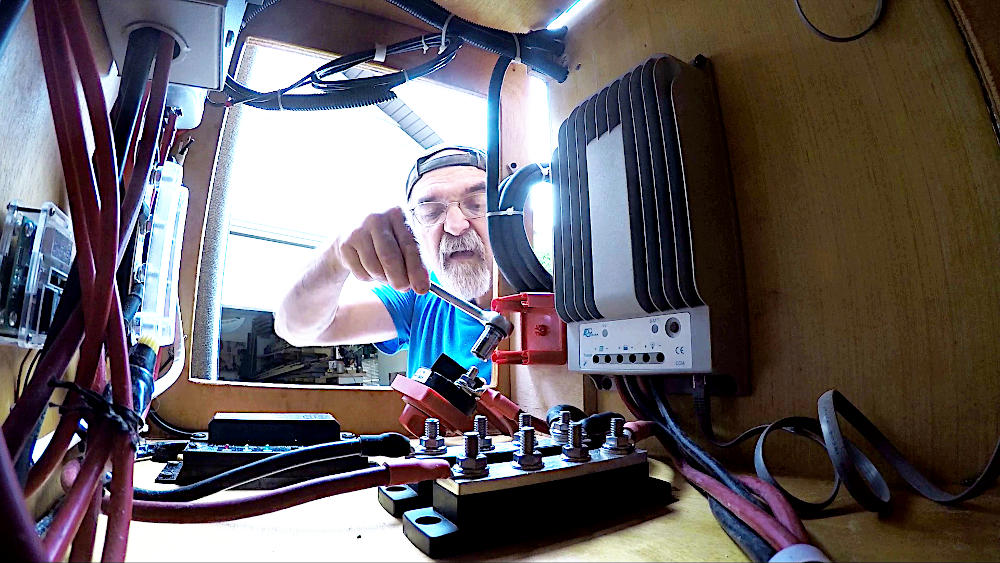
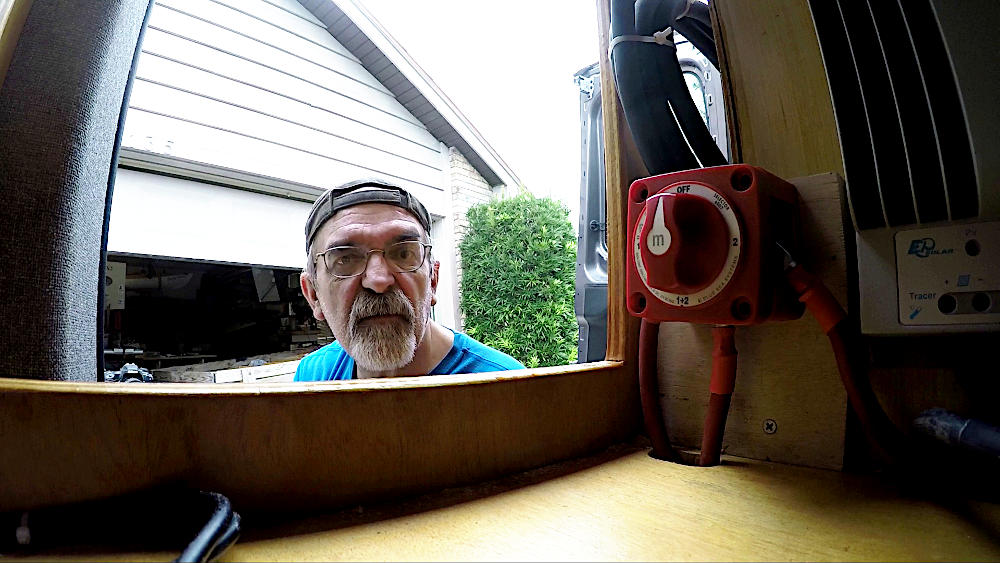
I will add 250A bus bars to accommodate the new batteries and the soon to be installed 3000W inverter/charger. A three-way switch will disconnect either or both batteries.
I still have to decide on the replacement of the current solar controller; while it does its basic job, it doesn’t have a specific Lithium battery profile and still uses a separate monitor. Replacing it with a Victron controller would eliminate the monitor by showing the info on a phone app via Bluetooth.
Another addition that I’m considering is a DC-DC converter, that could safely charge the Lithium batteries from the vehicle’s over-sized alternator. At this time though, it may be more prudent to wait until after I have lived in the van for more than a couple of months, which will show me if my new lifestyle would require the additional electrical power, generated by the alternator. Installation of a DC-DC converter is relatively simple and quick.
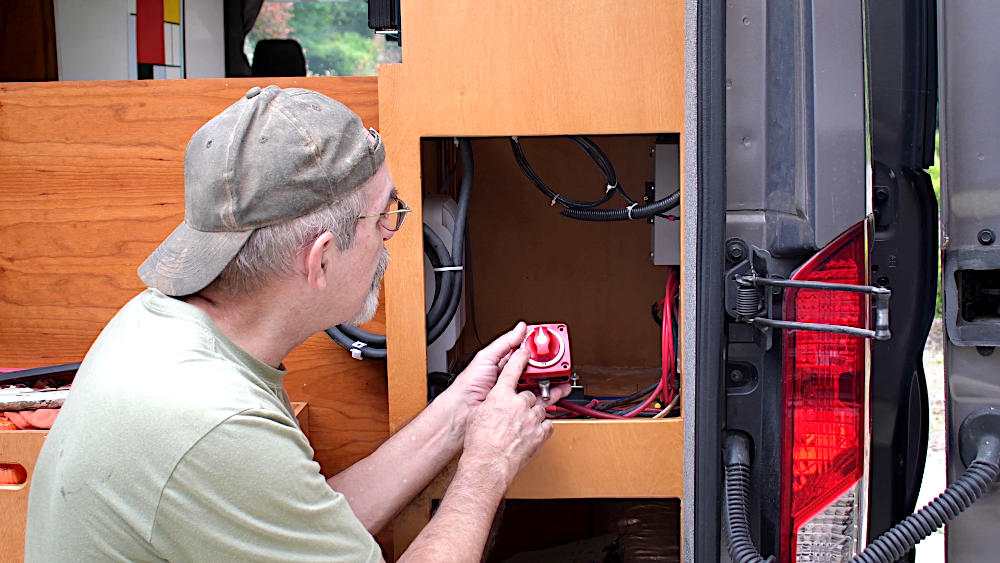
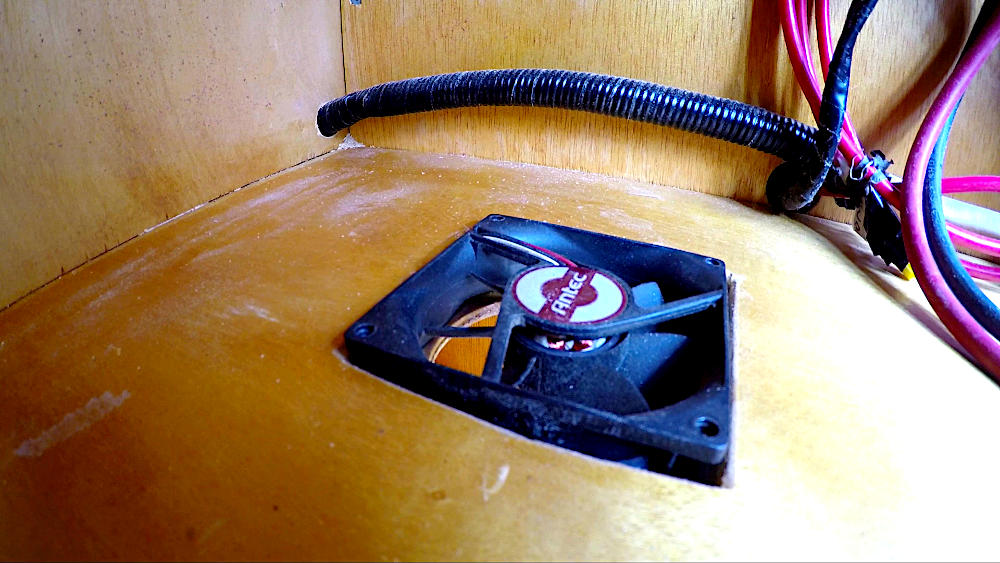
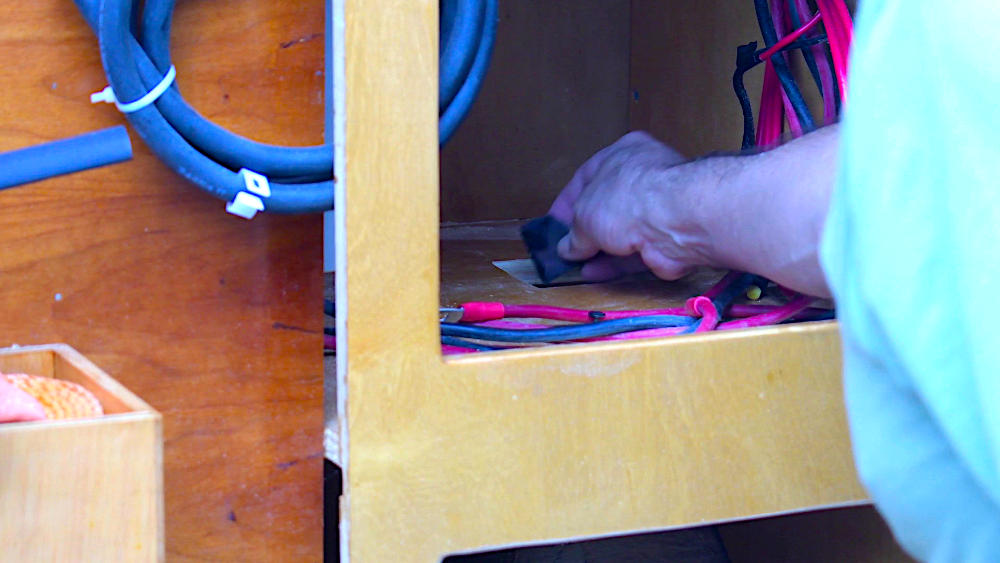
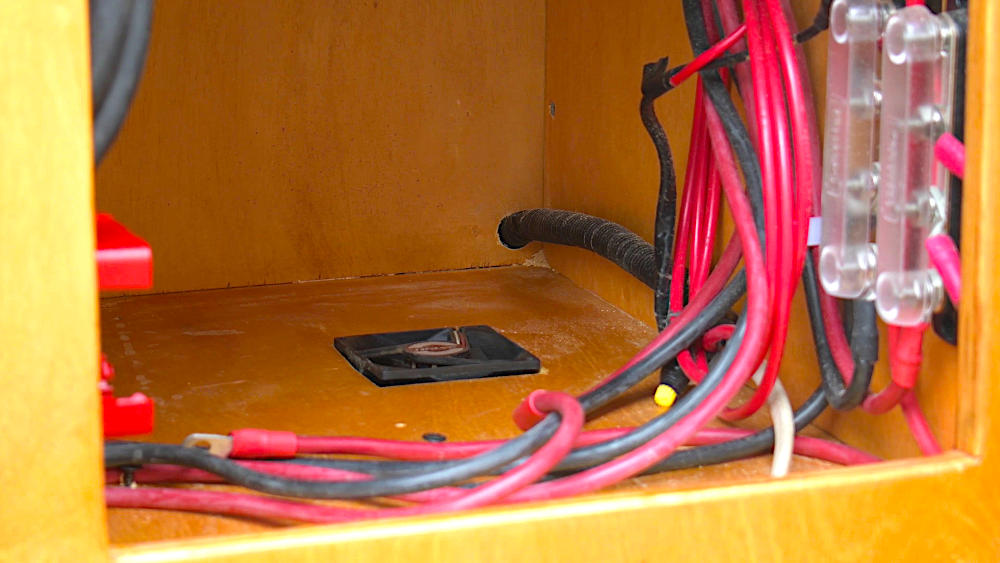
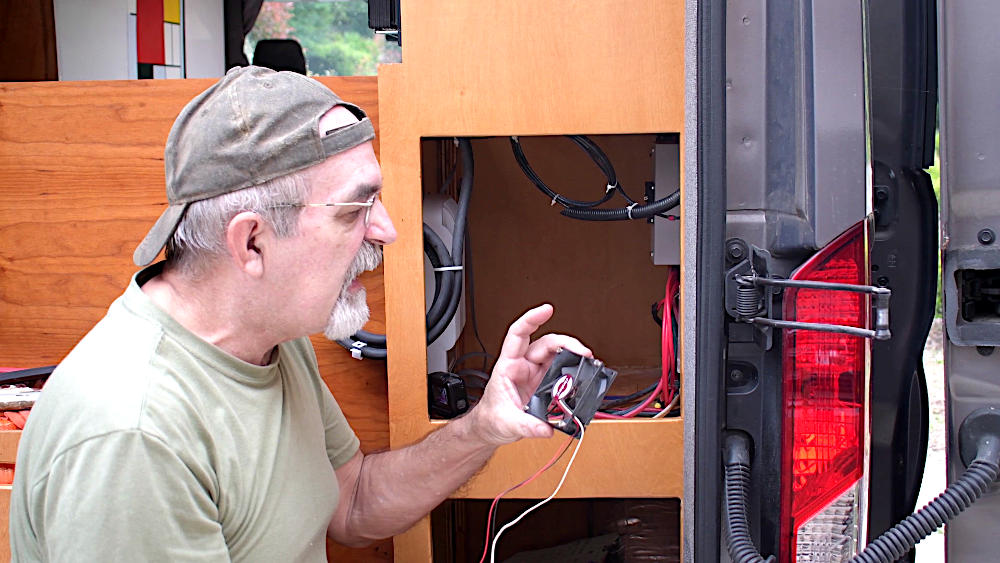
With the limited space available for the battery bank, the solar components and the wiring in combination with the anticipated elevated exterior/interior temperatures, a small computer fan located in the floor, under the future inverter, will improve air circulation between both compartments. The open nature of these compartments also plays a role in that. A separate temperature controller will activate the fan when necessary.
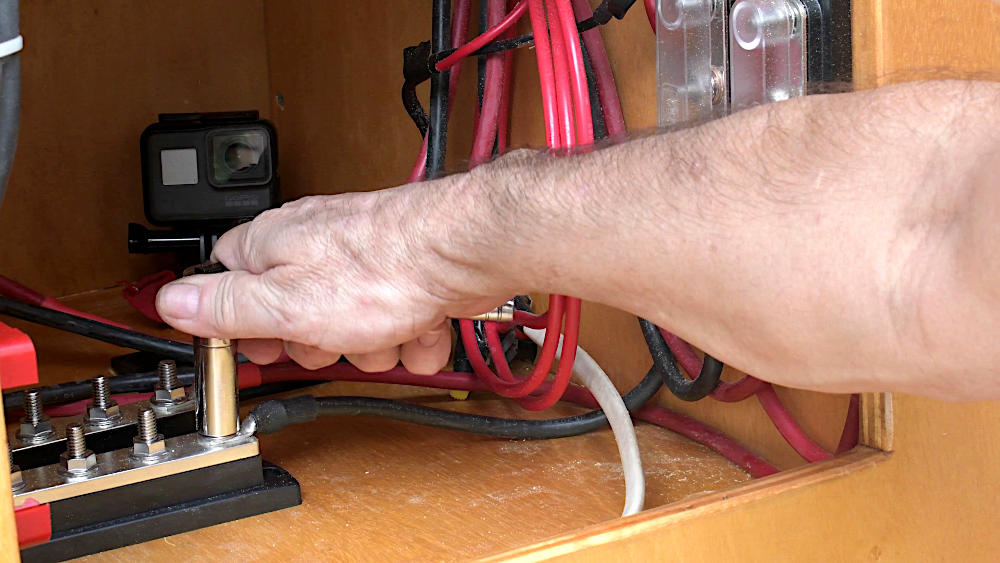
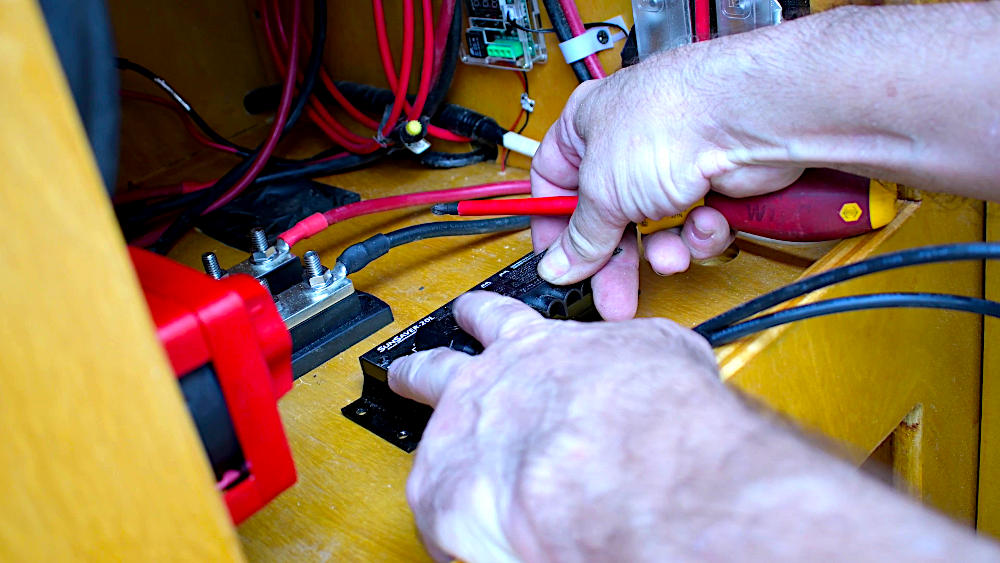
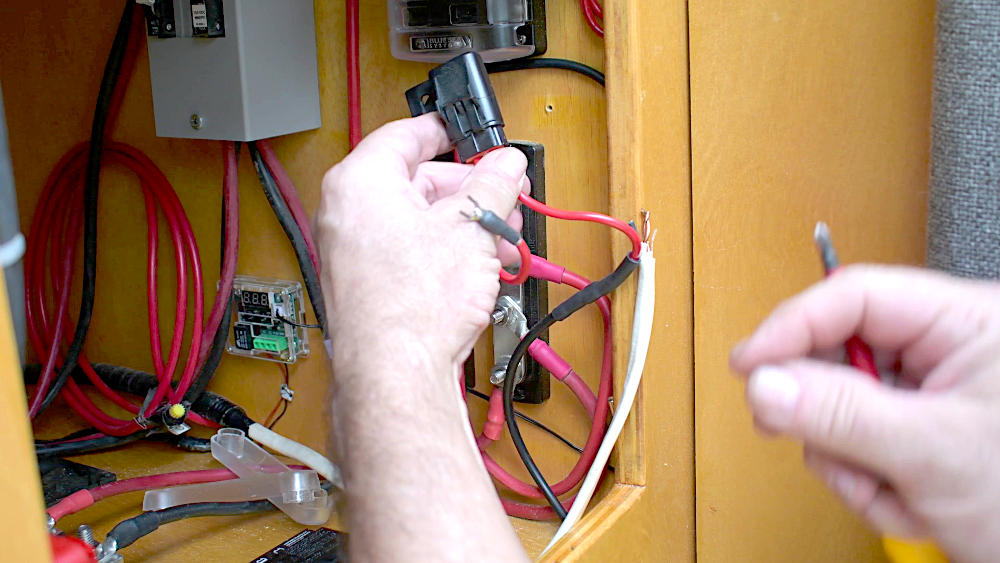
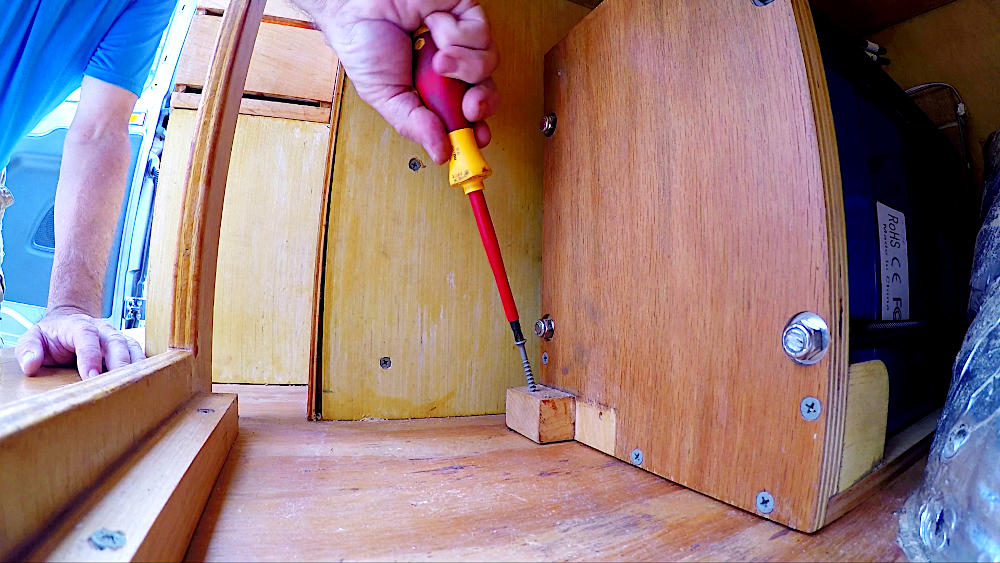
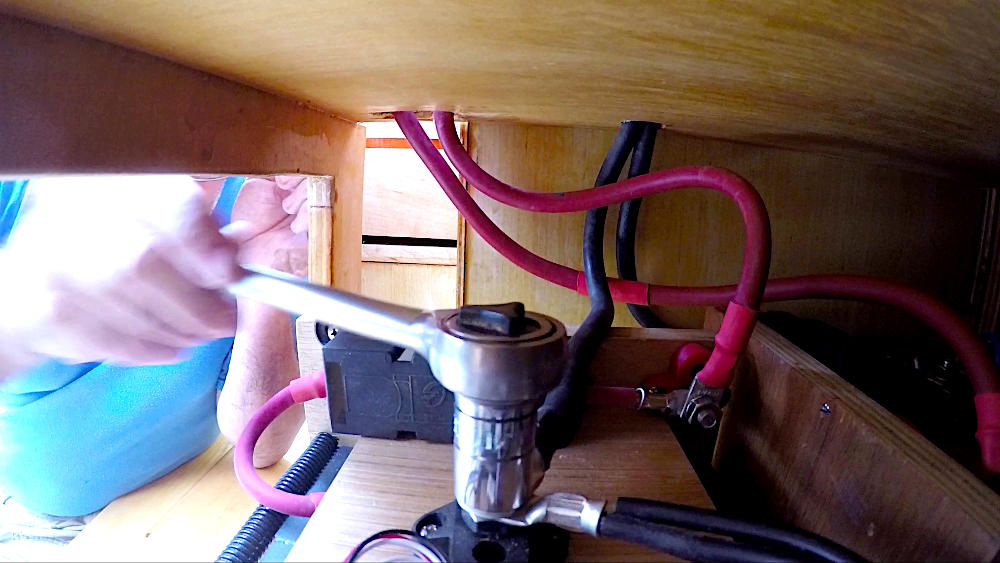
The three-way switch is installed and easily reachable at the front of the top compartment. The positive cables from each of the Lithium batteries, are fed into the switch and one cable leads to the new 250A bus bar. The negative battery cables go to the other 250A bus bar. These heavy-duty bus bars will also receive double cables from the future inverter/charger.
Previously, I have created a connection point under the rear bumper of the van, where multiple exterior solar panels can be hooked up to the electrical system. As these extra panels are for emergency use only, I use a separate and small PWM controller. As my needs for electrical power increase, I will first use a DC-DC converter as discussed earlier. If my power requirements remain high, I will consider integrating the mobile solar panels, into the existing system.
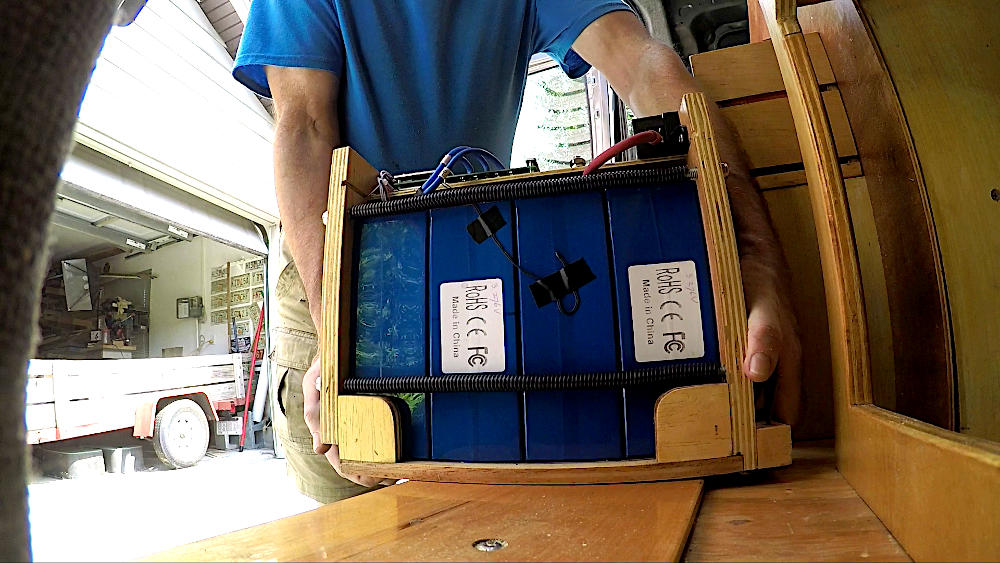
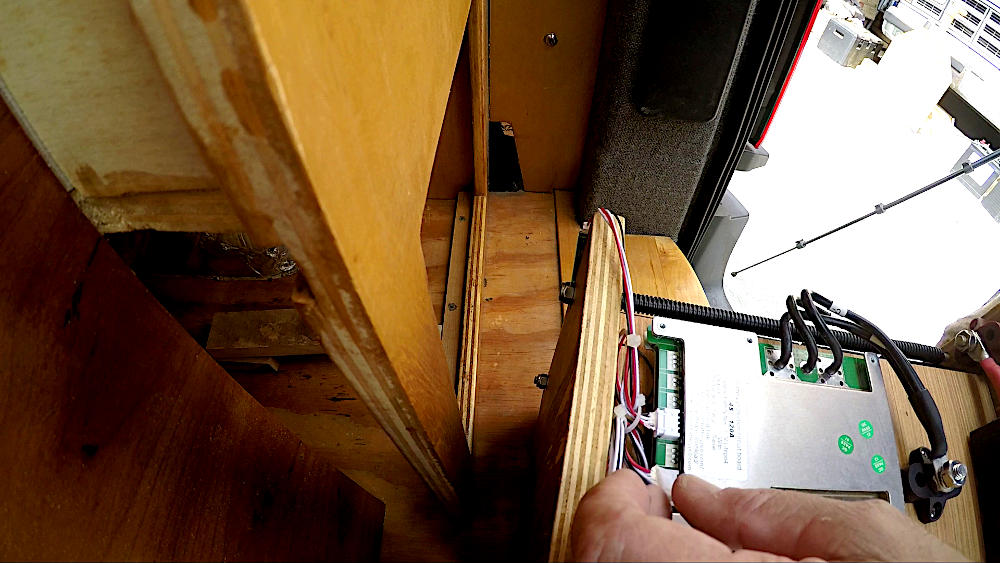
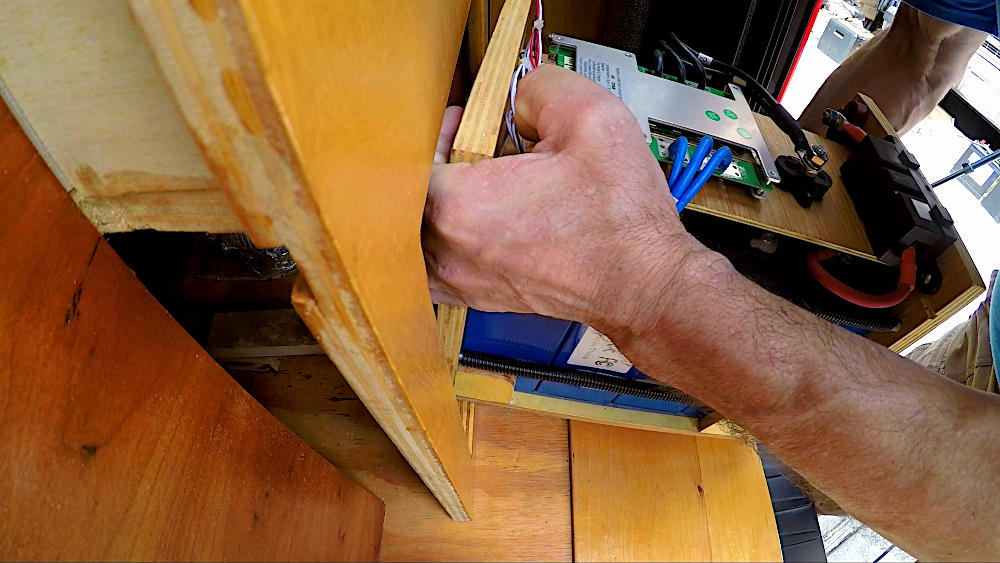
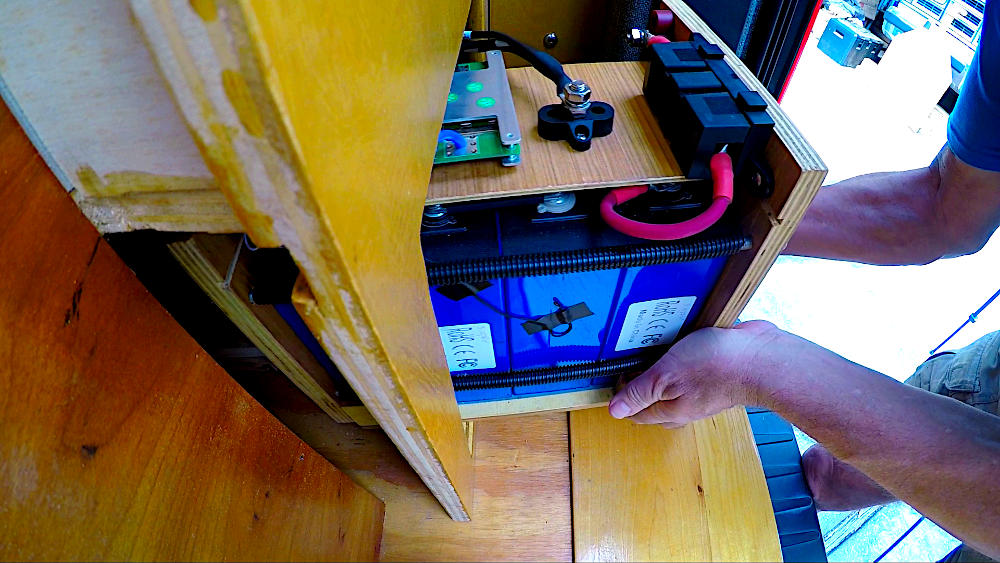
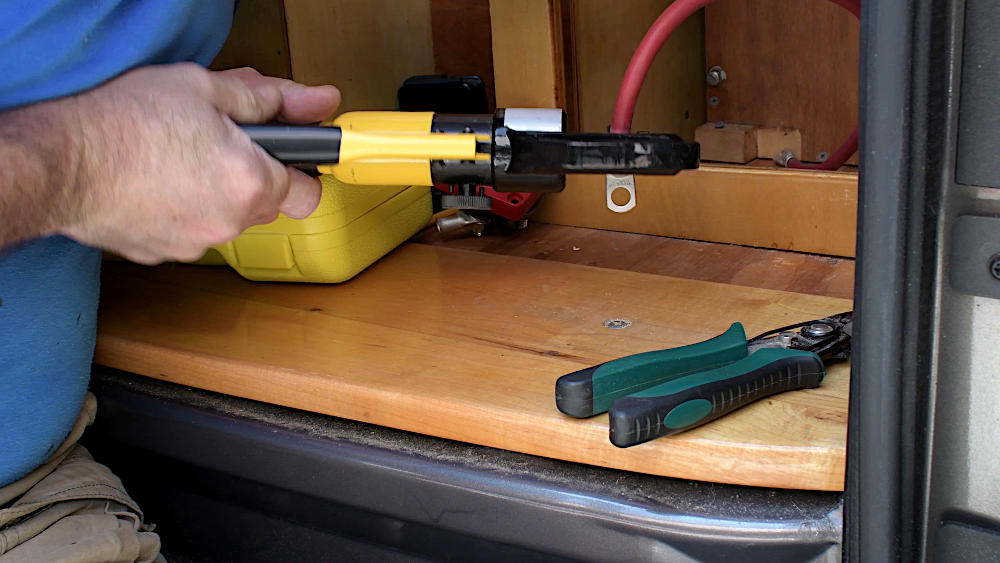
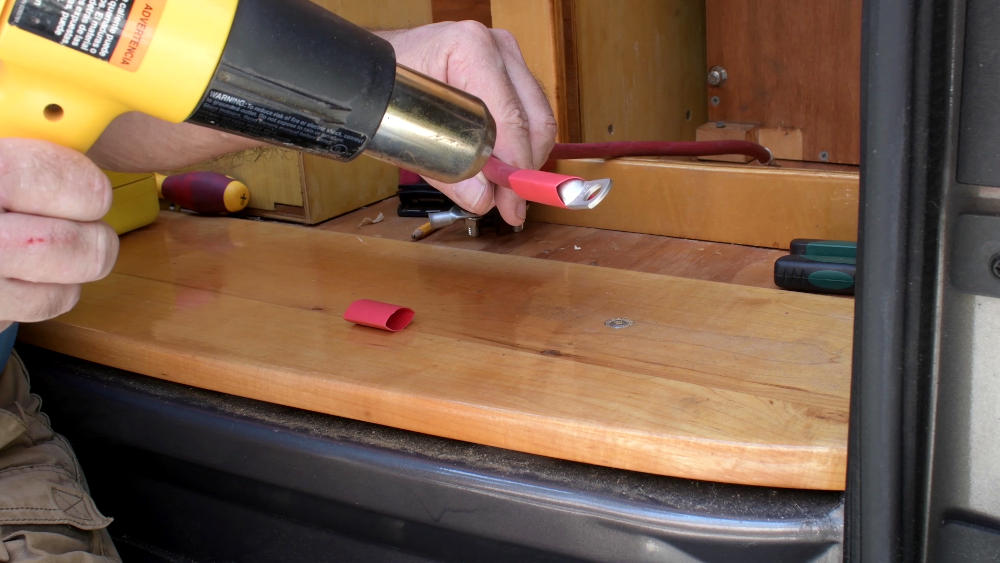
I connect the BMS and place the first battery into the lower section and secure it to the floor. The appropriate cables are put together and the connections to the switch and bus bars are made. With these high amperages, thick wires are needed and a hydraulic crimper makes the work easy. The second Lithium battery is added too.

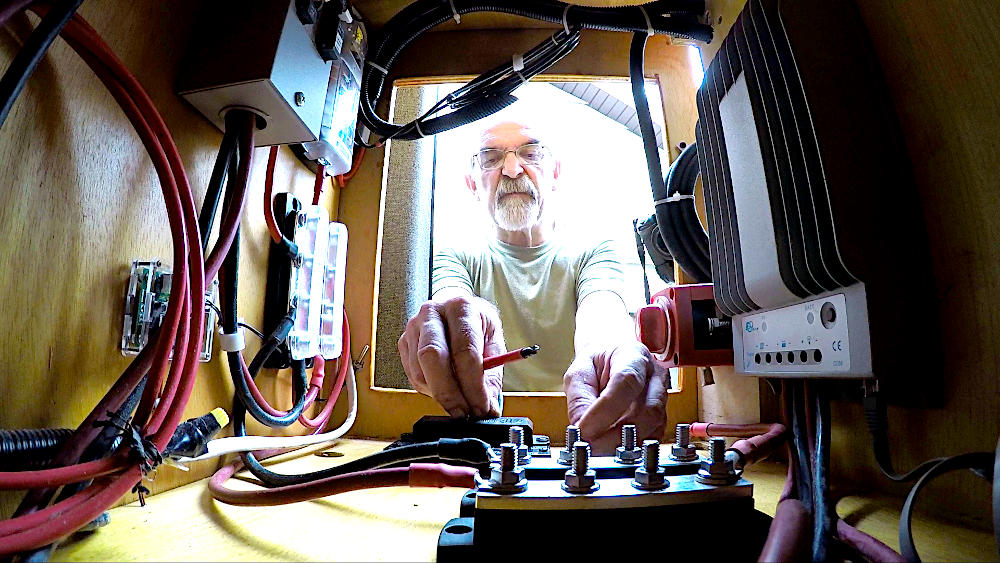
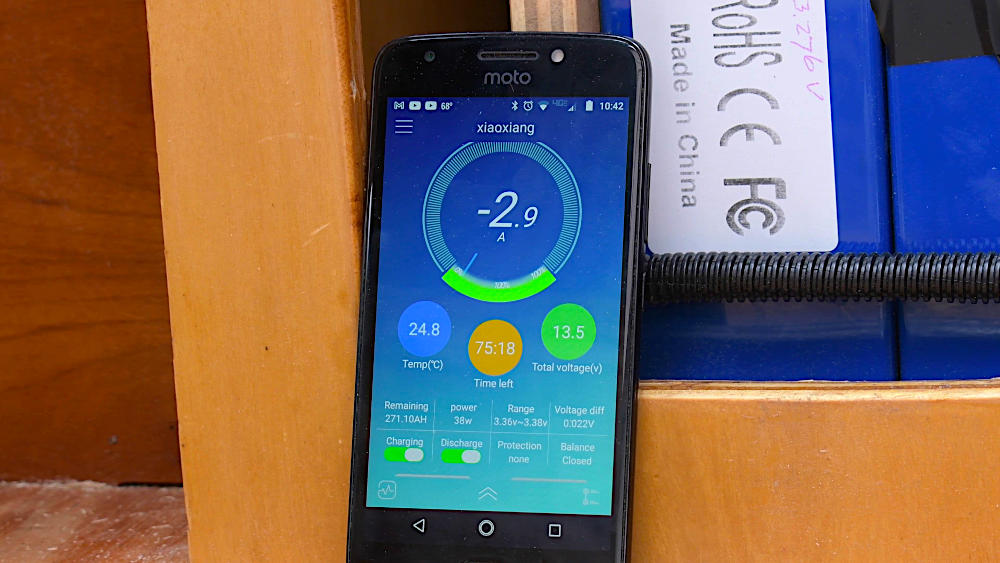
Finally, I switch on the batteries, turn on the solar panel input; then I check and adjust the charging profiles on the controller and both BMS’s. After some adjustments, everything seems to be working correctly. During the next few days, I’ll revisit the settings and check it all out again.
Other articles in this series
DIY Lithium Battery – Part 1
DIY Lithium Battery – Part 2a
DIY Lithium Battery – Part 2b
DIY Lithium Battery – Part 3
TOOLS & MATERIALS*
Overkill BMS
Hydraulic Crimper
BS Switch 6006
Battery Terminals
Lithium Battery Cells ➜ See Resources below.
BS Busbars 250A
Wire Cutter
Poly-Urethane
Stranded Wire Cables
Android App
Heatshrink
Lugs
Heat Gun
Vacuum
Drill
Jigsaw
Socket Wrench
*Some of the links above are affiliate links, meaning at no additional cost to you, I will earn a small commission if you click through and make a purchase.
RESOURCES
Lithium Battery Cells
I bought my cells through Alibaba.com from Shenzhen Xuba Electronic Trading Co., Ltd. Their email contact is Pina Long.
Lithium Battery & Solar Info
Will Prowse – YouTube
DIY Solar Forum
Other Resources
My Experience of Buying from China
How to Buy Batteries from China
Disclaimer: I’m not an expert at this and I’ll probably make some mistakes that I have to correct. Always consult an expert if you ever think of doing this yourself.