
A lot of time is spent on this multi purpose cabinet in pursuit of a high standard of finish. When it is ready and installed in the next two weeks, I will continue with the cargo van conversion. There’s the solar prep and walls & floors to be finished.

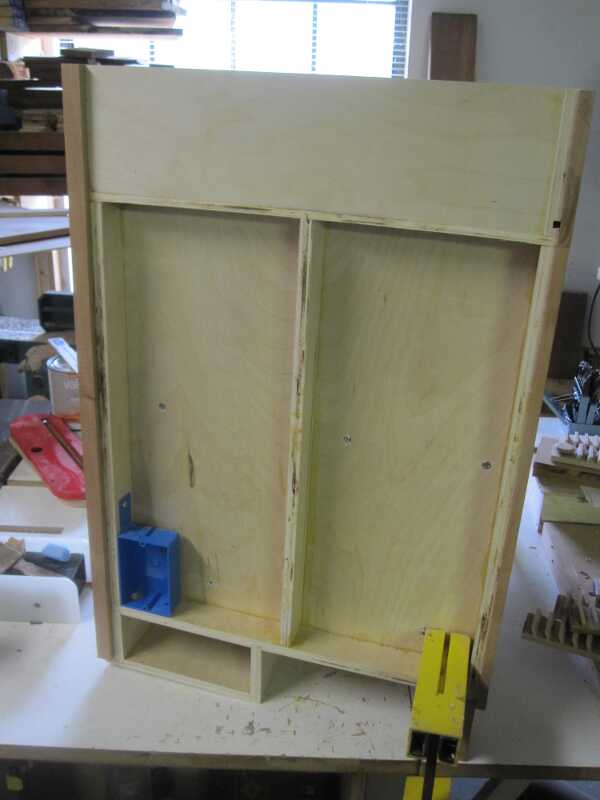 Previously I installed a Romex wire from the future inverter location to this side door cabinet. The wire will be connected to the electrical outlet in the side of the cabinet.
 To continue with the drawers, I have sized the parts of the large bottom drawer and dadoed the appropriate edges.
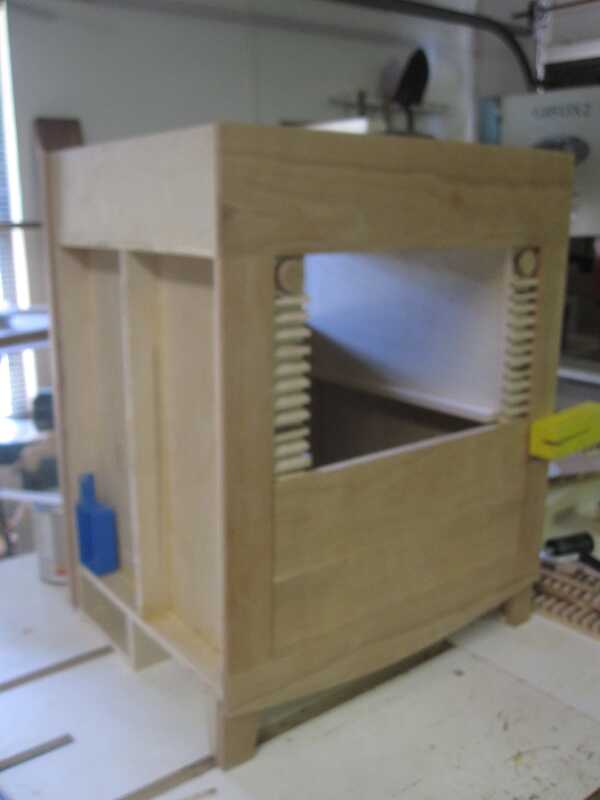
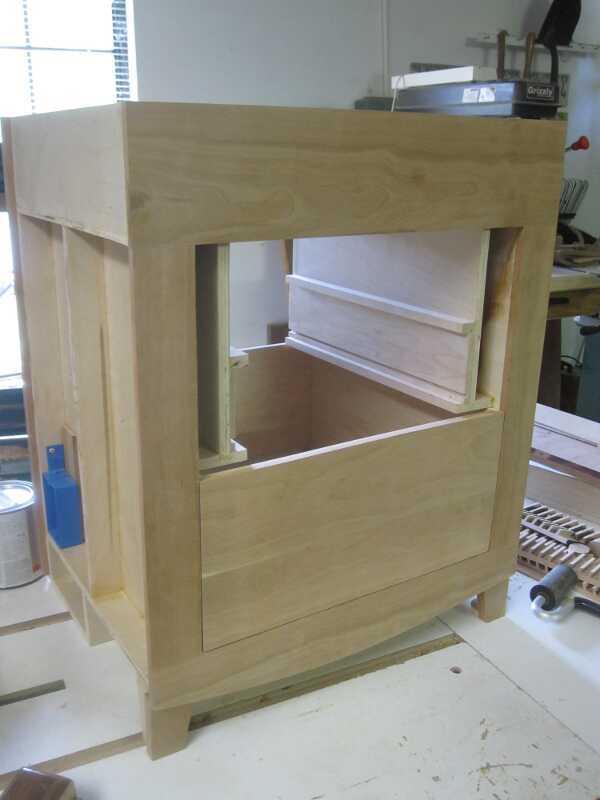
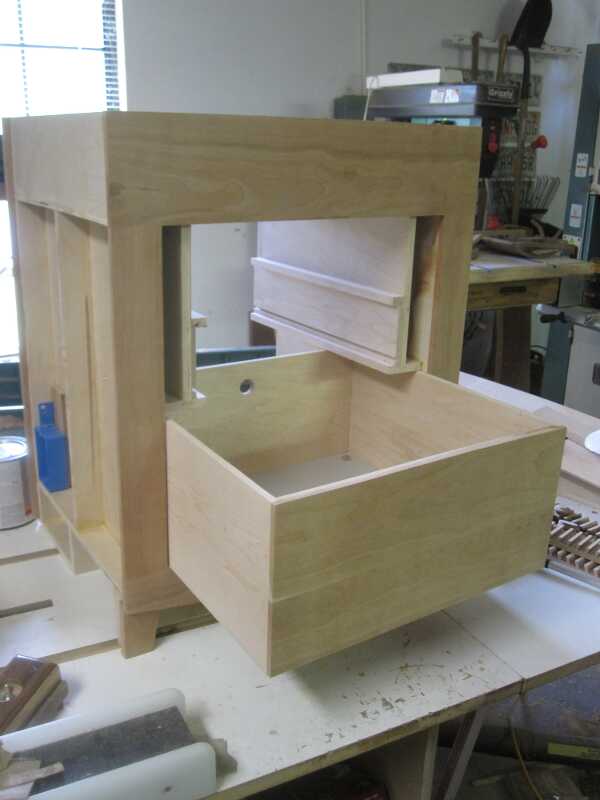
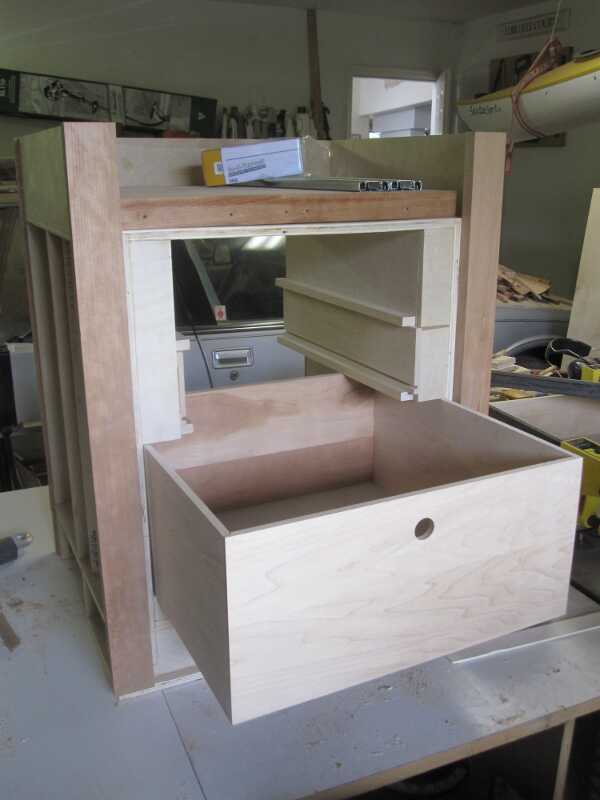
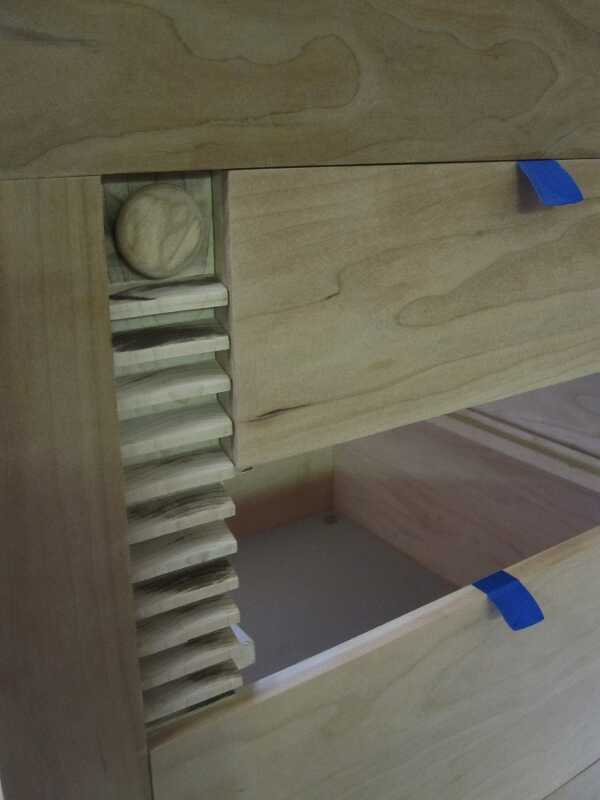
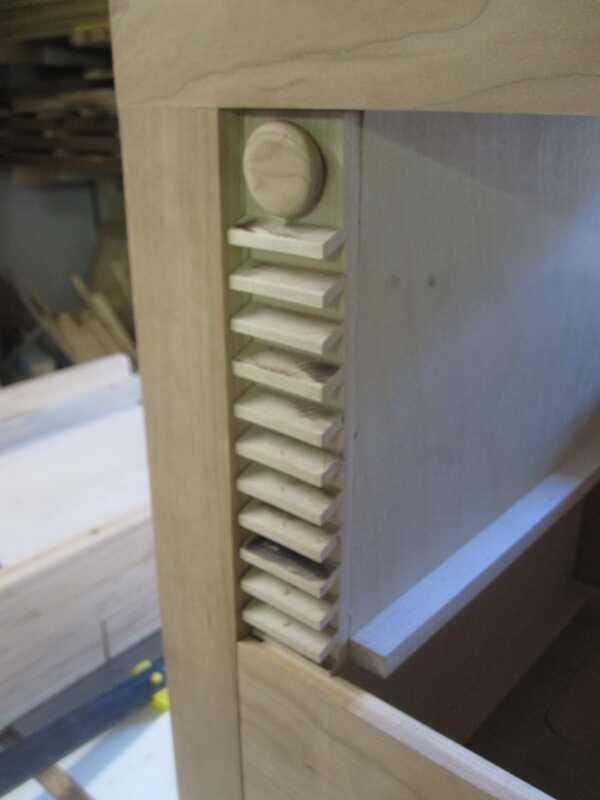 I temporarily fitted the bottom drawer front panel and the two ‘ribbed’ decorations to get an impression how things are going to look like.
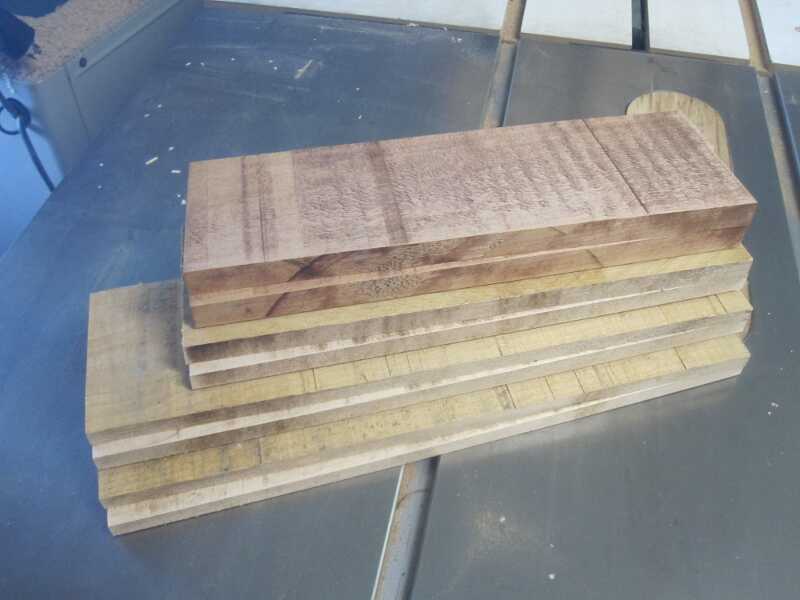 Now again some resawing on the bandsaw for the two top drawers.
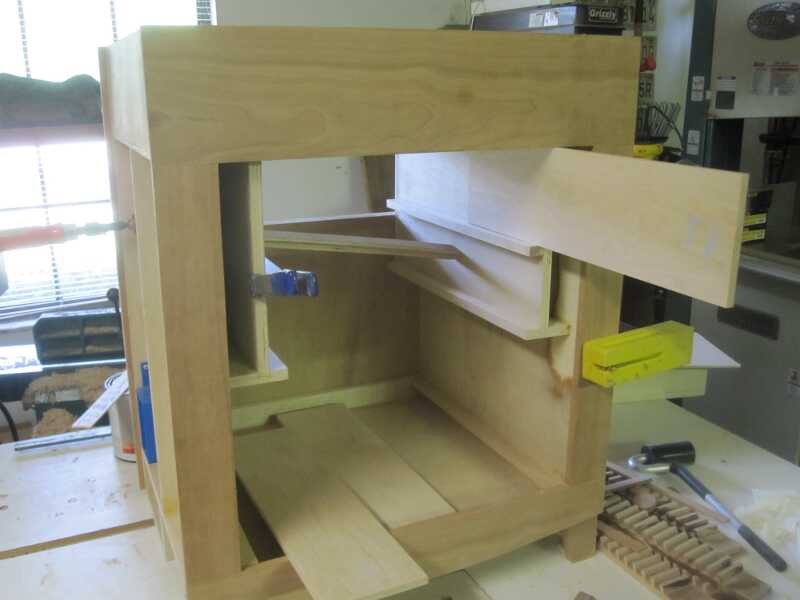
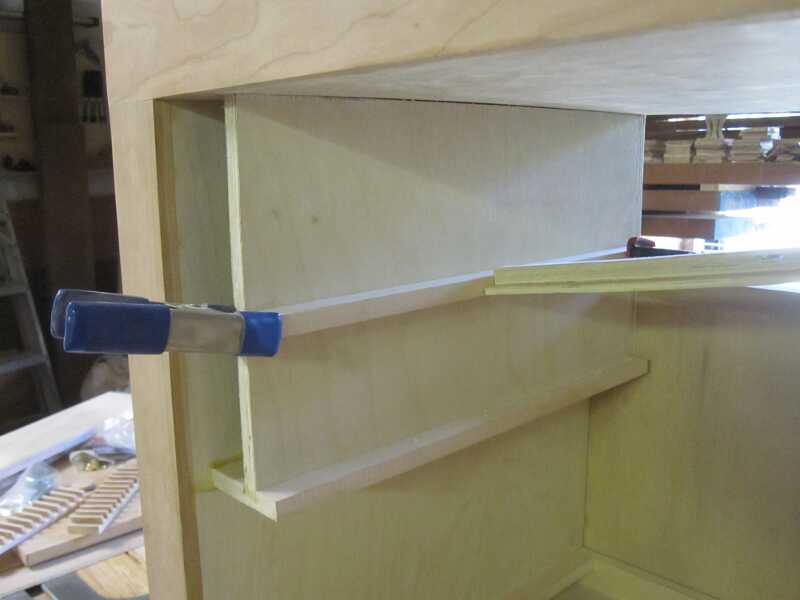 I use the side panels of the topmost drawer to attach the side rails at their exact locations.
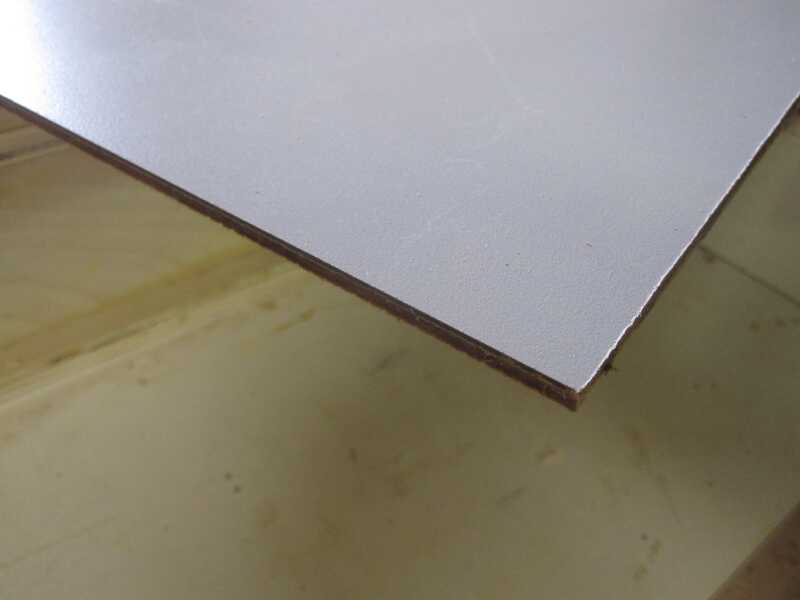 As the drawer bottoms I use some hardboard with a light gray Formica glued to it.
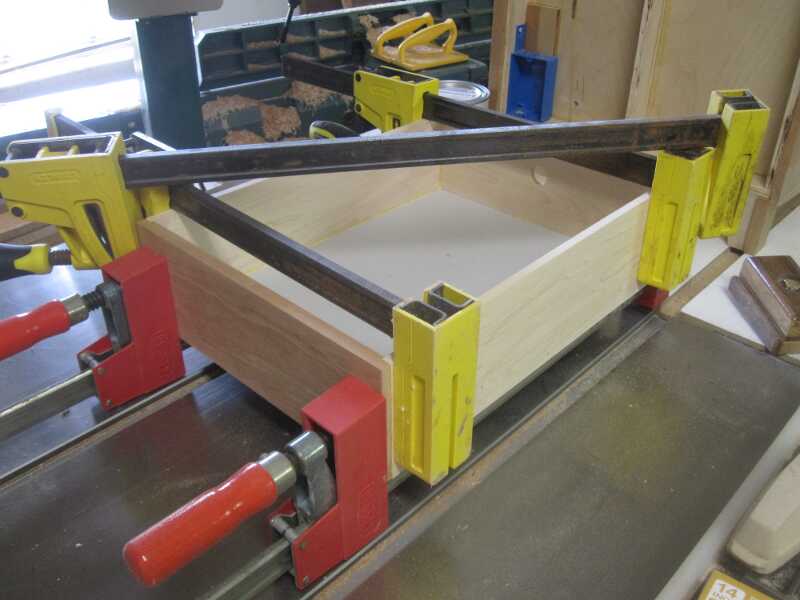
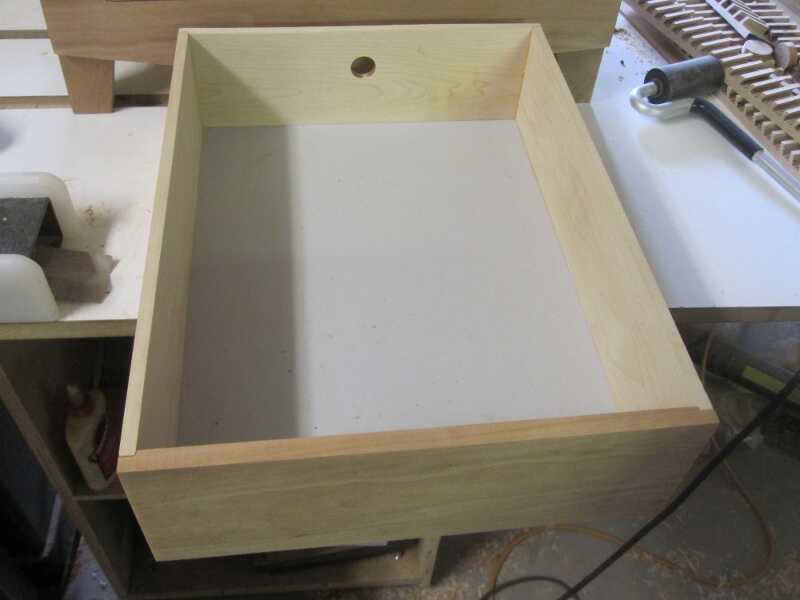
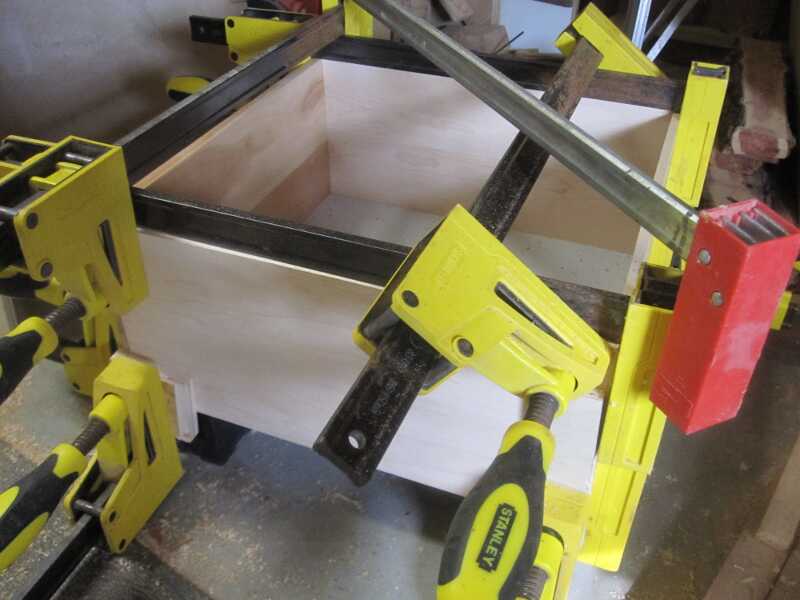 With all the parts ready, the bottom drawer is put together. Normally, I leave the rear panel a little short, for the bottom panel to slide underneath into the bottom grooves of the other panels. A screw through the bottom into the back panel, would hold everything together and would let you remove the drawer bottom at a later time. As this drawer is accessible on front and back, the drawer bottom will be fully enclosed.
The final fitting involves a lot of sanding and the use of a block plane to achieve the best fit and a smooth forward and backward action.
Now repeat the whole process for the two other drawers.

Unfortunately I messed up one of the drawer bottoms, so there’s some more sawing and gluing to do.