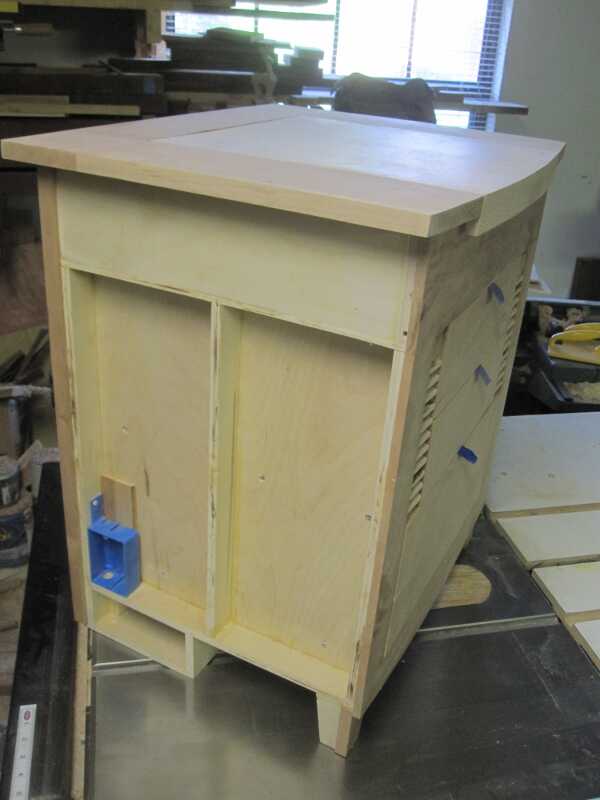
Previously I messed up one of the drawer bottoms of the cabinet that I’m making for my (cargo) van conversion. First redo that, then do the top surface with access to the cooktop. After all the major parts have been put together, only the hardware, the finishing and final installation in the van remains.
 The drawers are done but now we’re approaching the end of this mini-project, I still had to fit the sub-cabinet box to the step-up area in the van.
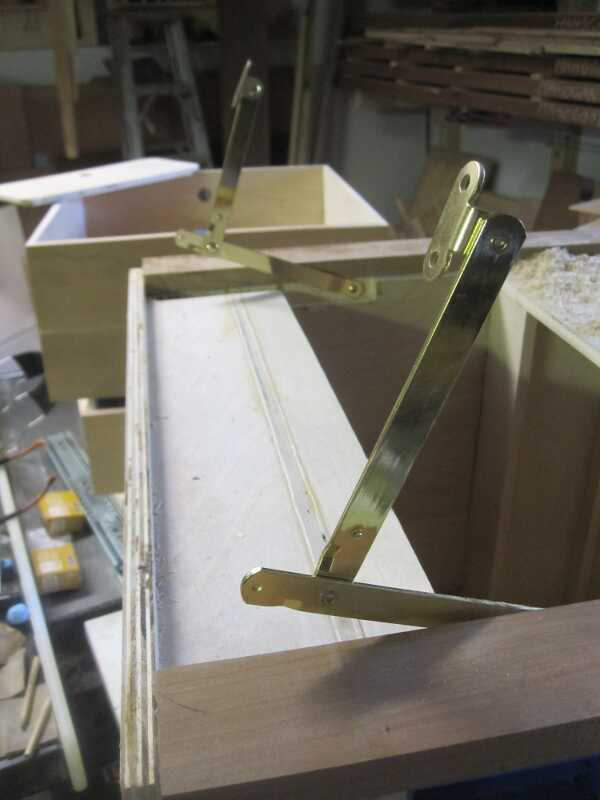
Shelf Hinges
 Another small job is the installation of the shelf side hinges. A recessed space has to be created on both sides of the shelf/door.
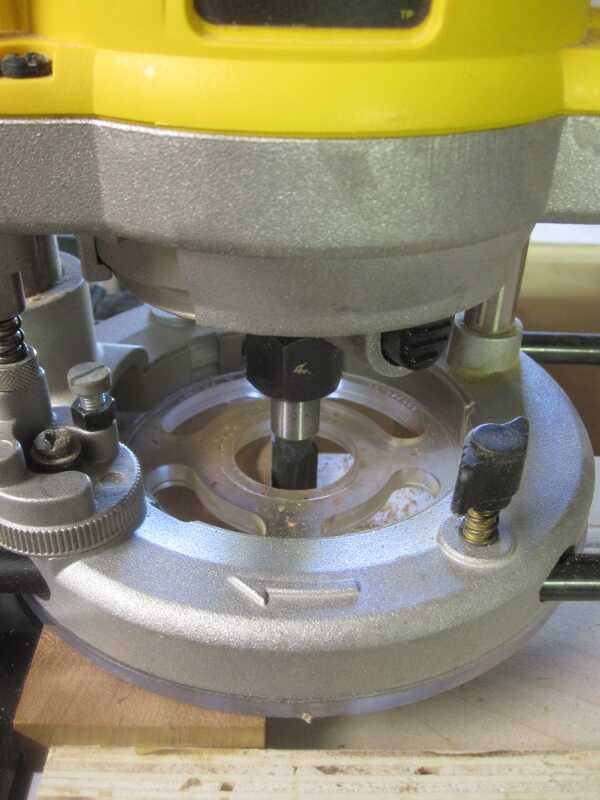
 With a straight router bit, I take three passes to get to the depth of the recess. The Cherry side panel is wide enough to act as a stable base, while using its side as a guide for the router.
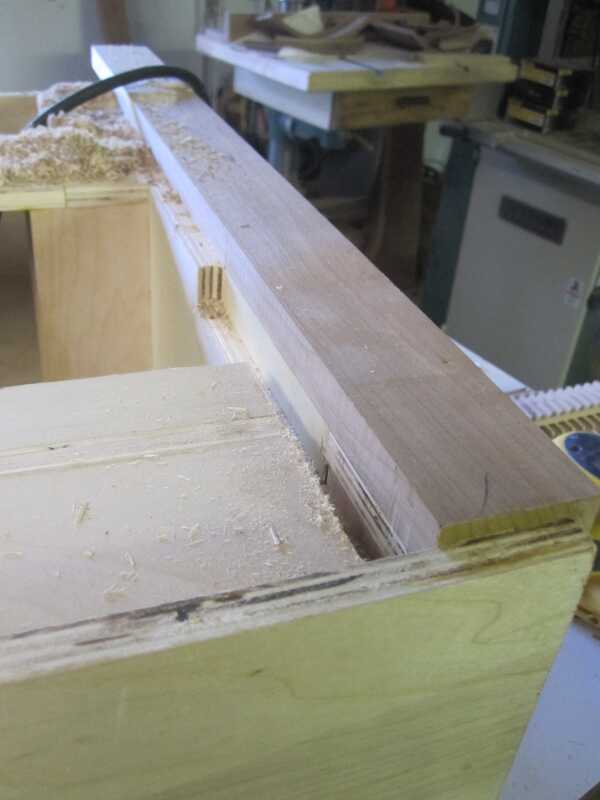
 A screw hole is pre-drilled and some wax is applied to the screw to ease it into the wood.
 The hinges are now ready for the shelf.
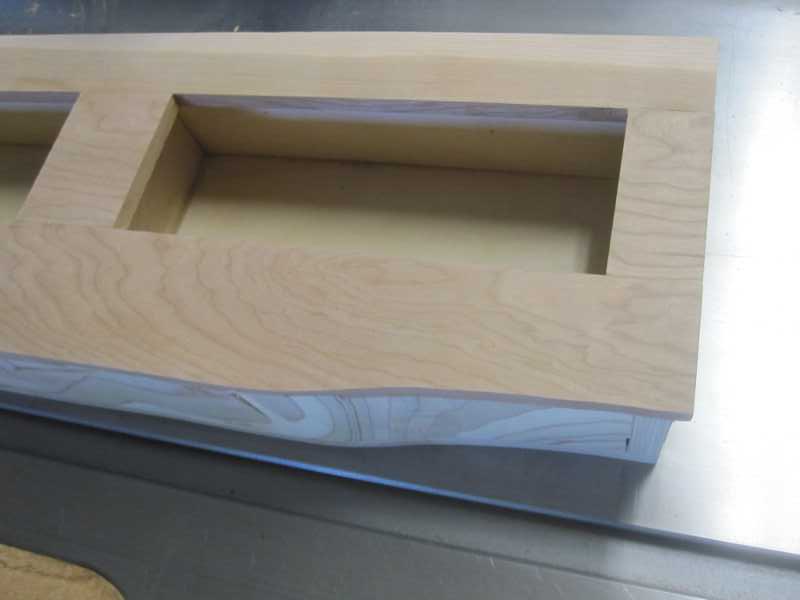
Cabinet Top
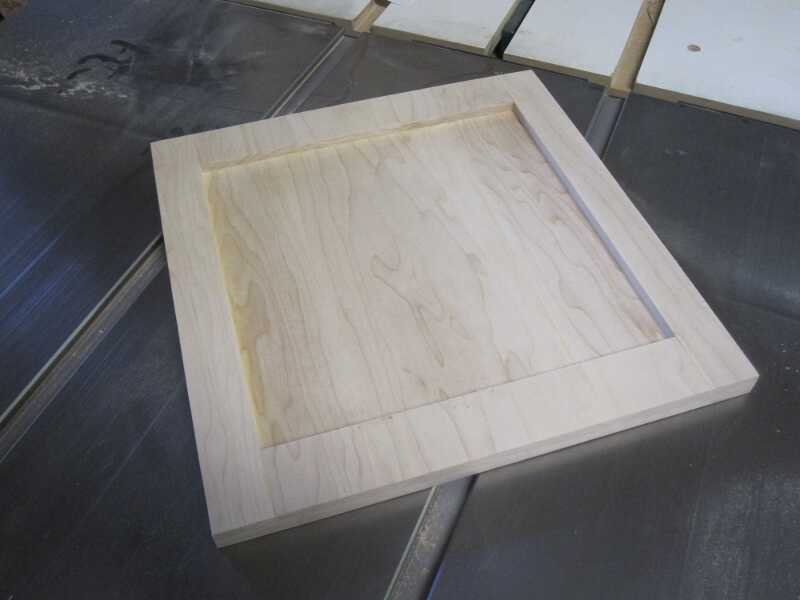
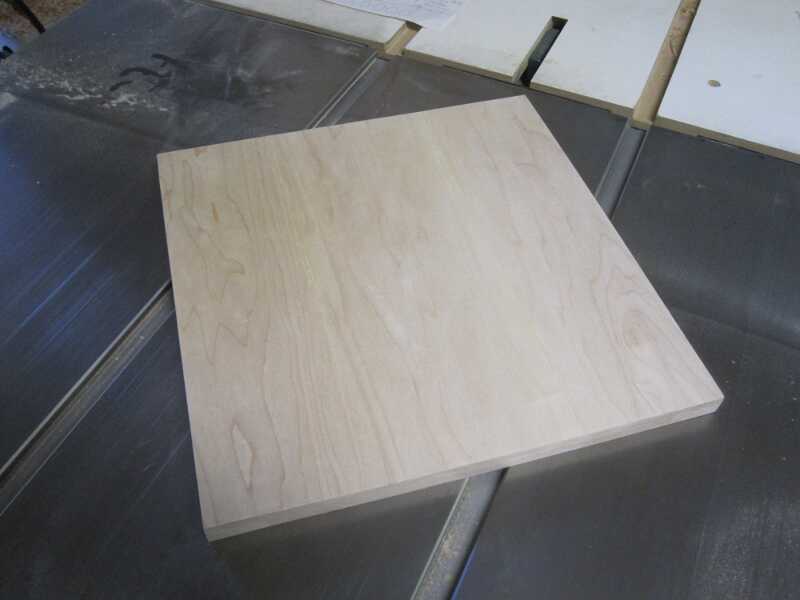 The top of the cabinet needs to have an access to the cooktop during interior use. A 14” x 14” maple square will be attached with a piano hinge to a Cherry frame.
 I oversize the 3/8” thick panel and then remove narrow strips on each side, which are then flipped over to the bottom of the piece. This way, I’ll save a little weight on an already too heavy cabinet.
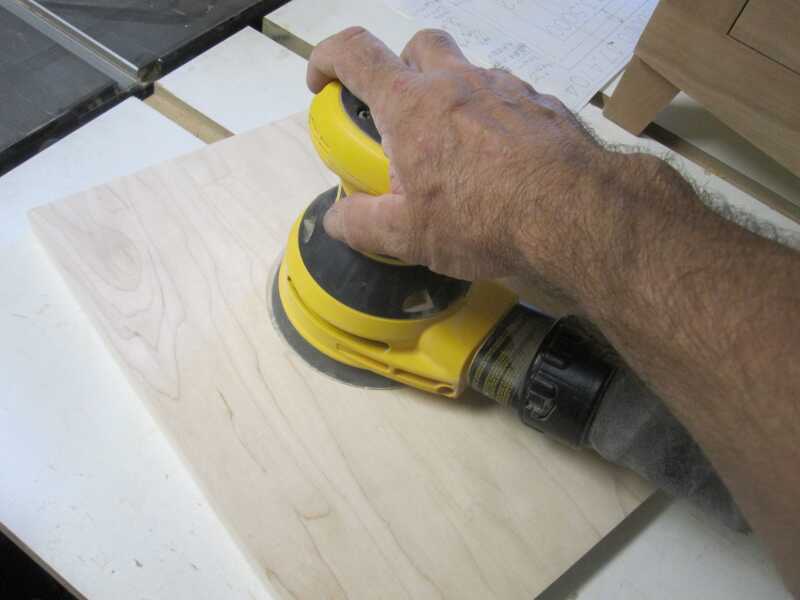
Then again lots of sanding to get everything flat and straight.
 The Cherry frame around the lid has two boards on the sides and a long board in the rear.
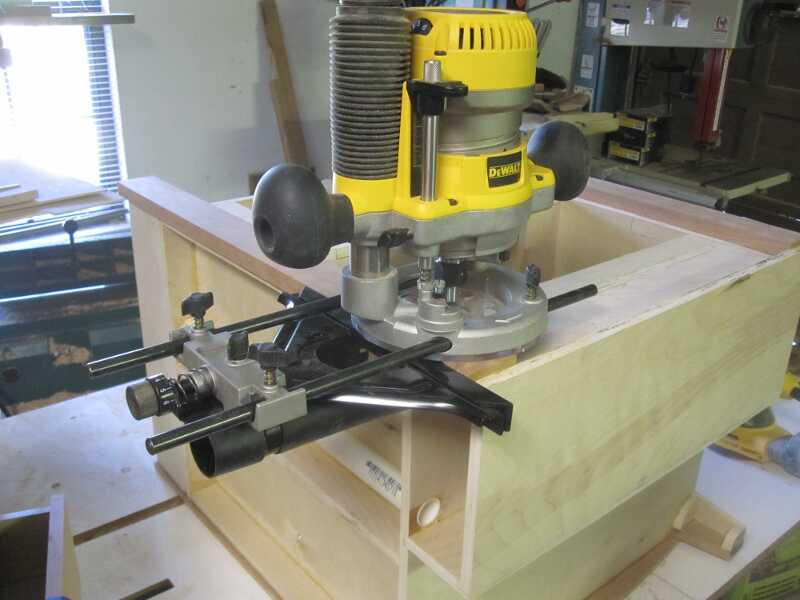
They will be held together with the help of a sliding tenon.

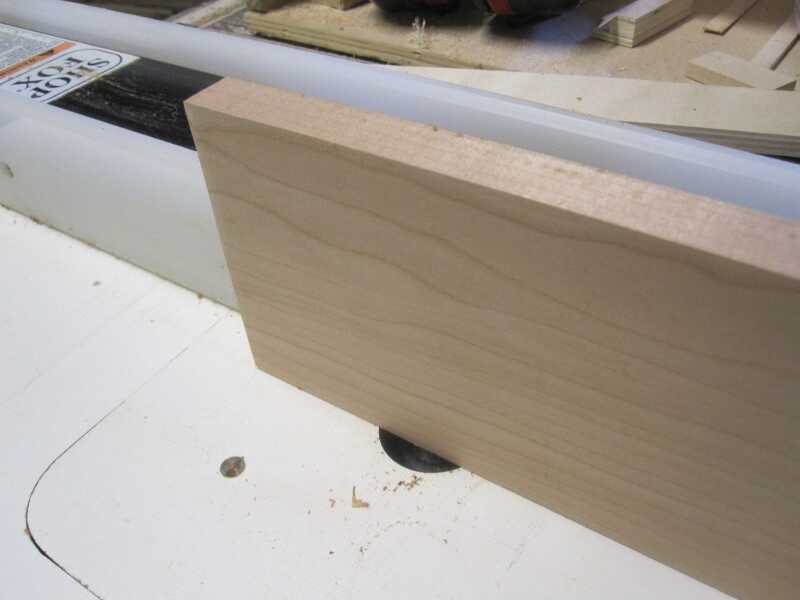
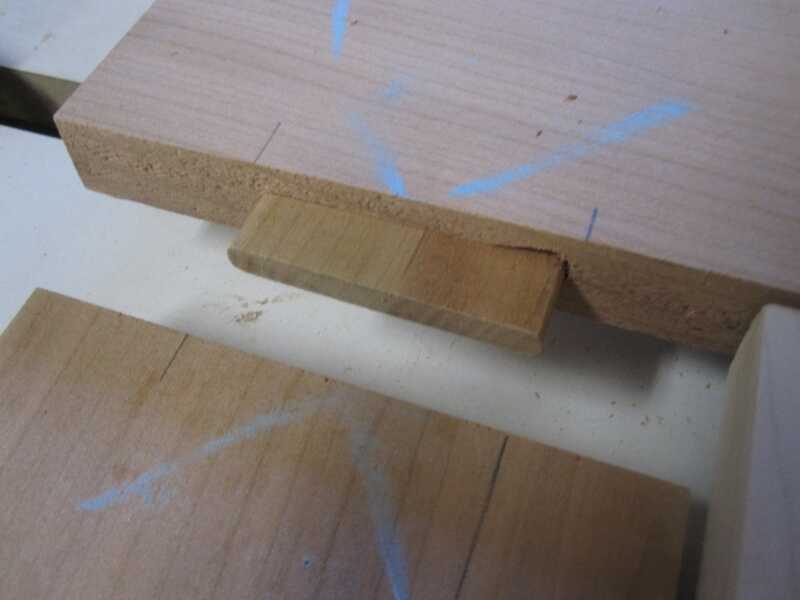
 Both ends receive a mortise, made with a stationary router.
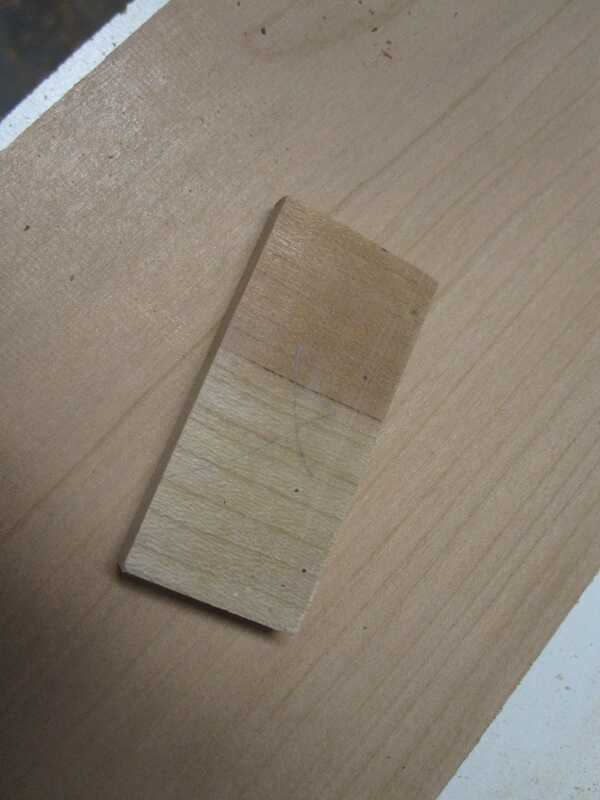
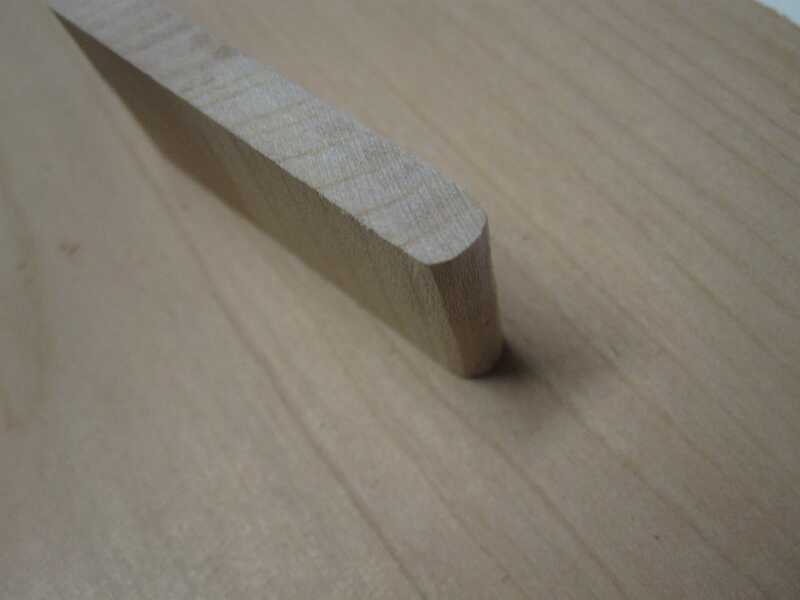 Then a loose tenon is made out of the same material with the corners rounded to conform to the router made mortise.
Finally each end is glued together.
 The lid and a temporary brace are used for final adjustments to the frame during glue-up. Let it all dry overnight to obtain a good bond.
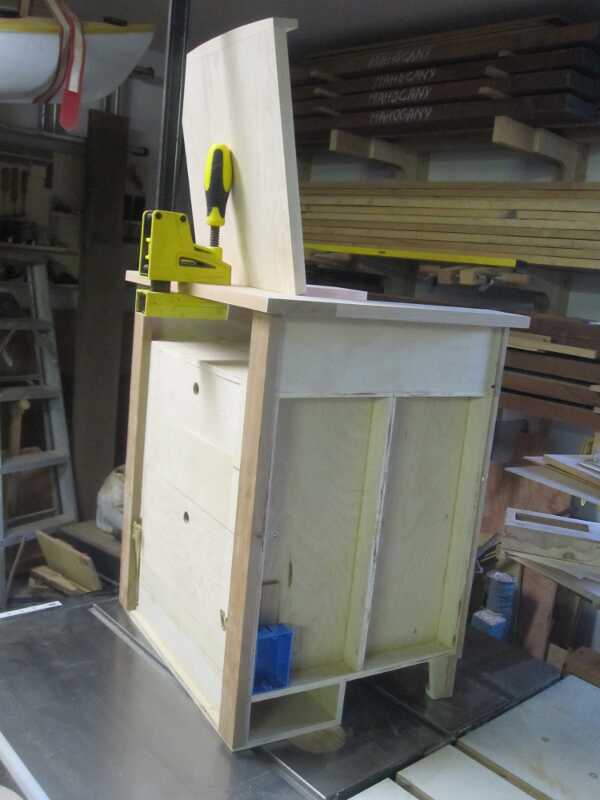
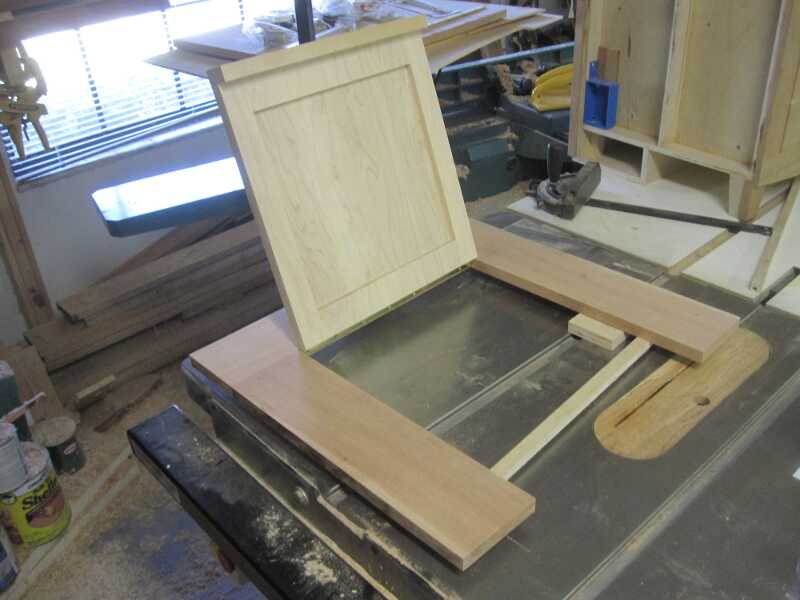 The next morning the sides are trimmed and sanded. The piano hinge is temporarily attached so its thickness is accounted for when establishing the front curve of the cabinet top.
 At the same time a 2” high overhang is glued to the front of the lid. It functions as the lid handle and is part of that front curve.
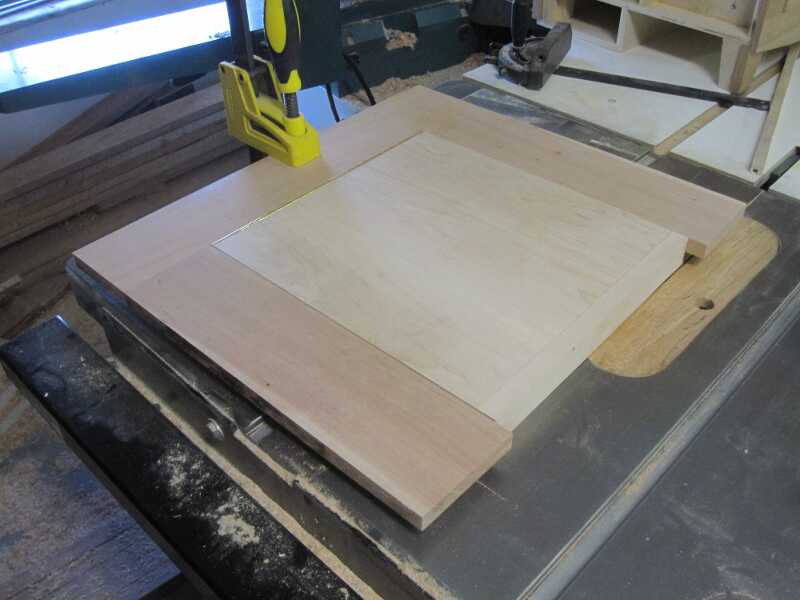
 The front of the cabinet top has a curve that is similar to the one at the front bottom of the cabinet. The same technique is used to establish the curve.
Take a thin piece of stock, hold it at both ends at the required depth of the curve (here I use 2 clamps for that) and pull it out to the desired point at the center.

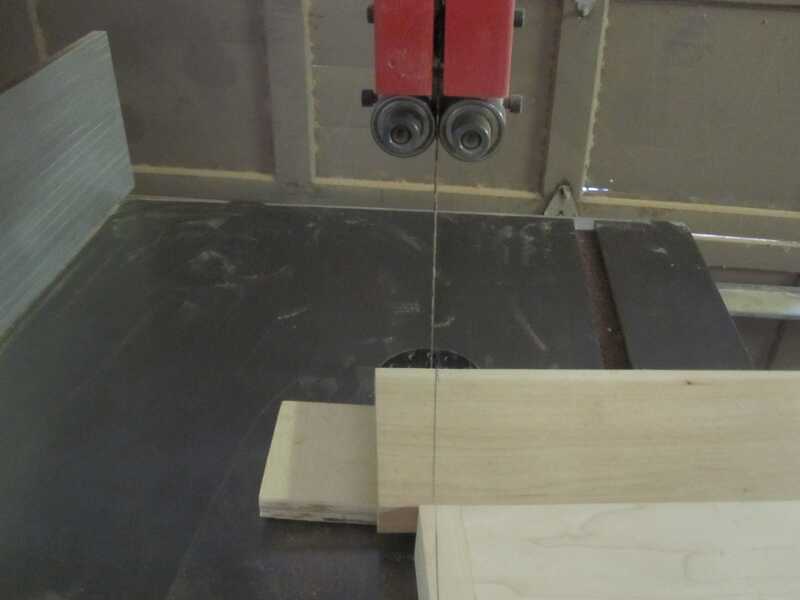 Draw a line and cut the curve on the bandsaw. It’ll need some sanding to bring it to a graceful curve.
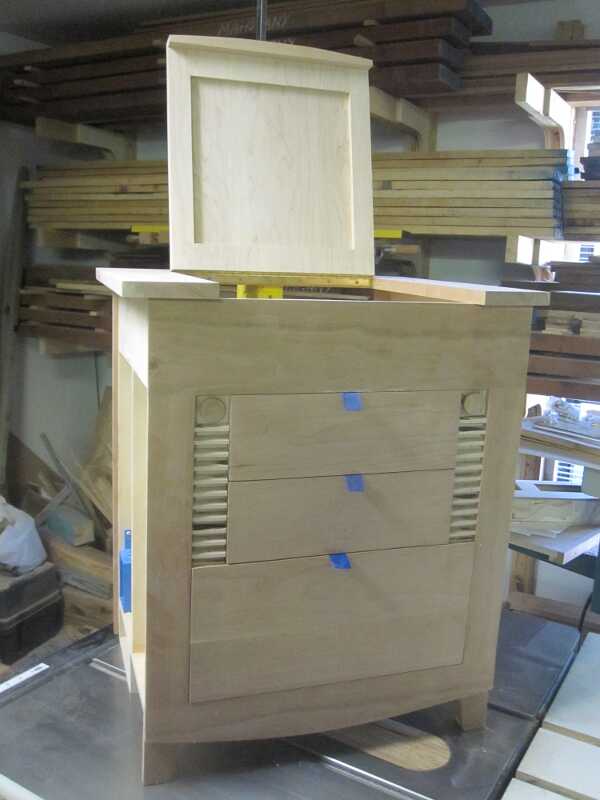
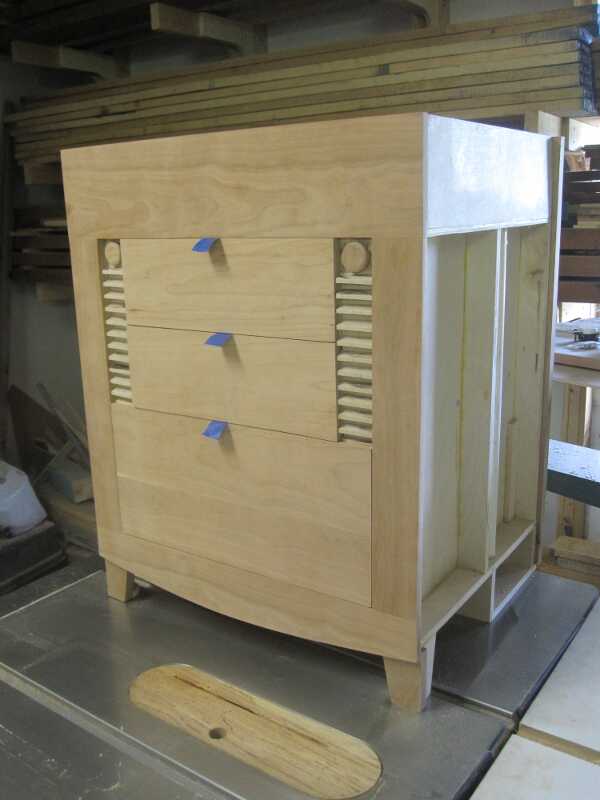
 The cabinet is now close to its final form and shape.